Tag: Beef

  • Mixed Mammal Stew

    Mixed Mammal Stew


    Mixed Mammal Stew: Beef, Lamb, and Pork in One Pressure Cooker

    Some food names sound perfectly normal, and others make people stop and ask questions.

    When I mentioned to a workmate that I was making a mixed mammal stew, the reaction was immediate. She was horrified. “Mixed mammal stew?” I thought she might ask if I had collected random creatures from a zoölogical garden and thrown them into a pressure cooker. That said, I have seen room-sized autoclaves used to sterilise large animals before exiting a high-containment facility.

    The name sounds strange, but the reality is rather ordinary. After all, a mixed grill often contains beef steak, lamb chops, bacon, and eggs on the same plate. Sausages, meatloaf, and various European dishes regularly combine beef, lamb, and pork. Calling it “mixed mammal stew” highlights what is already there.

    In this case, the stew combined chunks of beef chuck, lamb leg, and pork belly cooked under pressure with passata and some reserved cooking liquor from previous pressure-cooking sessions. Those earlier cooks included vegetables such as fennel, brown onion, and celery, so the cooking liquid carried their accumulated flavours. Although the vegetables had long since disappeared, their essence remained in the stock.

    The result was a rich stew with tender pieces of three different meats. The beef contributed body, the lamb added its distinctive flavour, and the pork belly provided fat and gelatine.

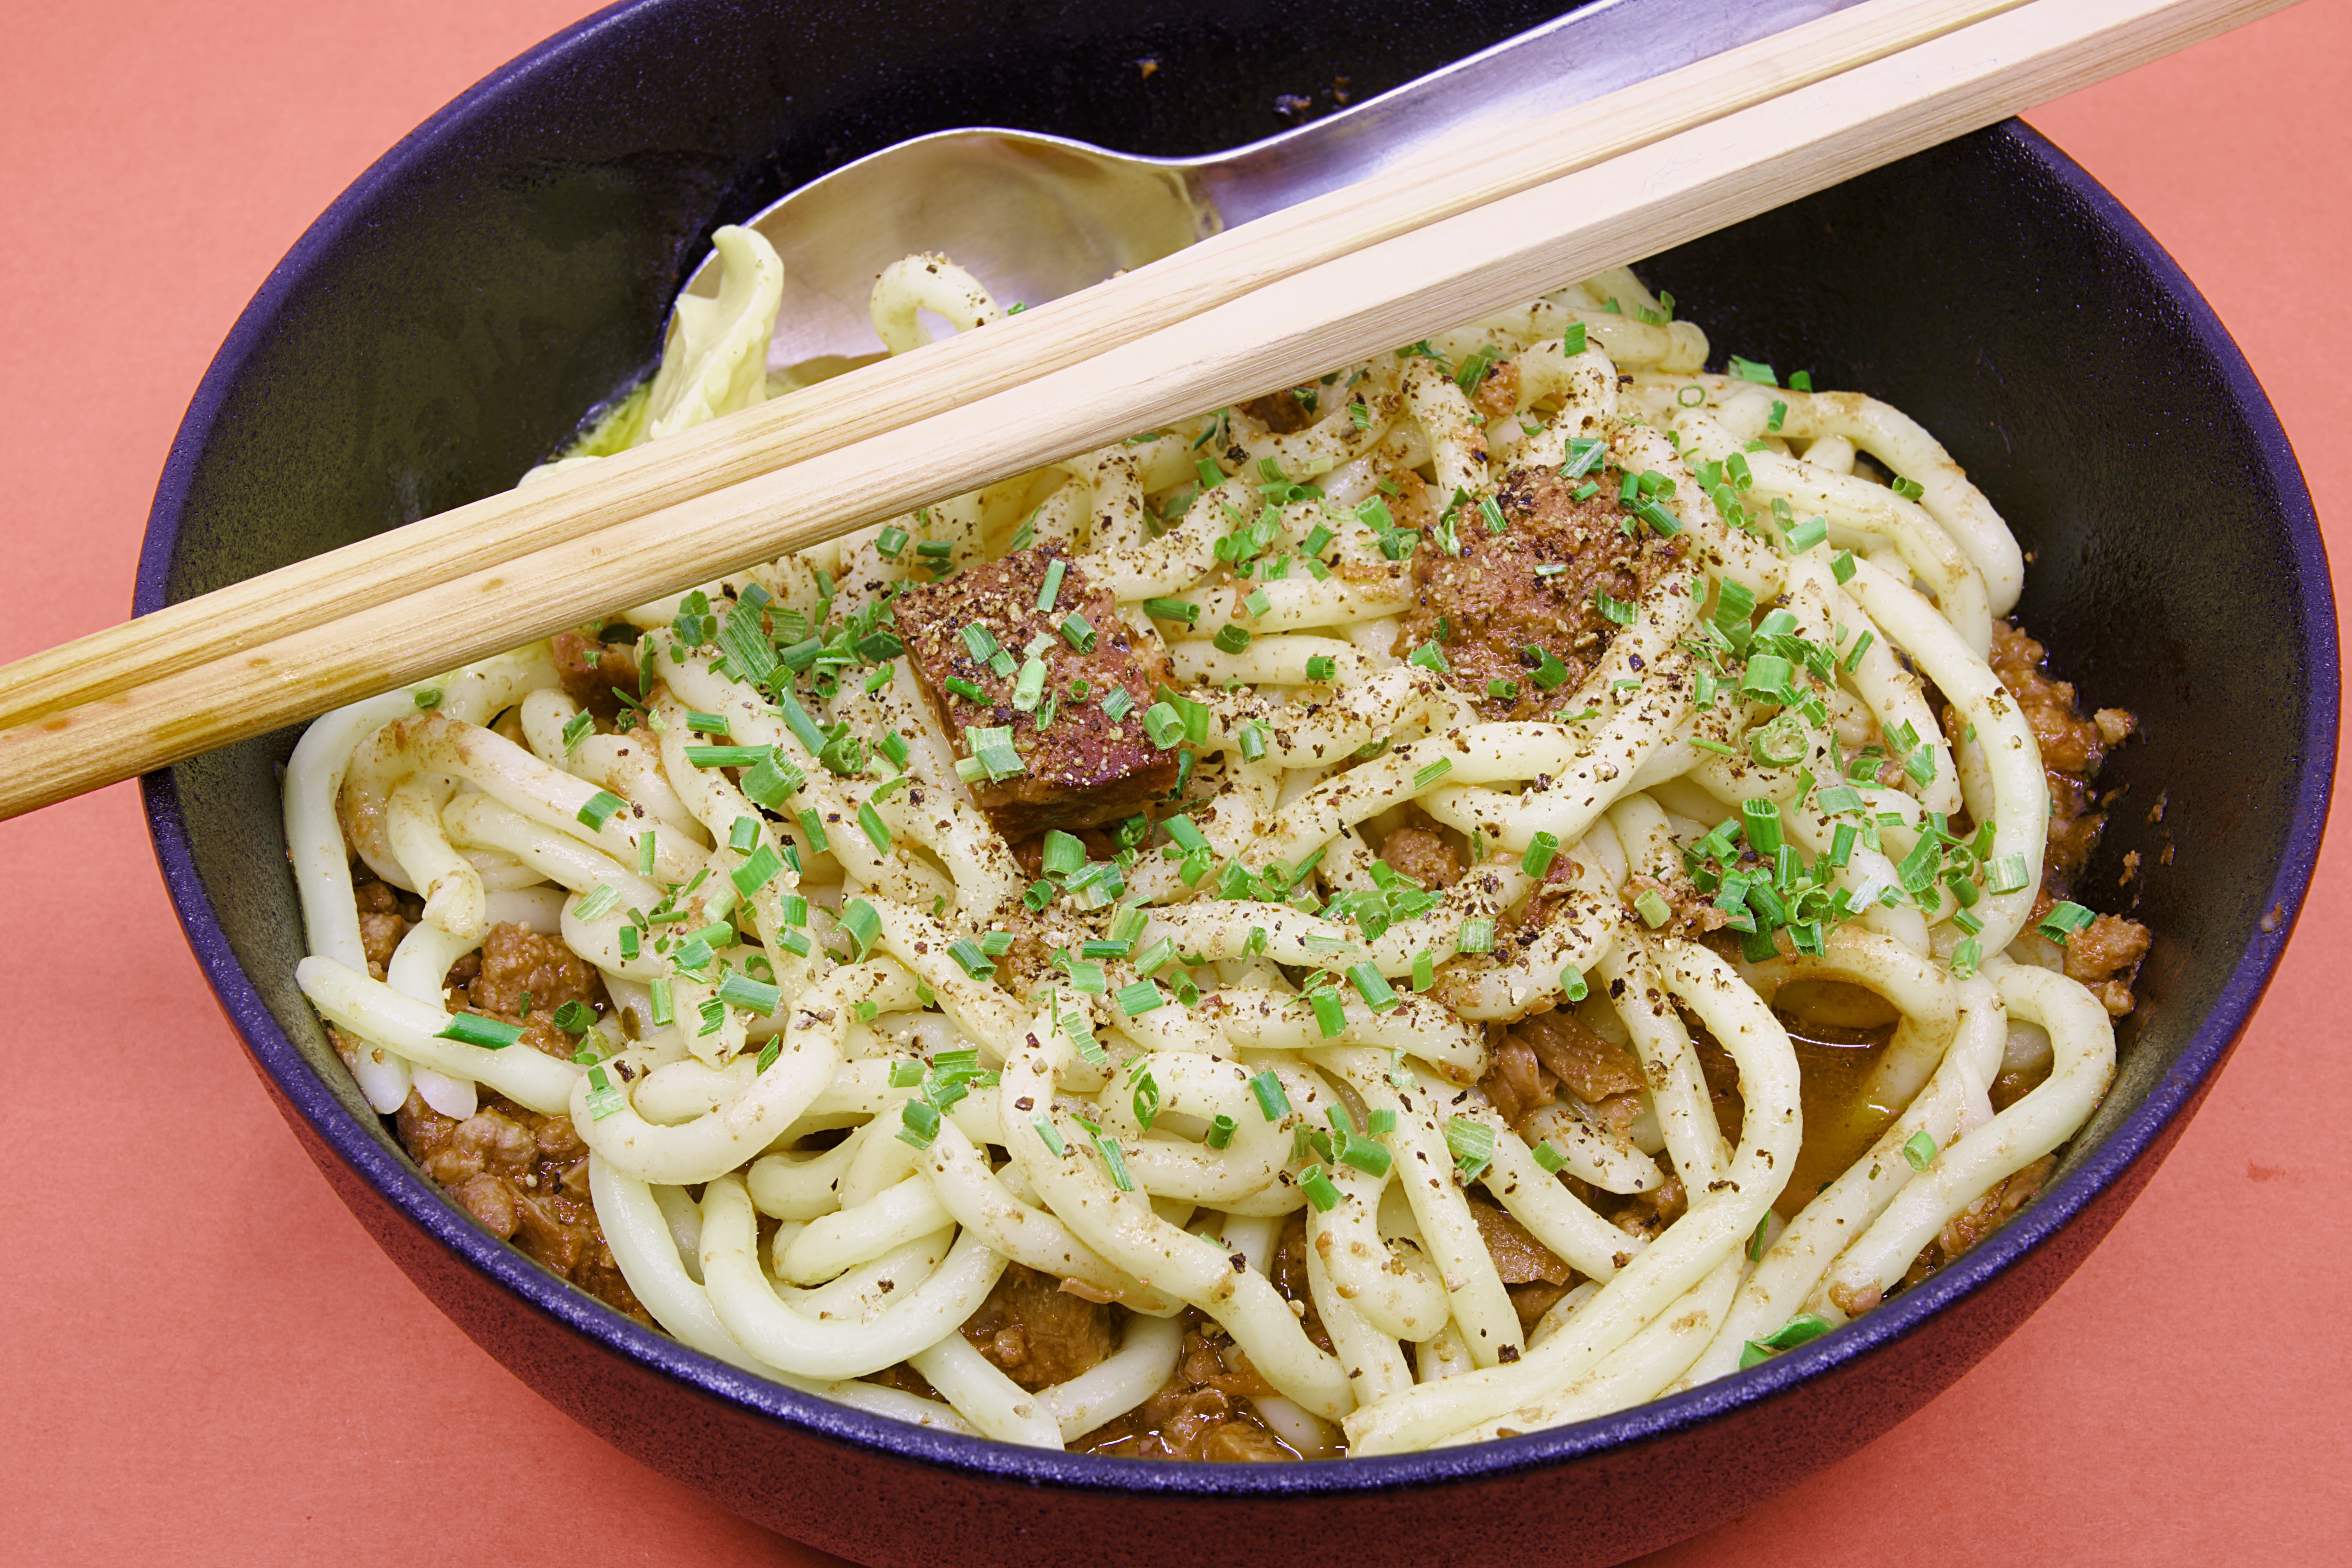
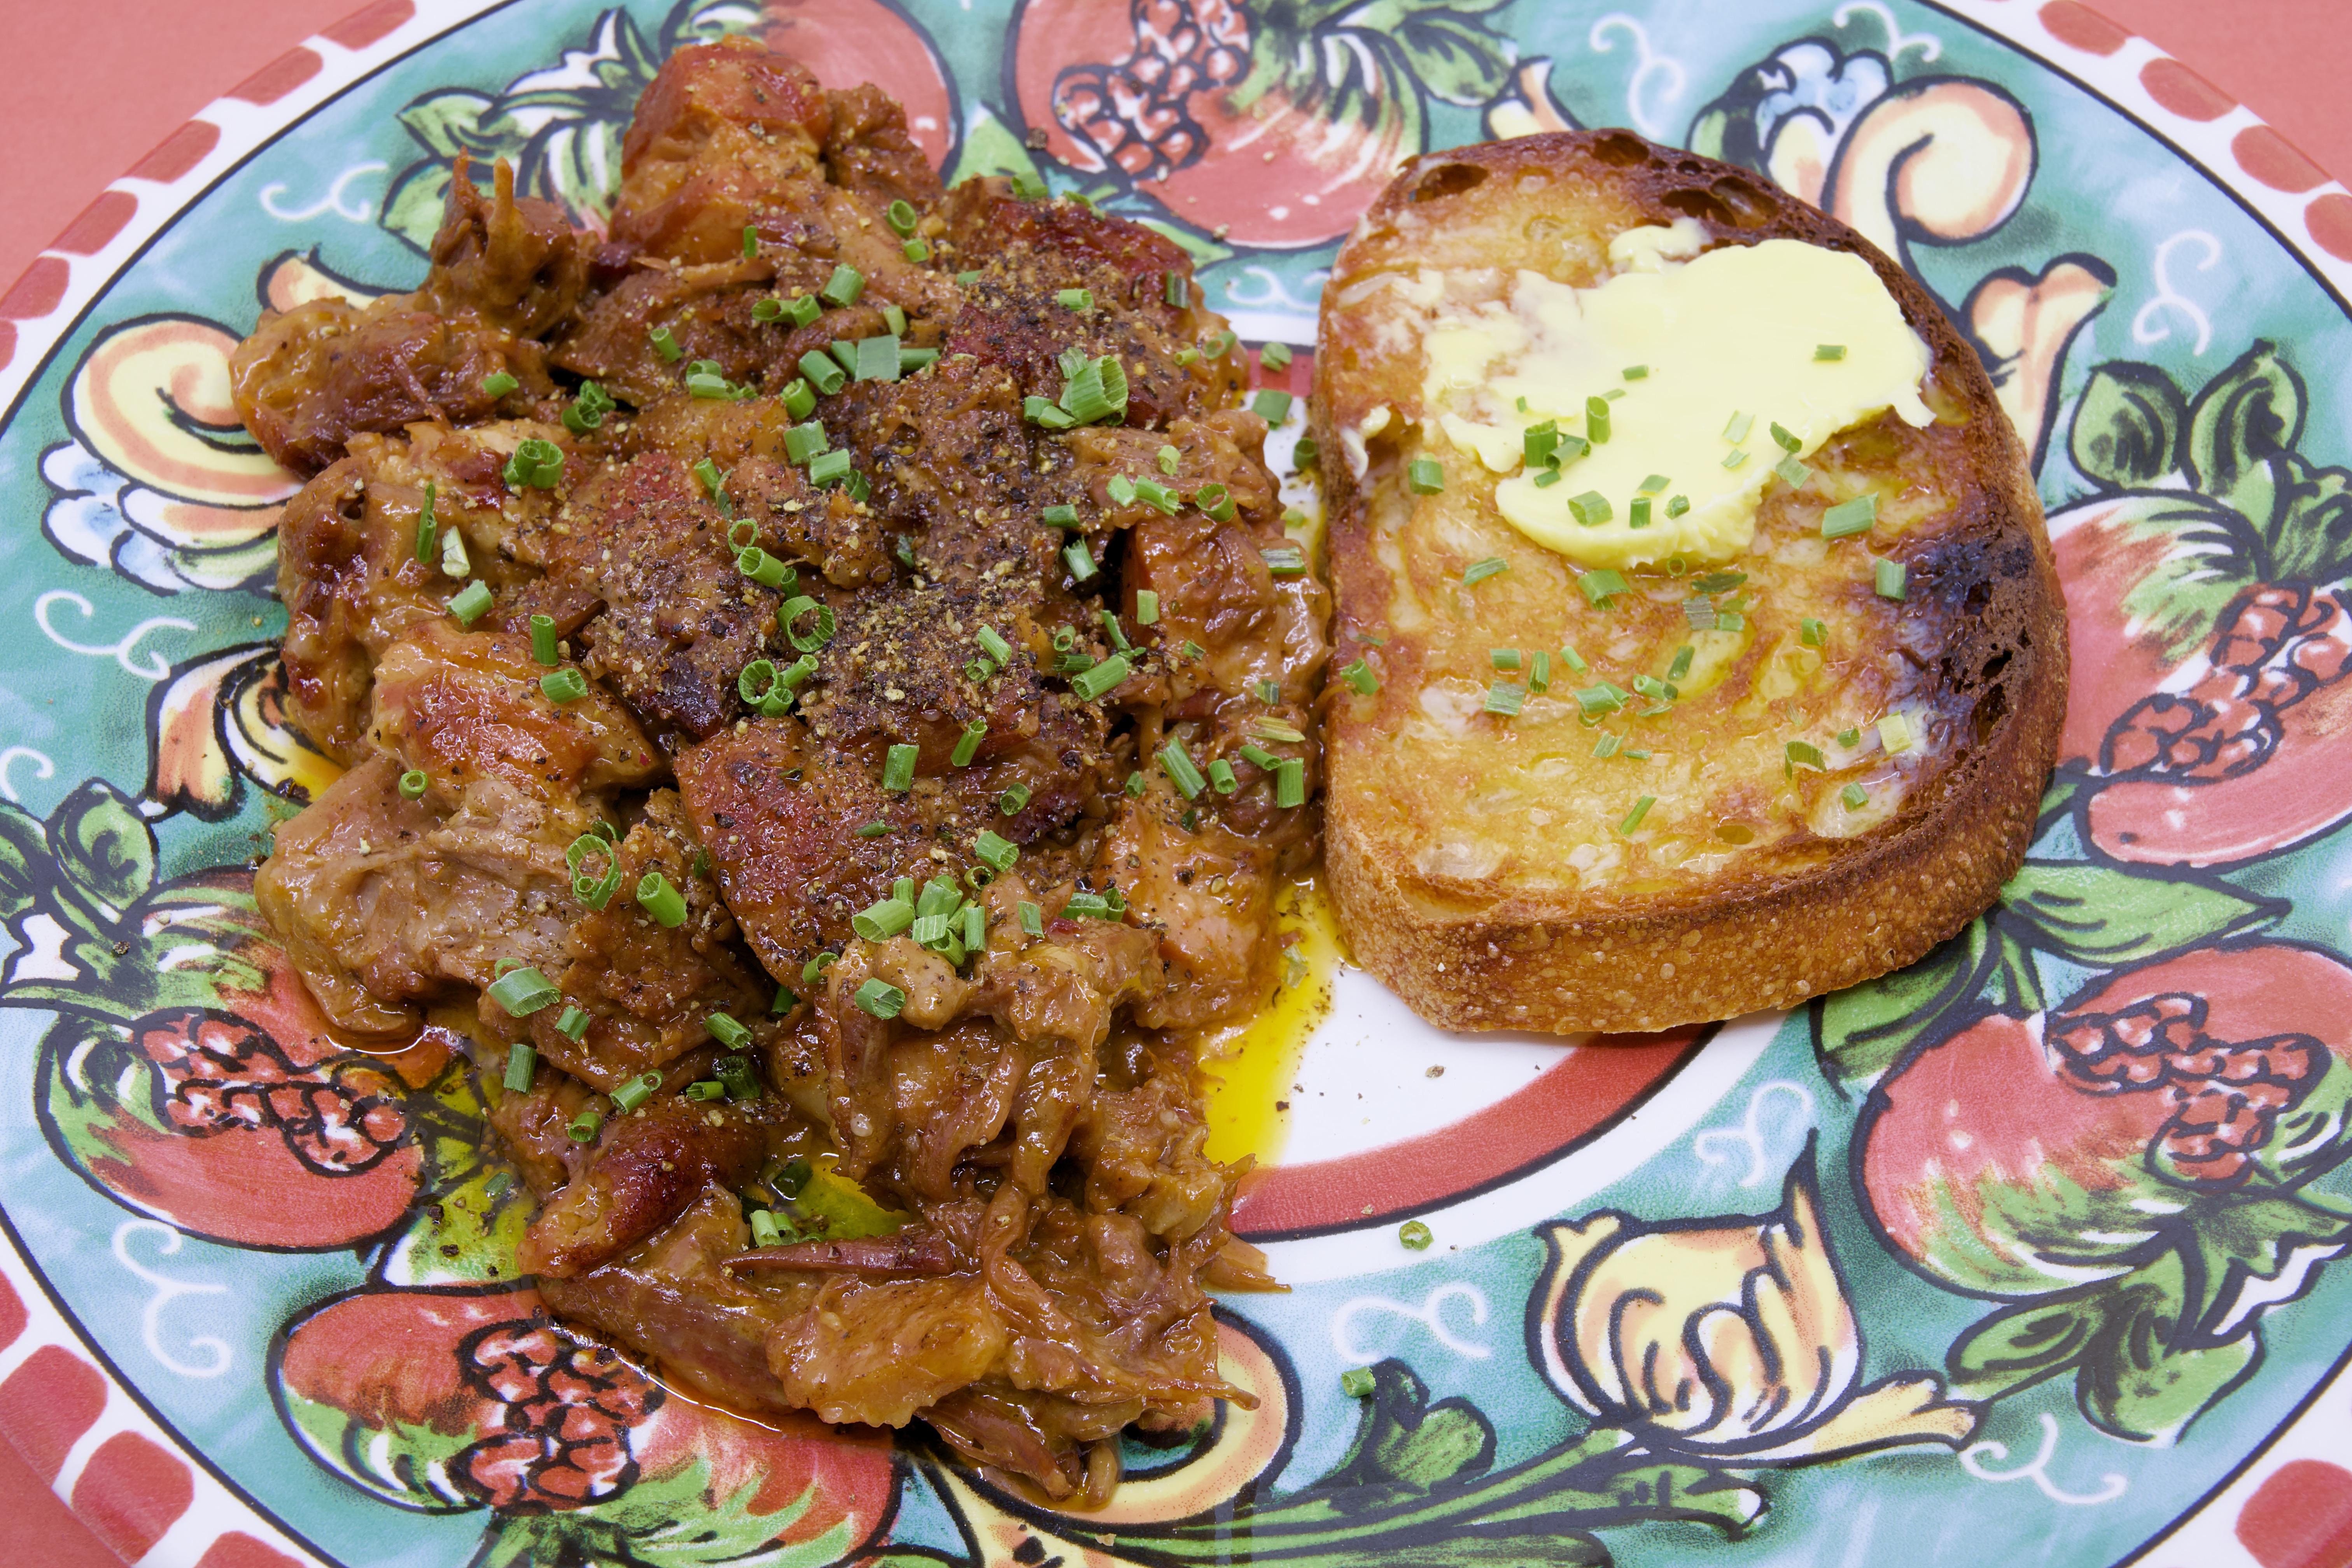
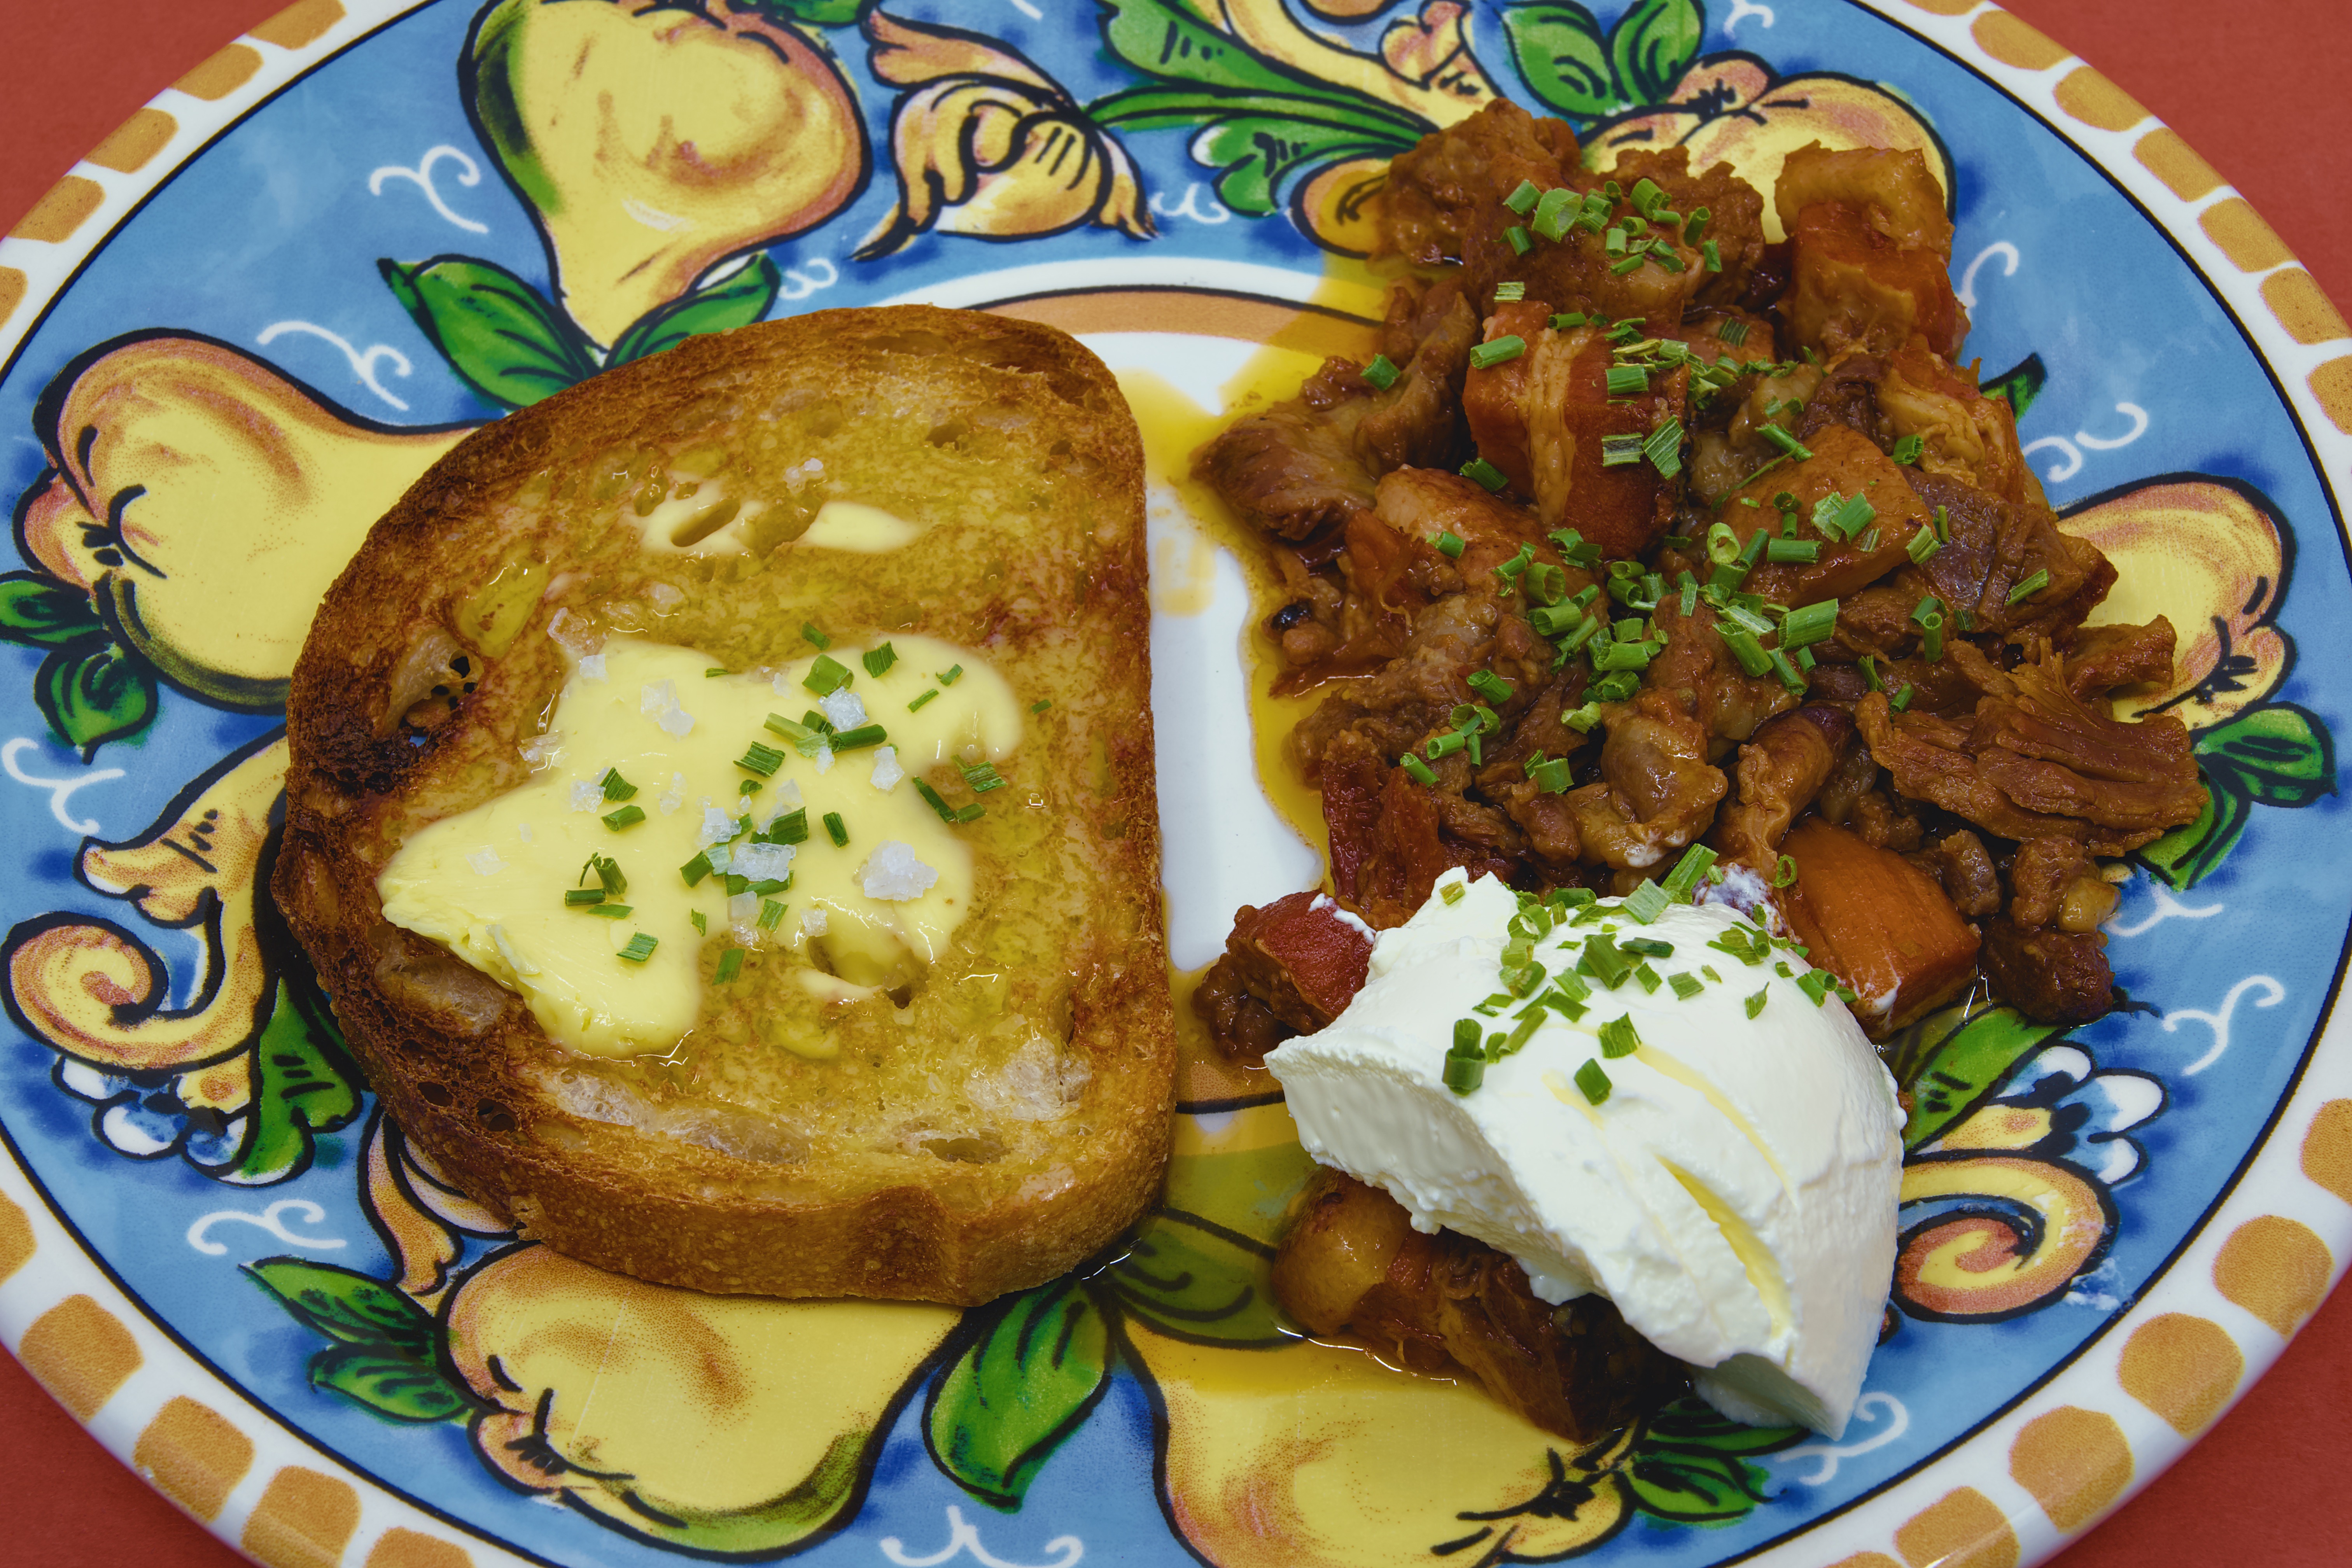
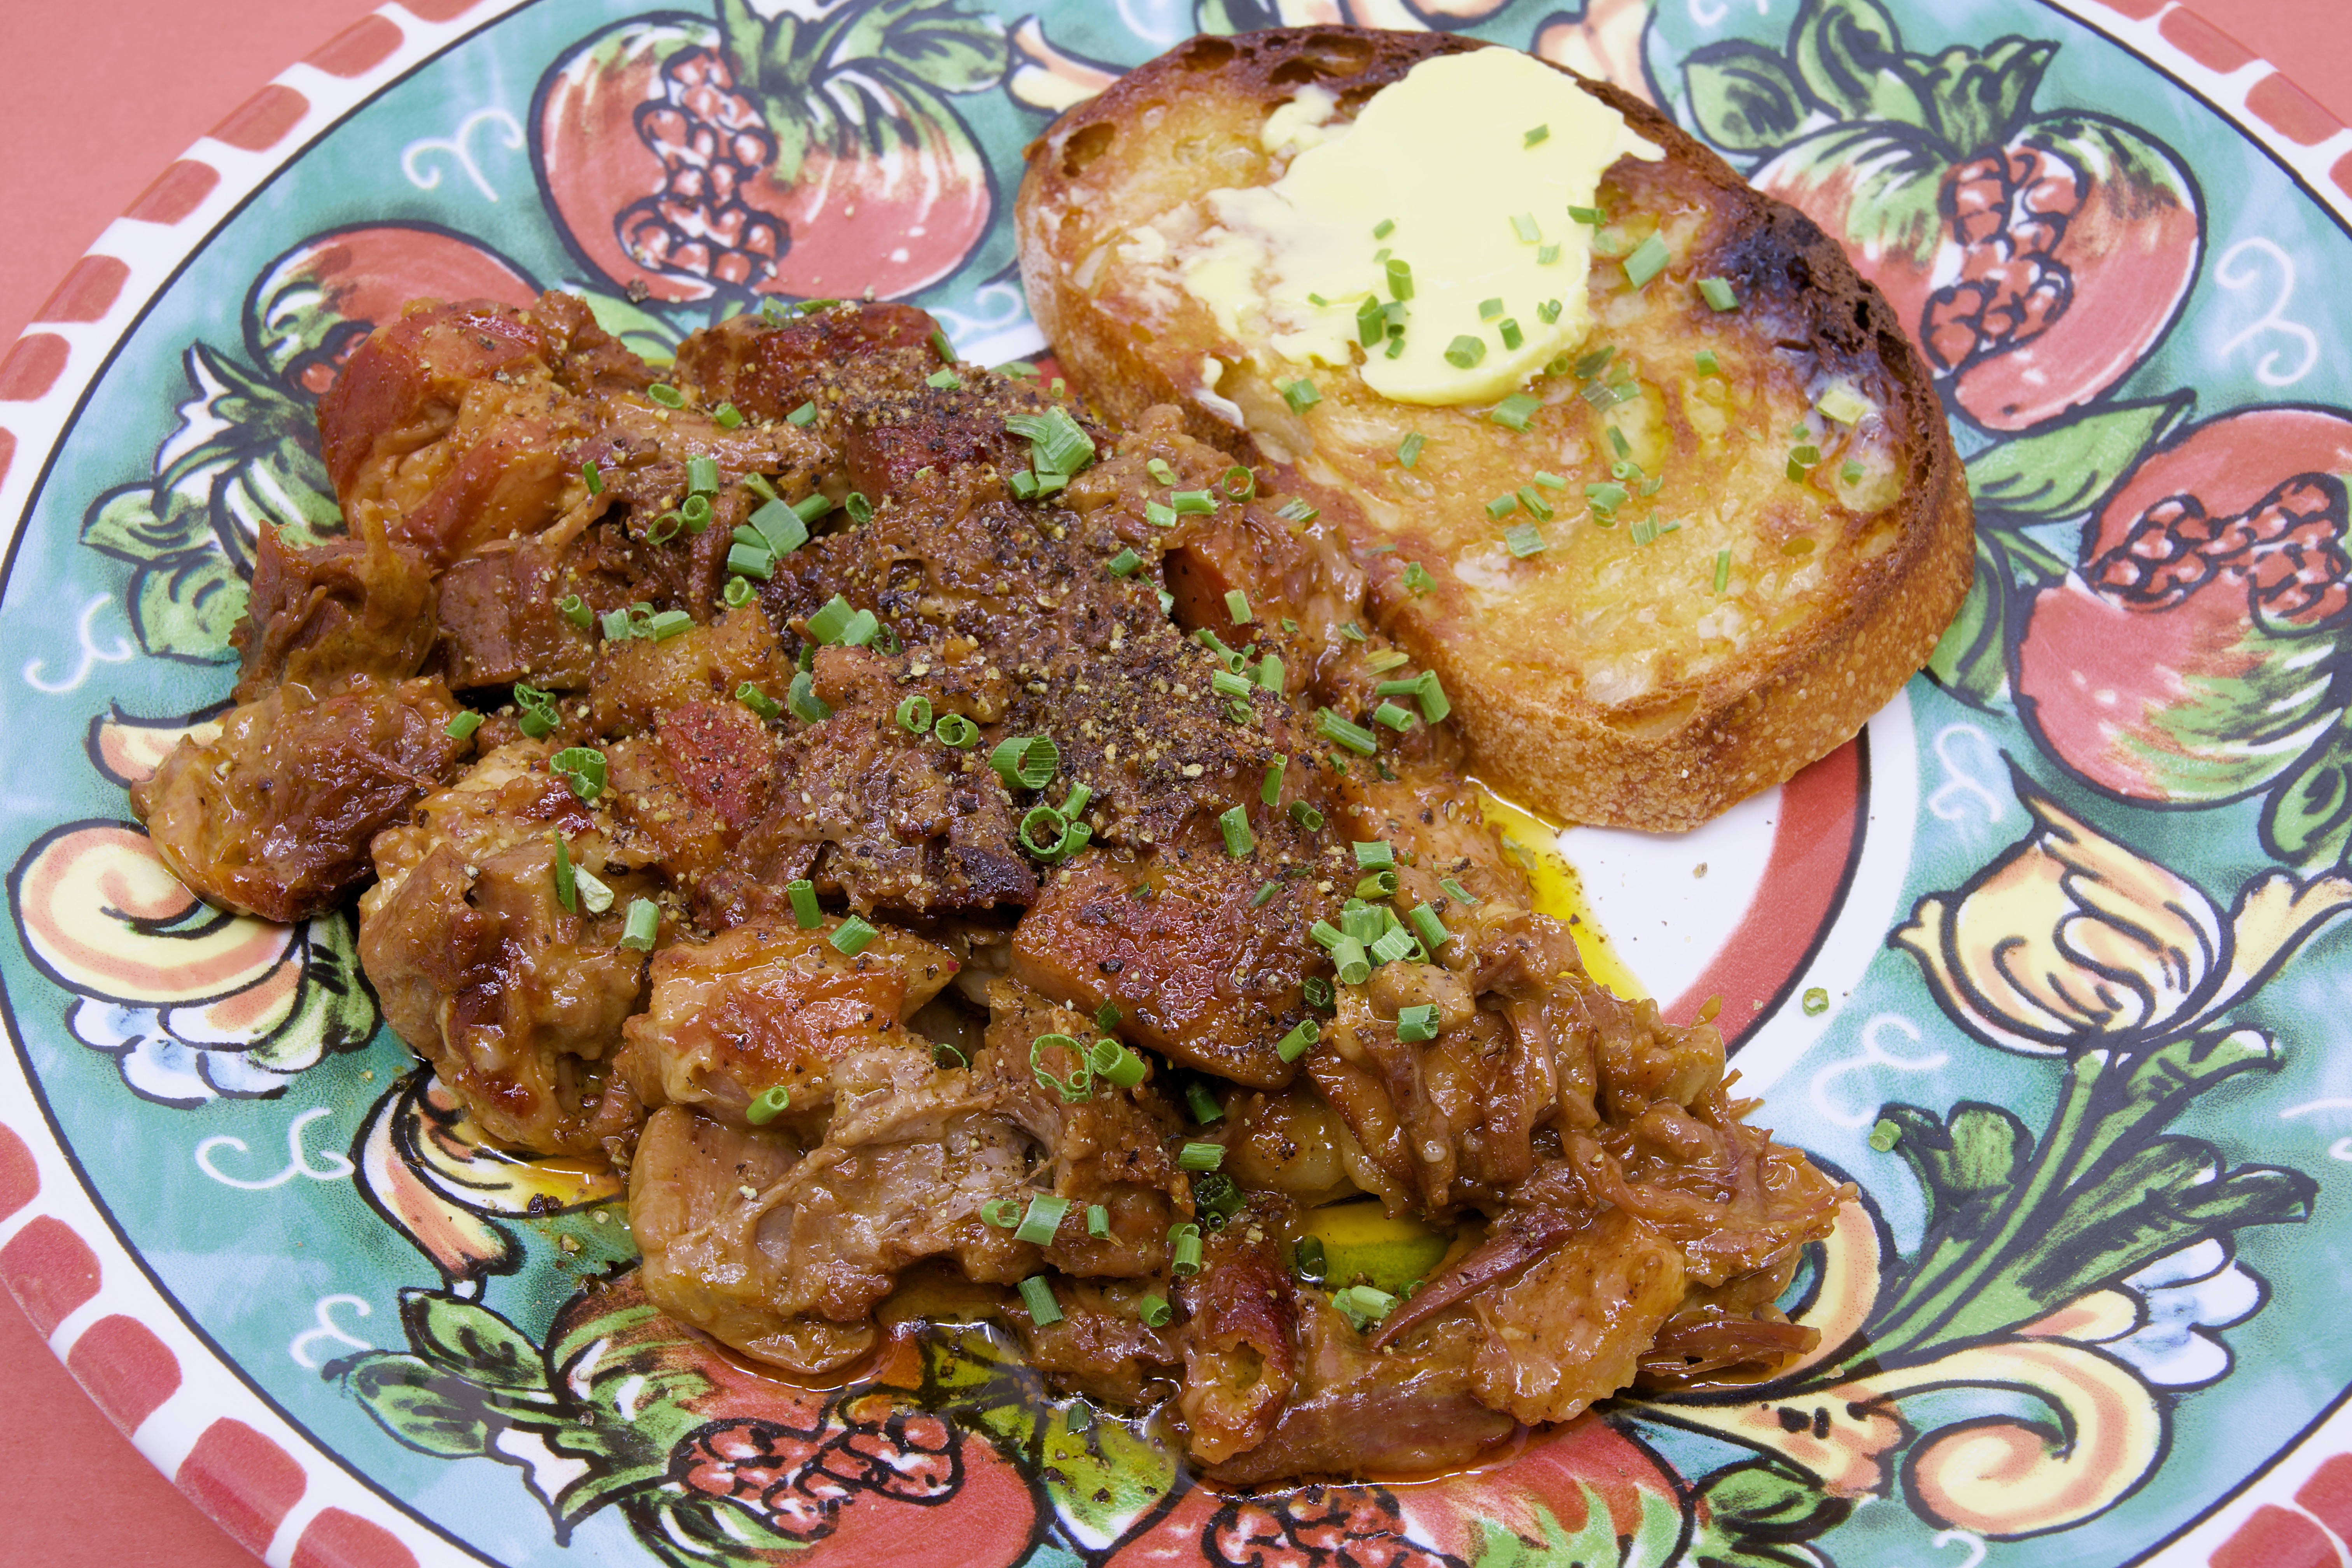
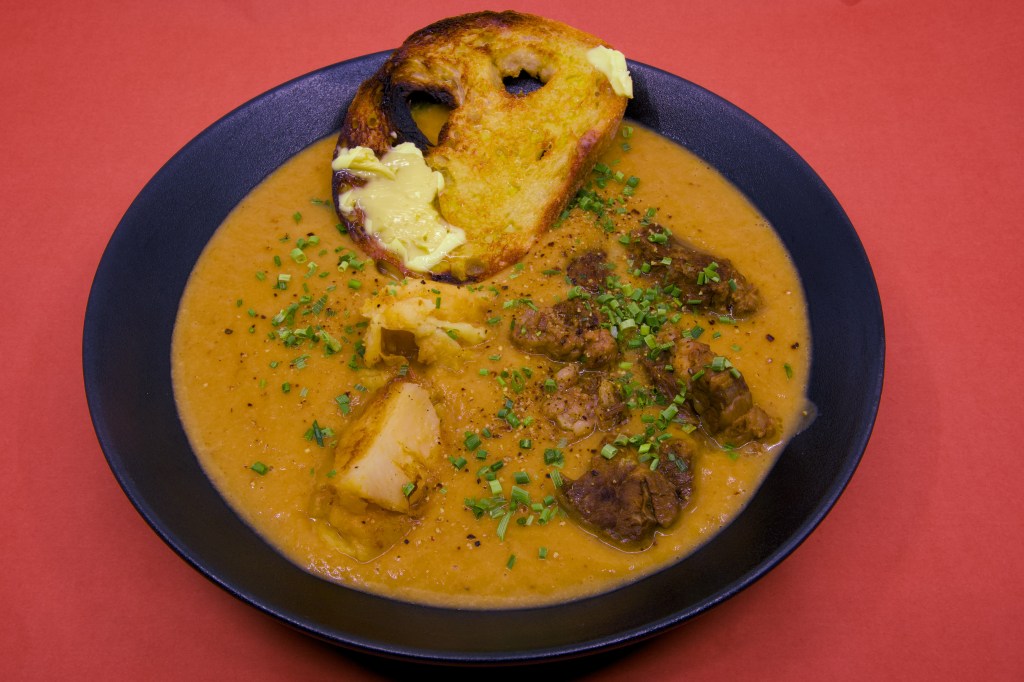
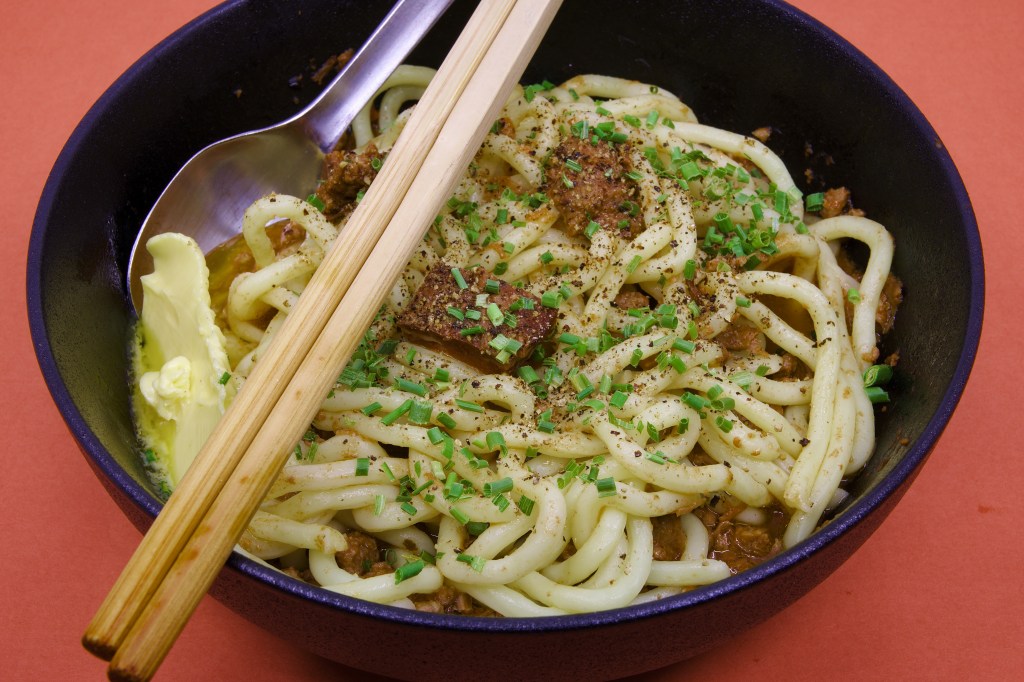
    Over several meals I served the stew in different ways. I paired one bowl with Hokkien noodles. I served other meals with rye sourdough toast, buttered twice in the style popularised by Nigella Lawson. The toast absorbed the cooking juices beautifully, making for a satisfying accompaniment.

    Here are a few ways I ate the mixed mammal stew.

    Mixed Mammal Stew Recipe

    Serves

    6 to 8 portions

    Equipment

    • Pressure cooker
    • Chopping board
    • Sharp knife
    • Measuring jug
    • Wooden spoon spatula
    • Serving bowls or plates
    • Ingredients
    • For the stew
    • 500 g beef chuck, cut into large cubes
    • 500 g lamb leg, cut into large cubes
    • 500 g pork belly, cut into chunks
    • 500 mL passata
    • 500 to 750 mL reserved pressure-cooker cooking liquor or stock
    • 1 teaspoon sea salt
    • 1 teaspoon freshly cracked black pepper

    For serving

    Option 1

    • Cooked Hokkien noodles
    • Finely chopped chives
    • Freshly cracked black pepper
    • Butter
    Bowl of Hokkien noodles topped with mixed mammal stew made from beef, lamb, and pork, finished with chopped chives, cracked black pepper, butter, chopsticks, and a spoon.

    Option 2

    • Rye sourdough bread
    • Butter for double-buttering
    • Finely chopped chives
    • Freshly cracked black pepper

    Instructions

    1. Place the beef chuck, lamb leg, and pork belly into the pressure cooker.
    2. Pour in the passata and cooking liquor.
    3. Season with salt and pepper.
    4. Stir gently to combine.
    5. Secure the lid and cook on high pressure for 45 minutes.
    6. Allow the pressure to release naturally for 15 to 20 minutes before venting any remaining pressure.
    7. Open the lid and stir the stew.
    8. If the liquid is thinner than desired, simmer with the lid off until reduced to your preferred consistency.

    To serve with Hokkien noodles

    1. Cook the noodles according to the packet instructions.
    2. Divide the noodles between bowls.
    3. Ladle the mixed mammal stew over the noodles.
    4. Add a knob of butter.
    5. Finish with chopped chives and freshly cracked black pepper.

    To serve with double-buttered rye sourdough toast

    1. Toast thick slices of rye sourdough.
    2. Butter the toast while hot.
    3. Allow the butter to melt into the bread.
    4. Spread a second layer of butter on top.
    5. Serve alongside the stew with chopped chives and black pepper.
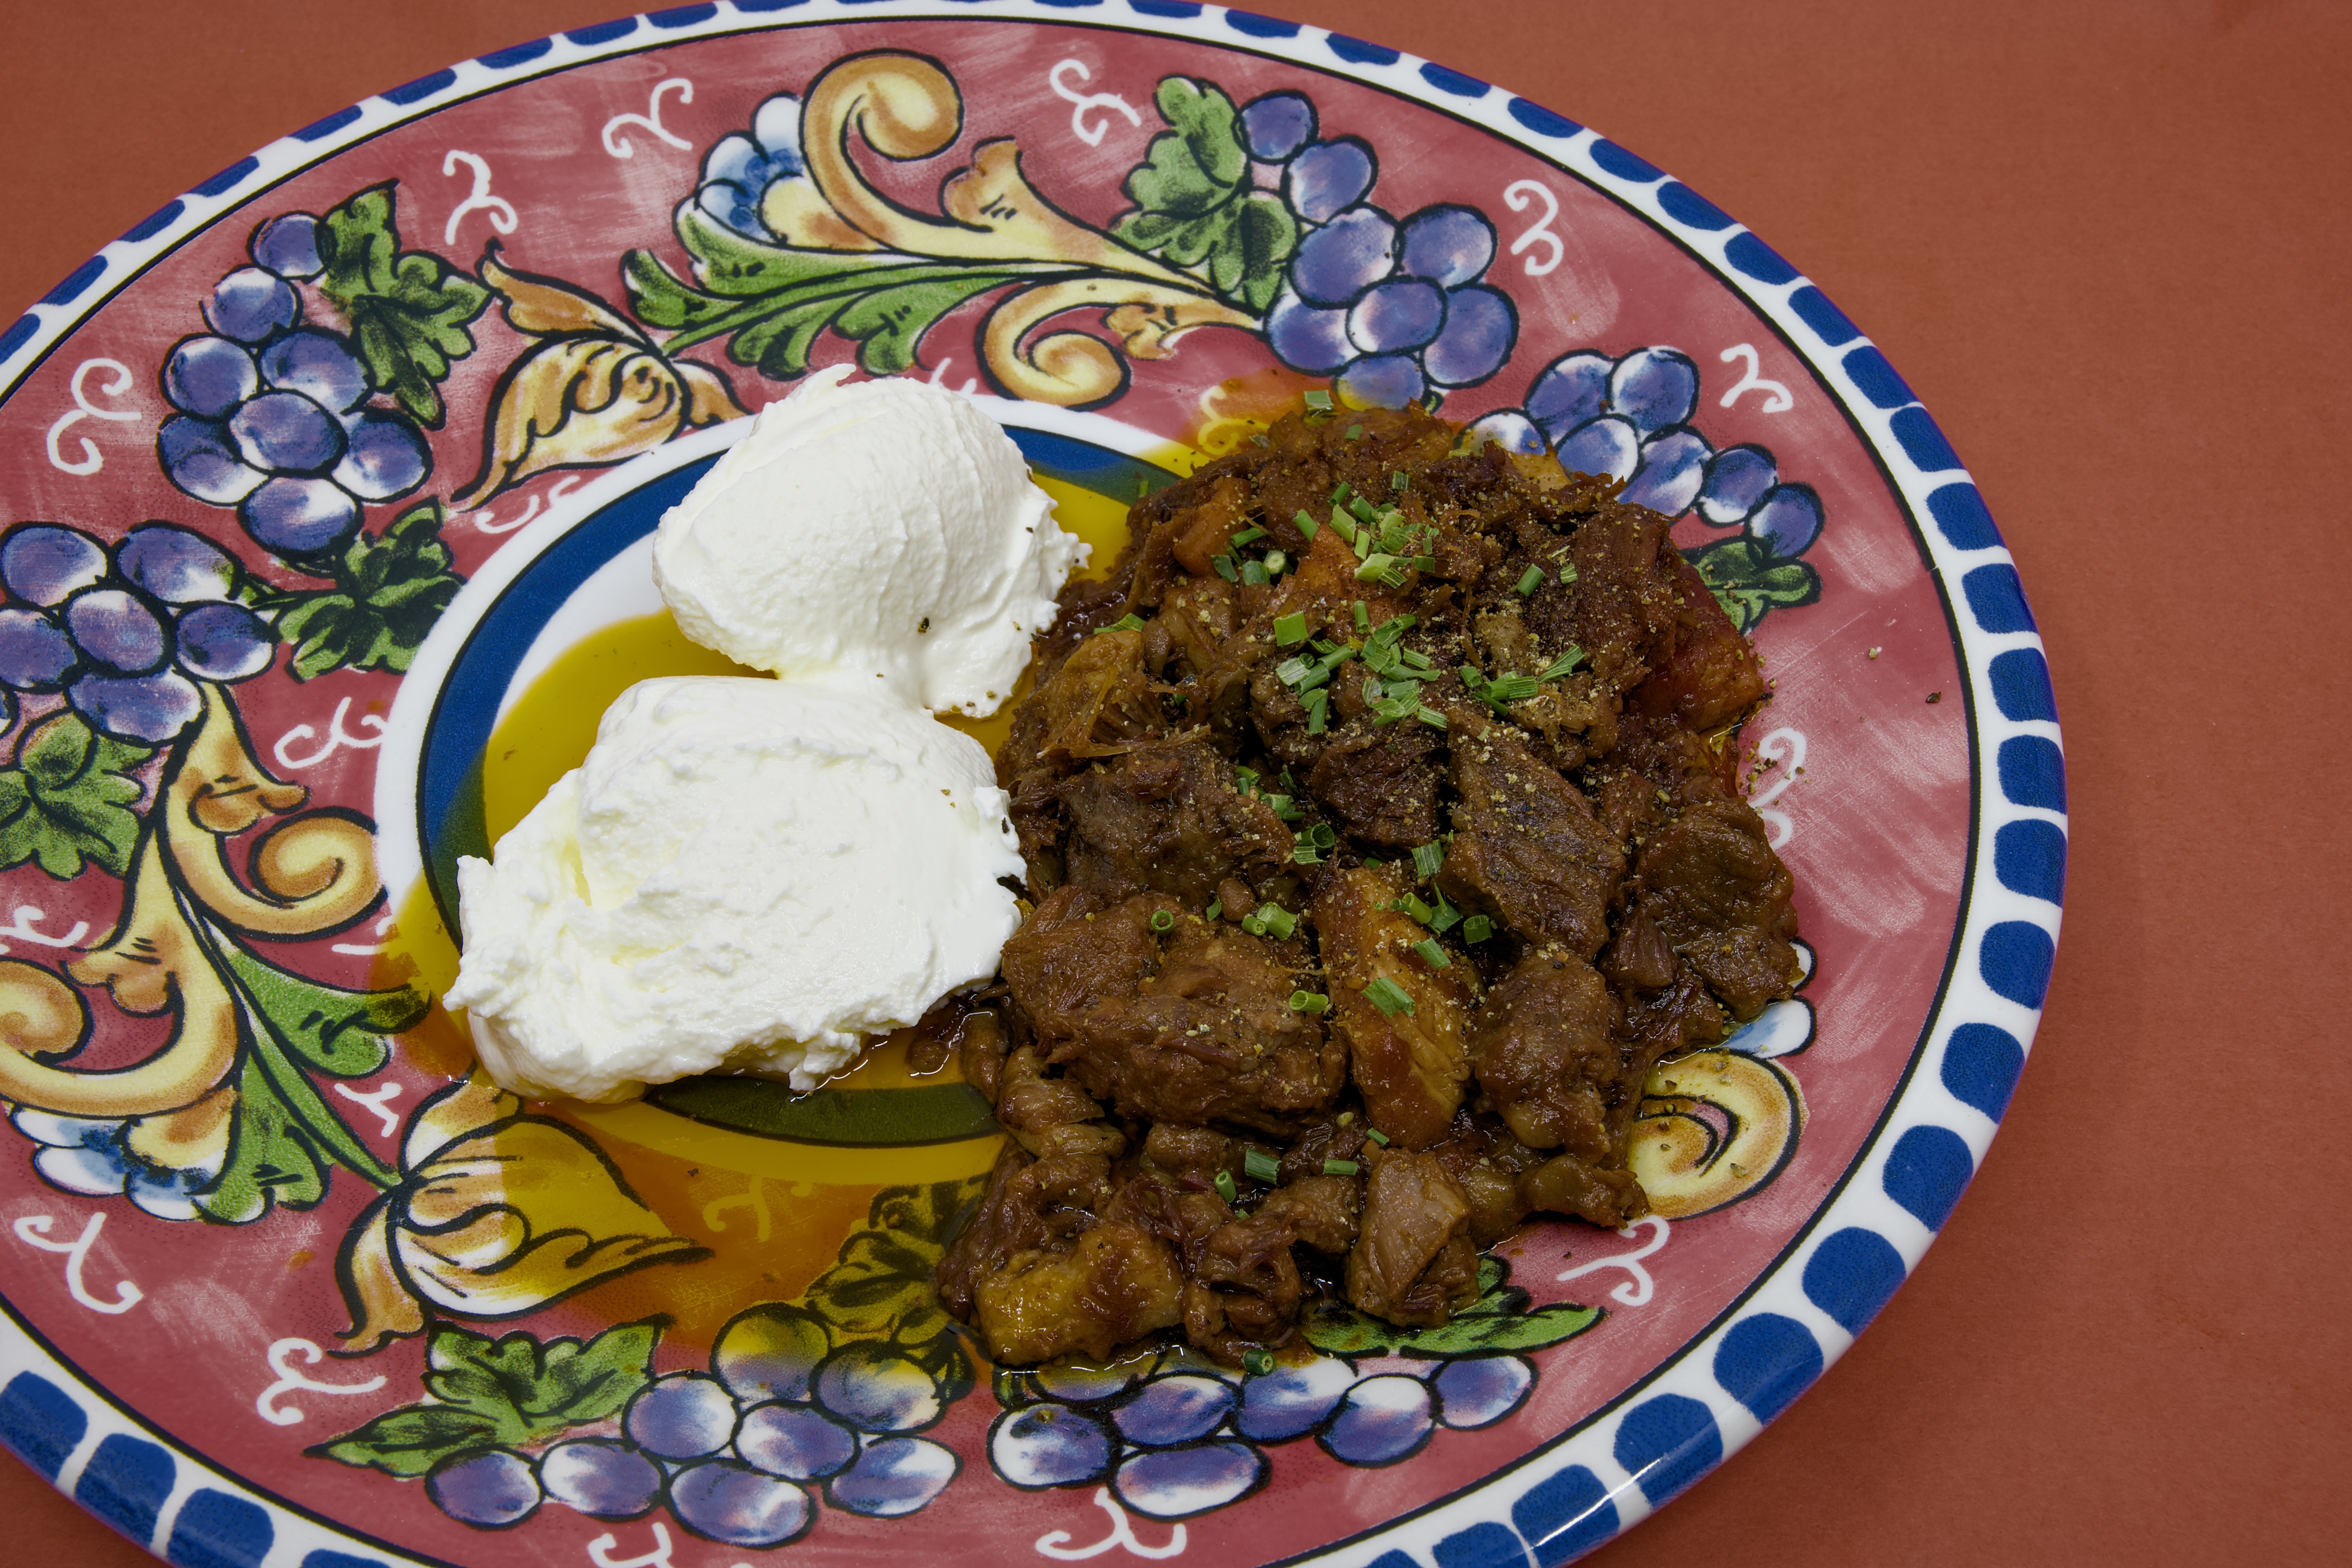
    Mixed mammal stew containing beef, lamb, and pork served on a decorative plate with two scoops of Greek-style yoghurt and a garnish of chopped chives.

    Thoughts

    This stew began as a practical exercise in using what was available. It used beef chuck, lamb leg, and pork belly that needed cooking, plus some valuable cooking liquor left over from previous pressure-cooker sessions.

    One advantage of keeping flavourful cooking liquid is that each batch contributes to the next. Fennel, onion, celery, and tomato notes gradually accumulate and create a deeper base than plain stock or water.

    The stew may have an unusual name, but it’s conceptually no different from many dishes that combine multiple meats. Calling it mixed mammal stew makes the biology more obvious.

    Whether served with noodles or thick slices of double-buttered rye sourdough, it was an enjoyable way to stretch one batch of pressure-cooked meat across several meals.
    Fediverse Reactions
  • Beef Rump Cap Roast in a Benchtop Oven

    Beef Rump Cap Roast in a Benchtop Oven


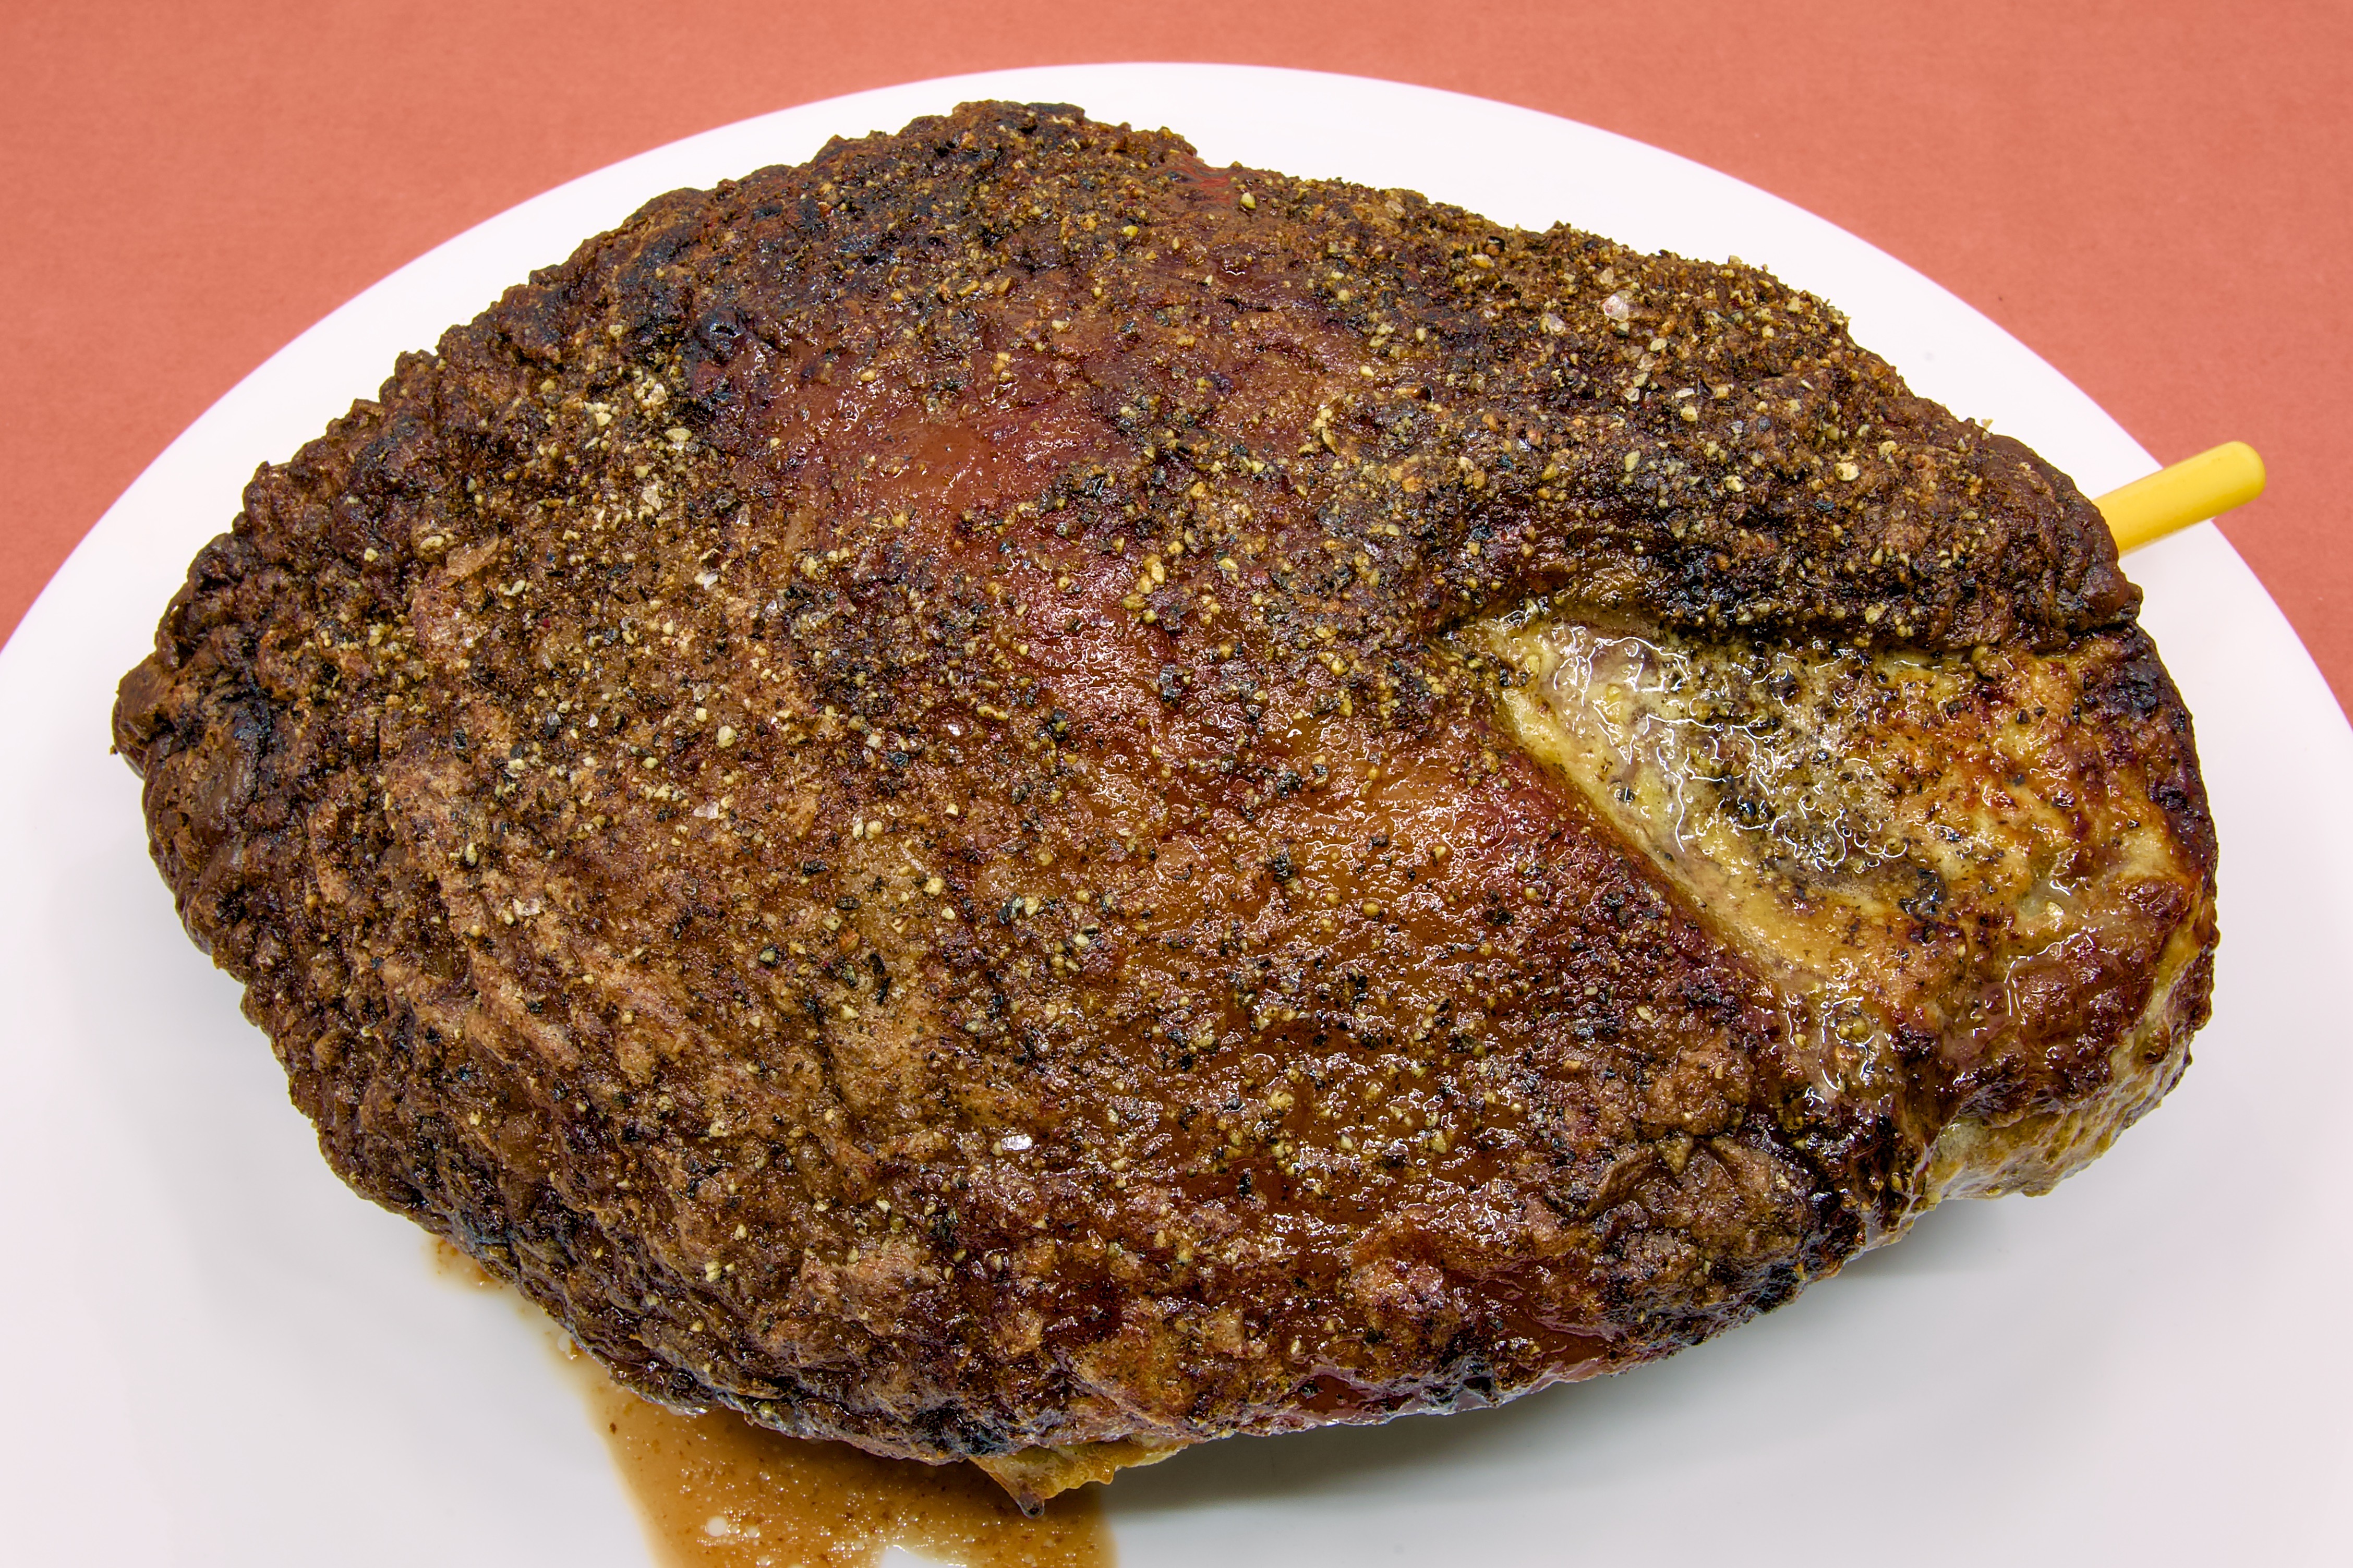
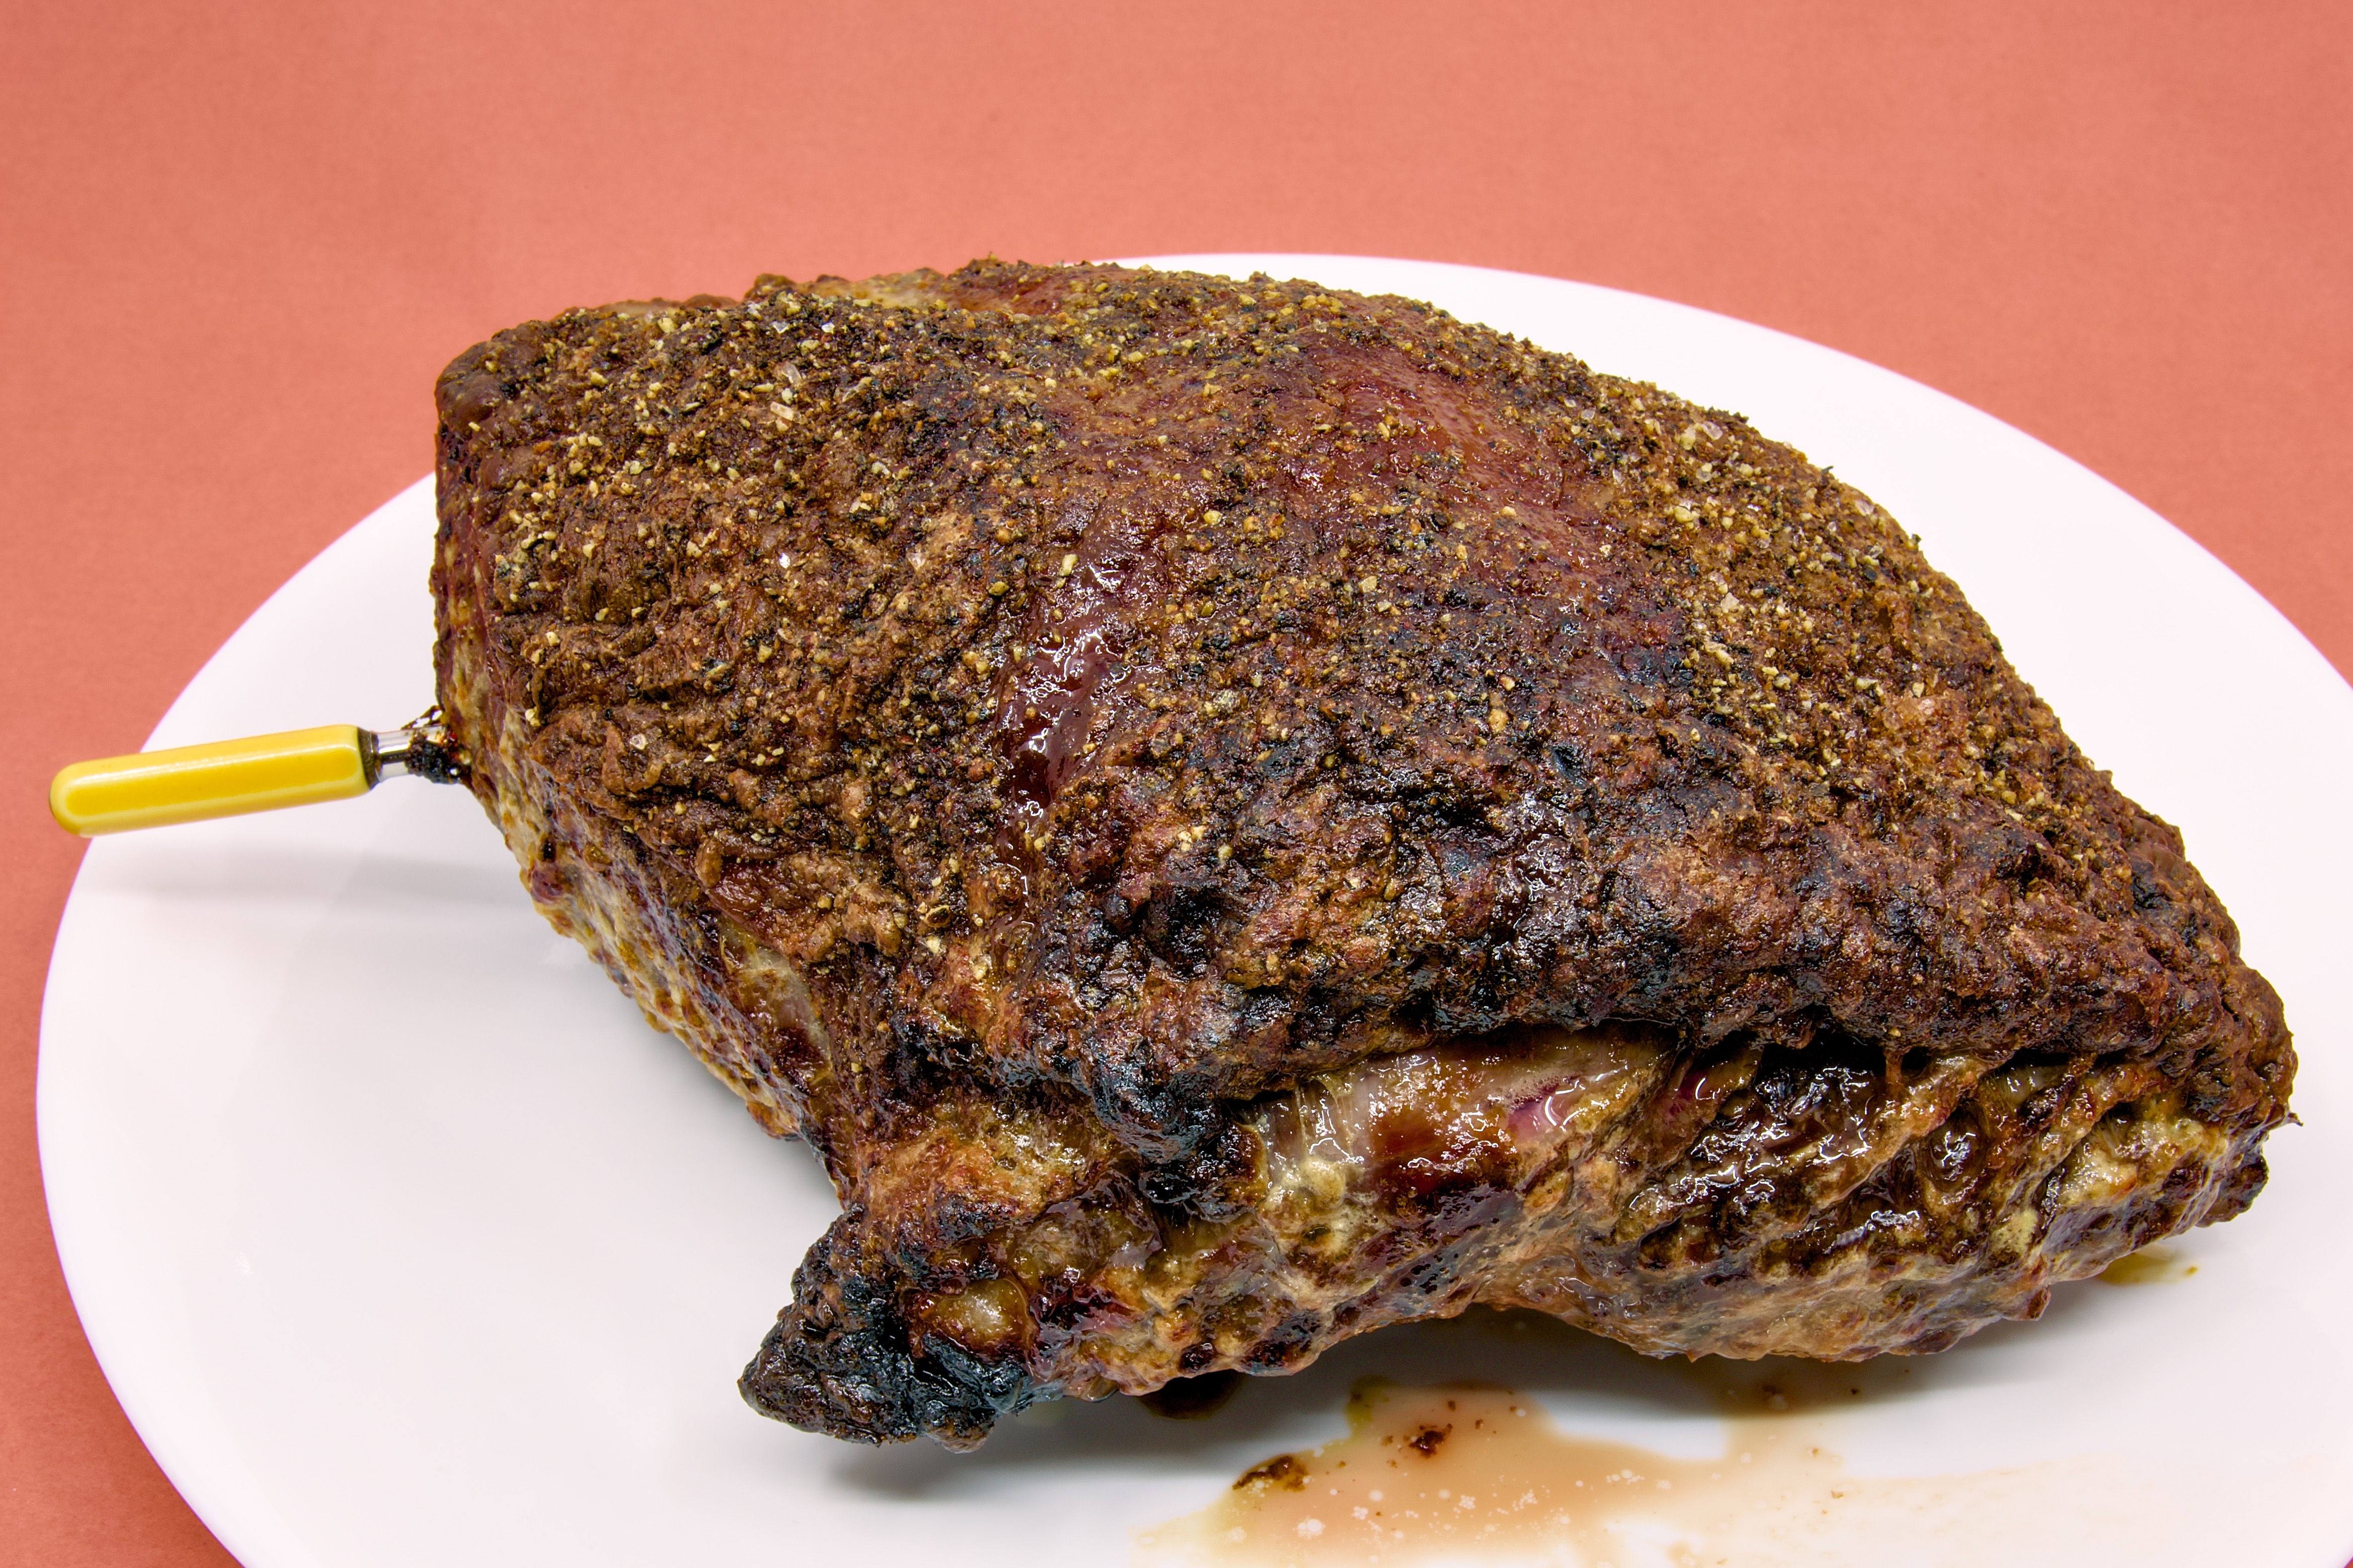
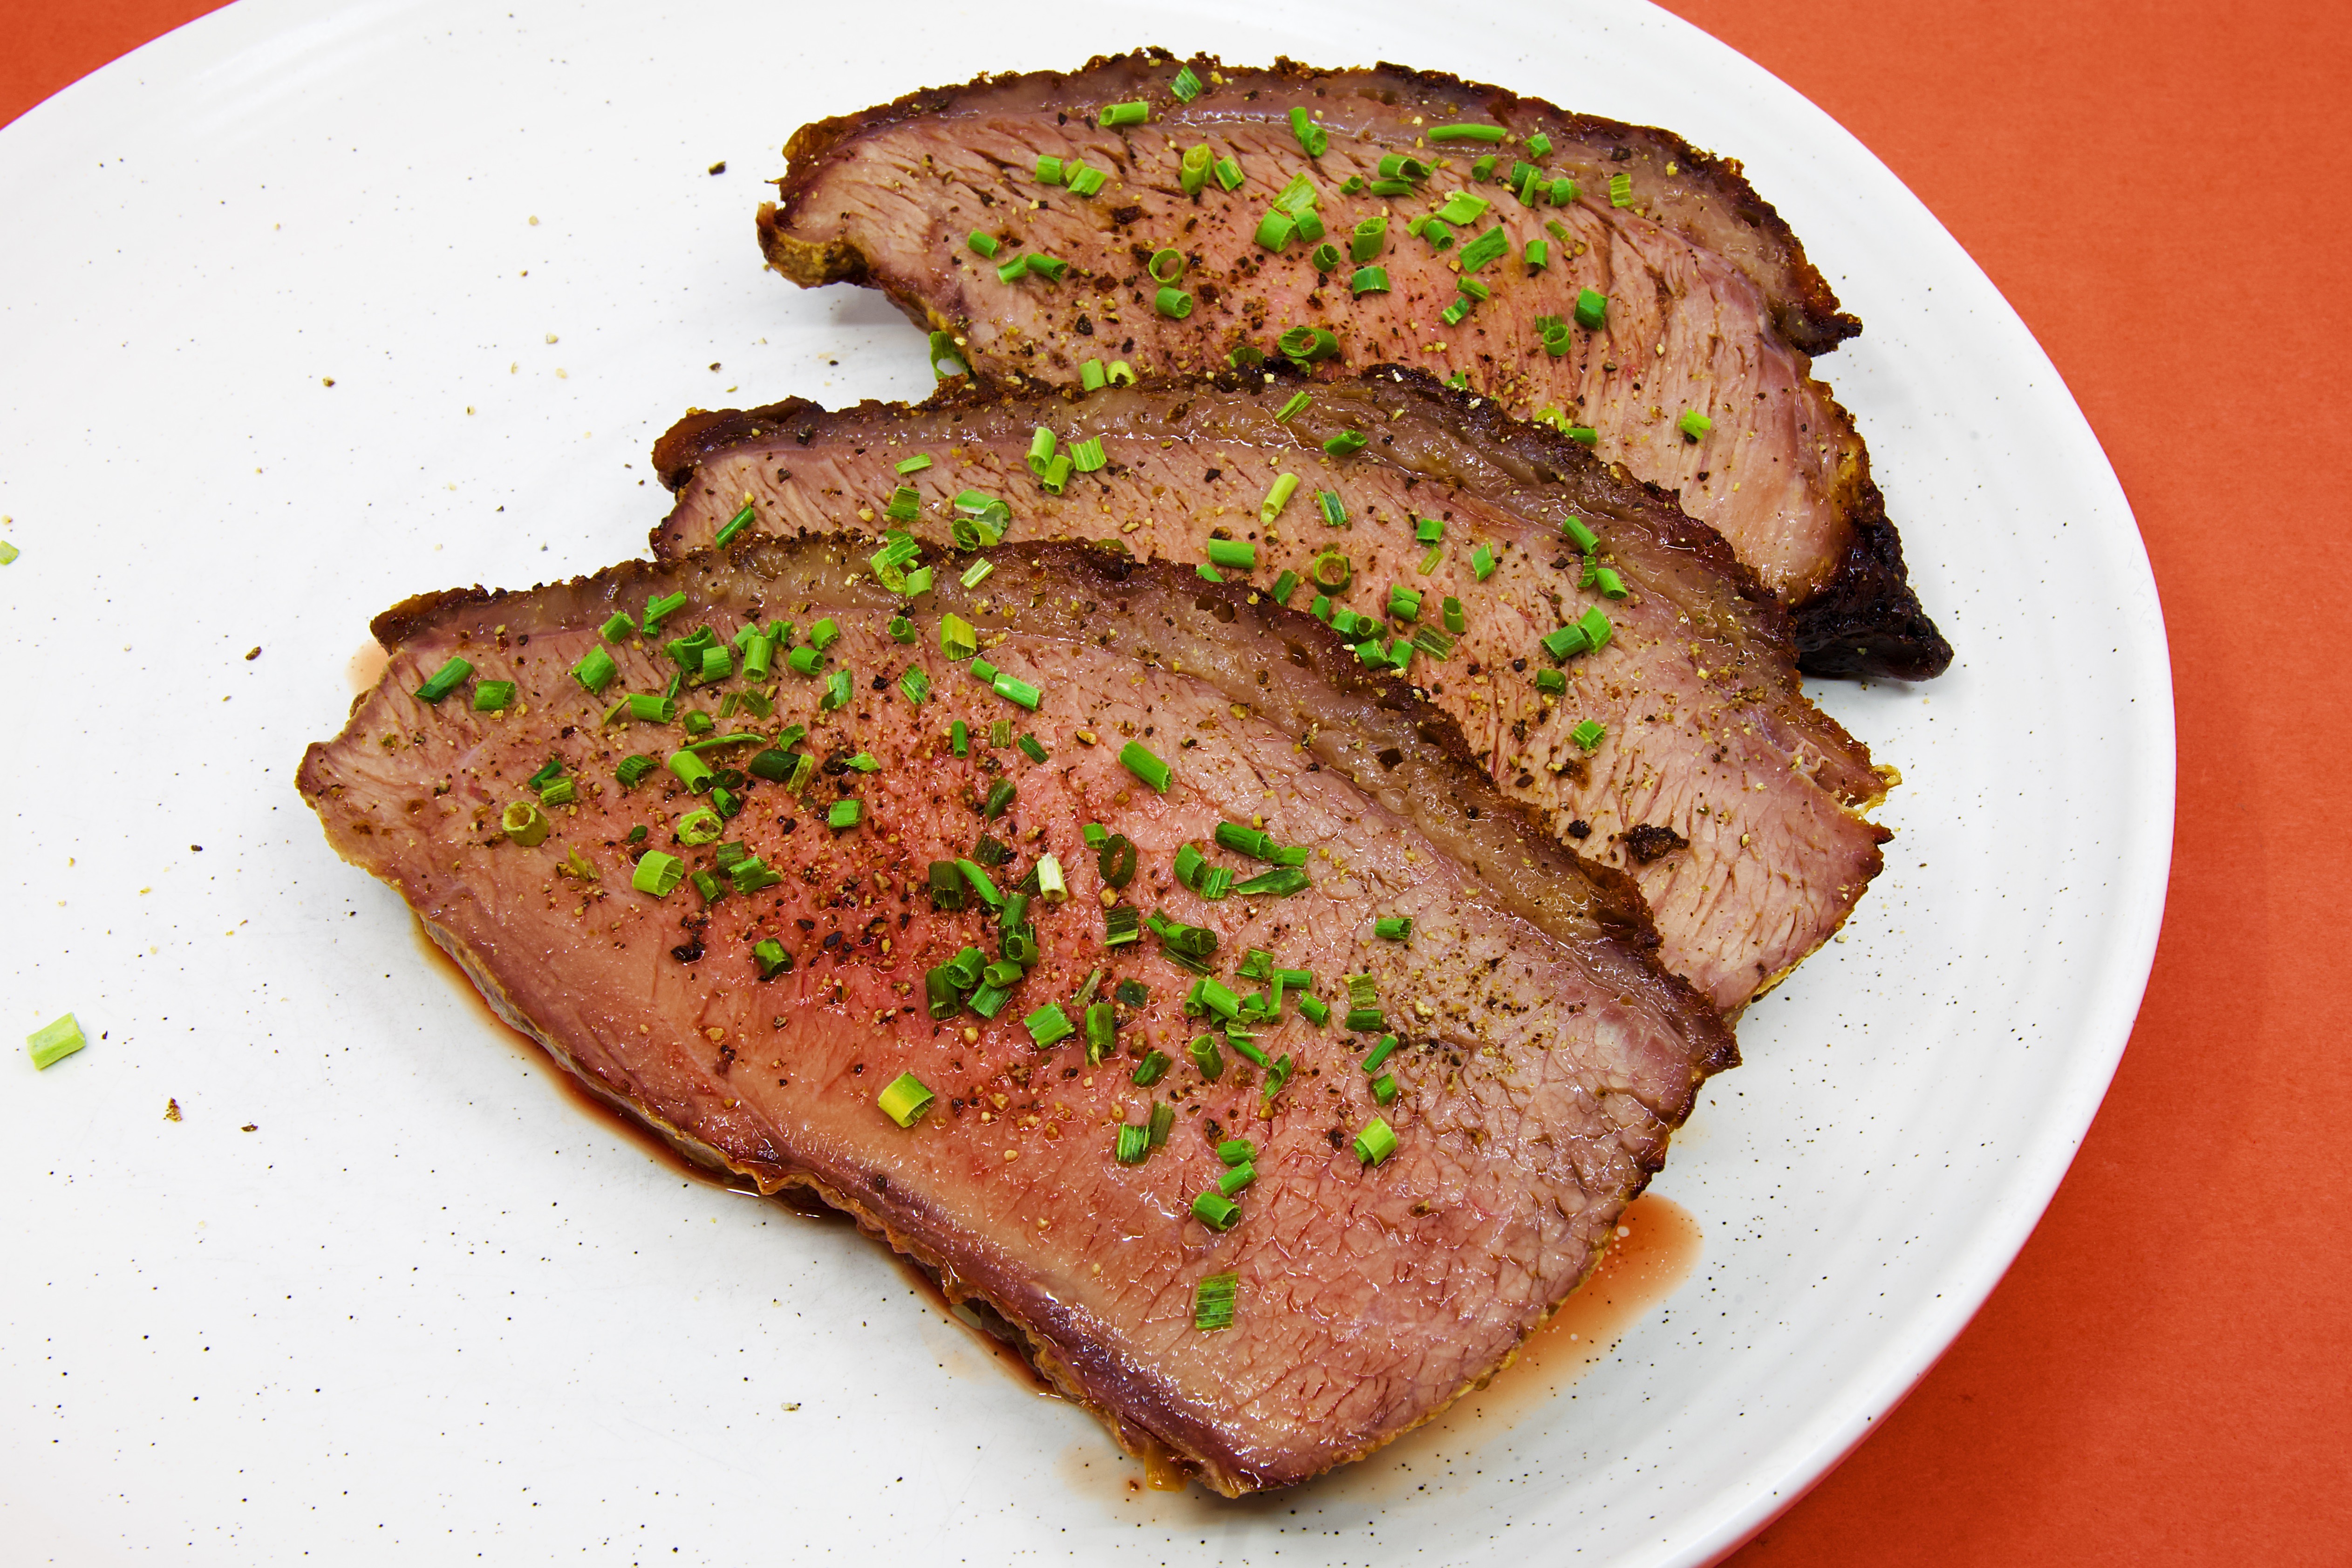
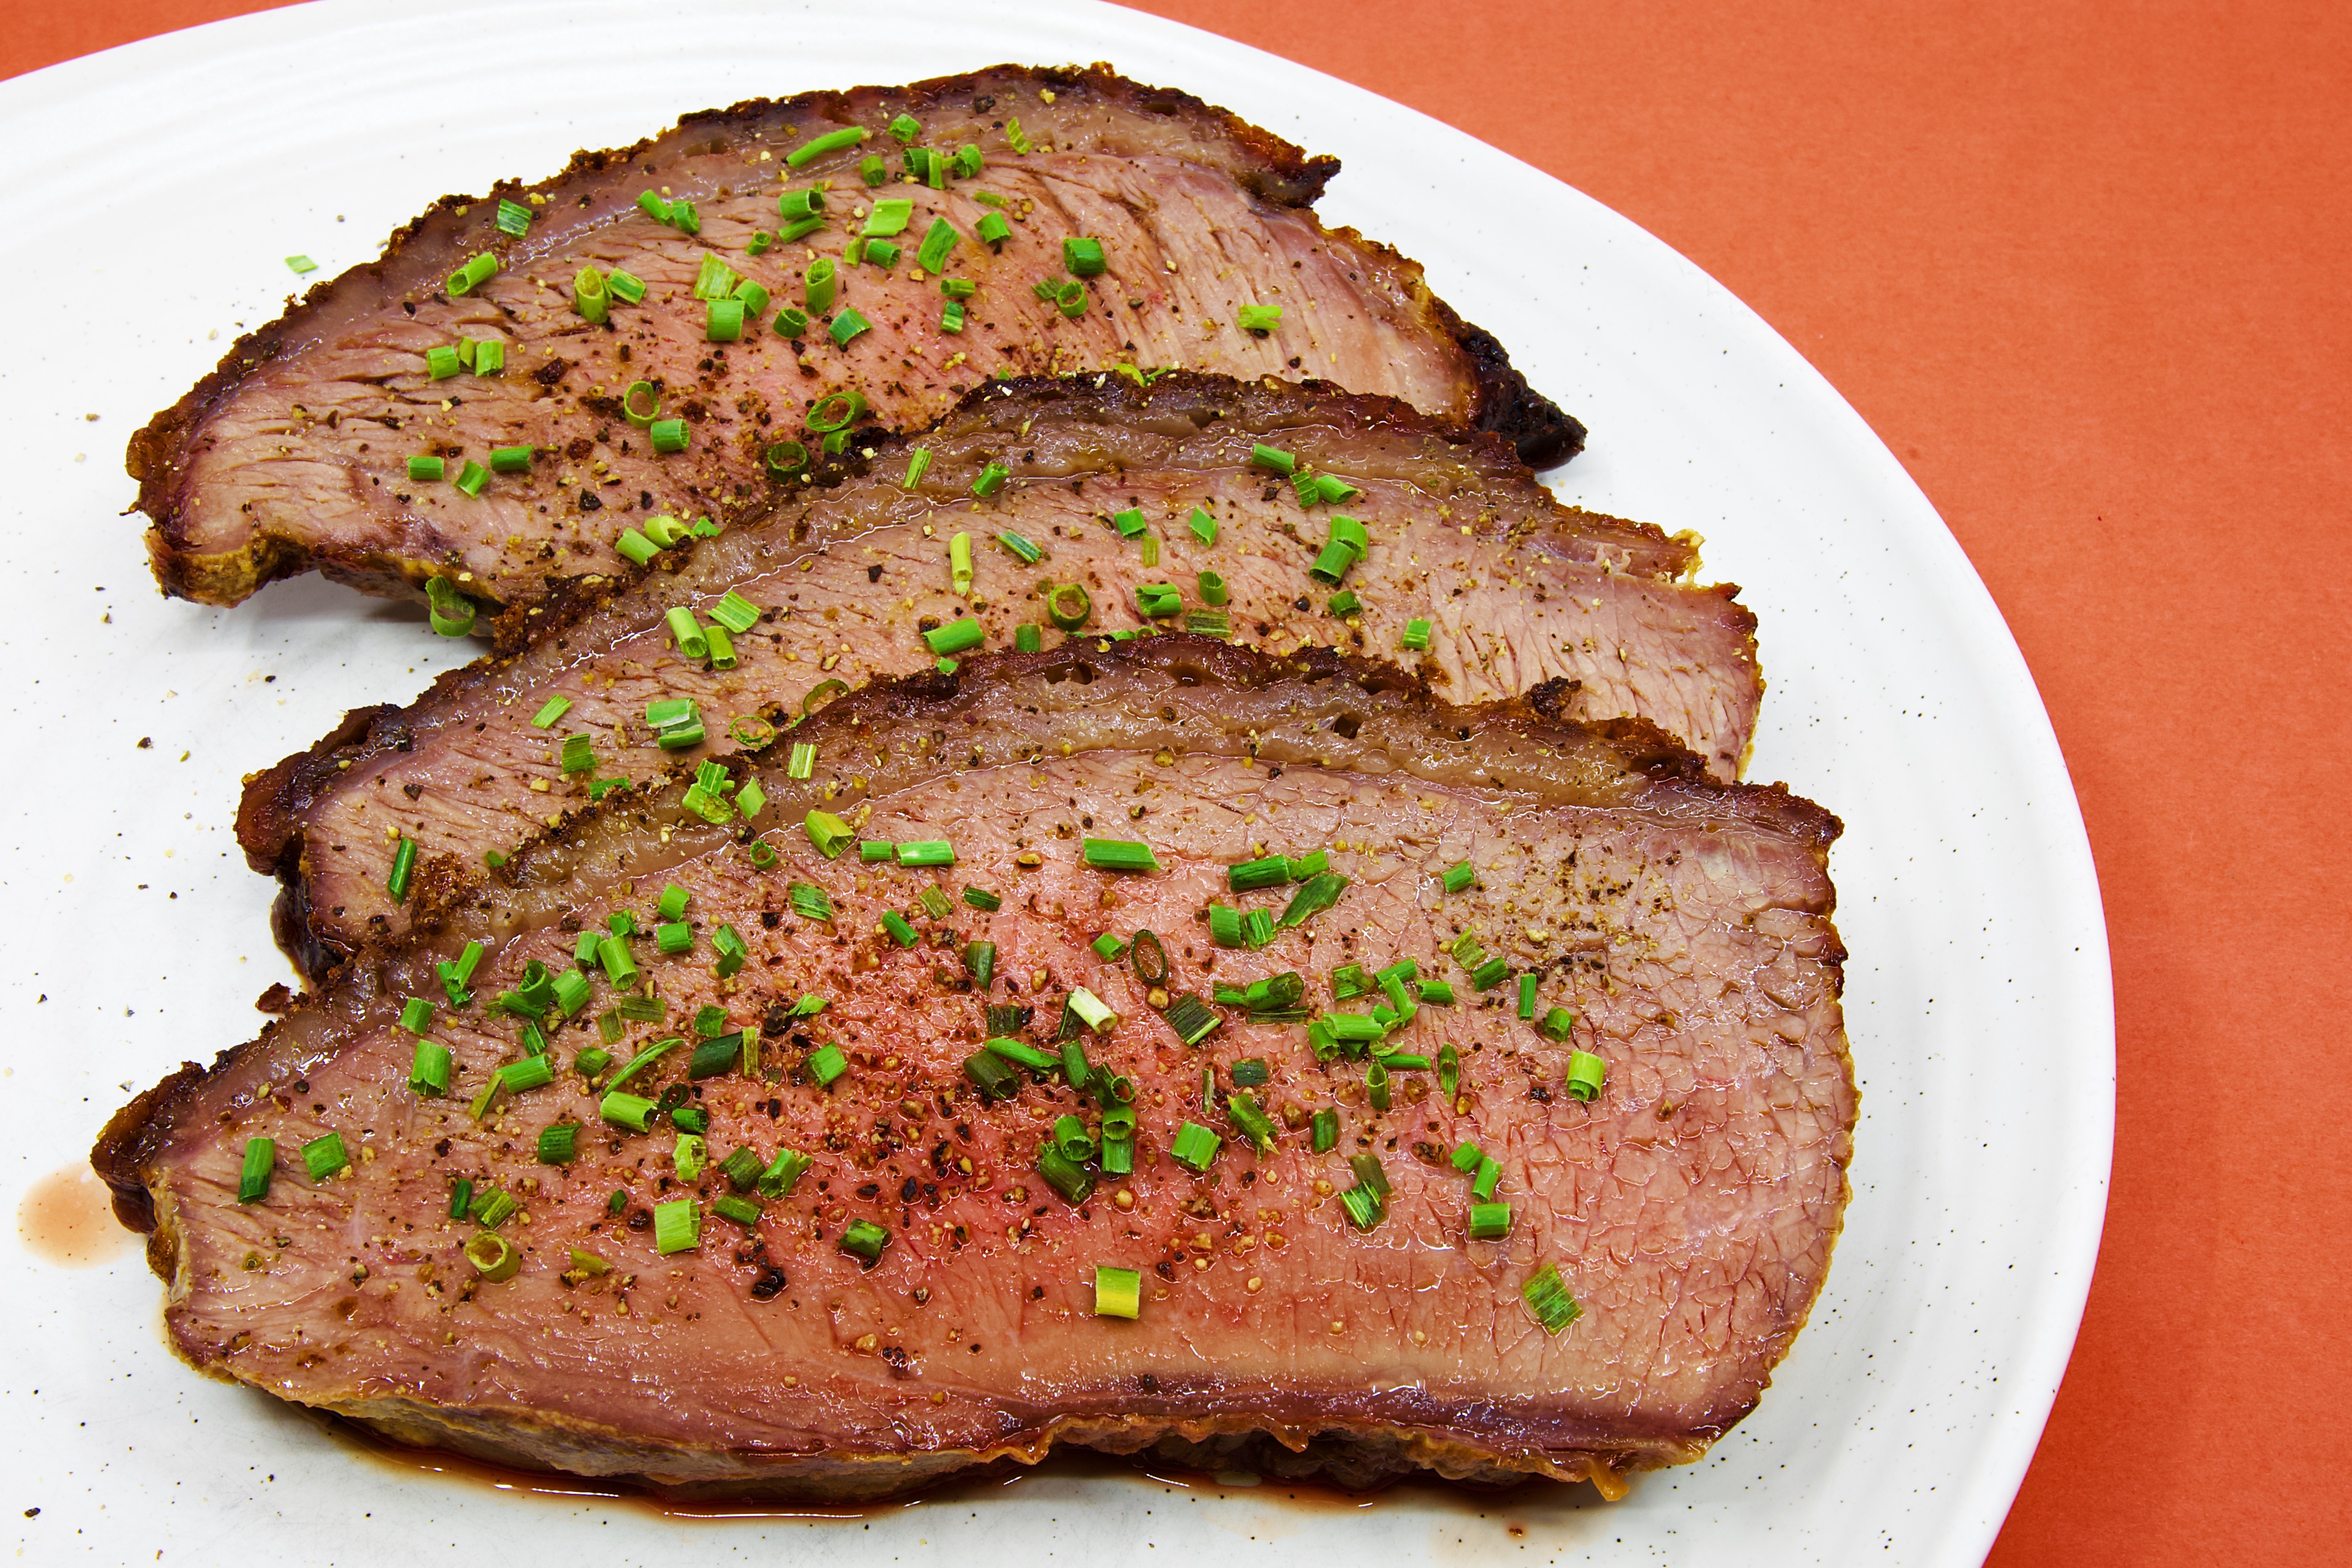
    A beef rump cap roast is a straightforward cut to prepare in a benchtop oven. Its characteristic fat cap helps protect the meat during cooking and contributes flavour as it renders. Using a wireless meat thermometer removes much of the guesswork from roasting by allowing you to monitor the internal temperature throughout the cook.

    This recipe is designed for a 1.3 kg beef rump cap roast cooked in an aluminium foil tray with an aluminium foil cover.

    What Is Beef Rump Cap?

    Rump cap is a muscle that sits over the rump primal. Depending on the country and butchery tradition, it may also be known as picanha, sirloin cap, or coulotte.

    The cut is recognised by its layer of fat on one side. When roasted with the fat cap uppermost, the rendering fat helps protect the meat and contributes flavour to the finished roast.

    A 1.3 kg rump cap roast will generally provide five to seven servings, depending on portion size and accompanying dishes.

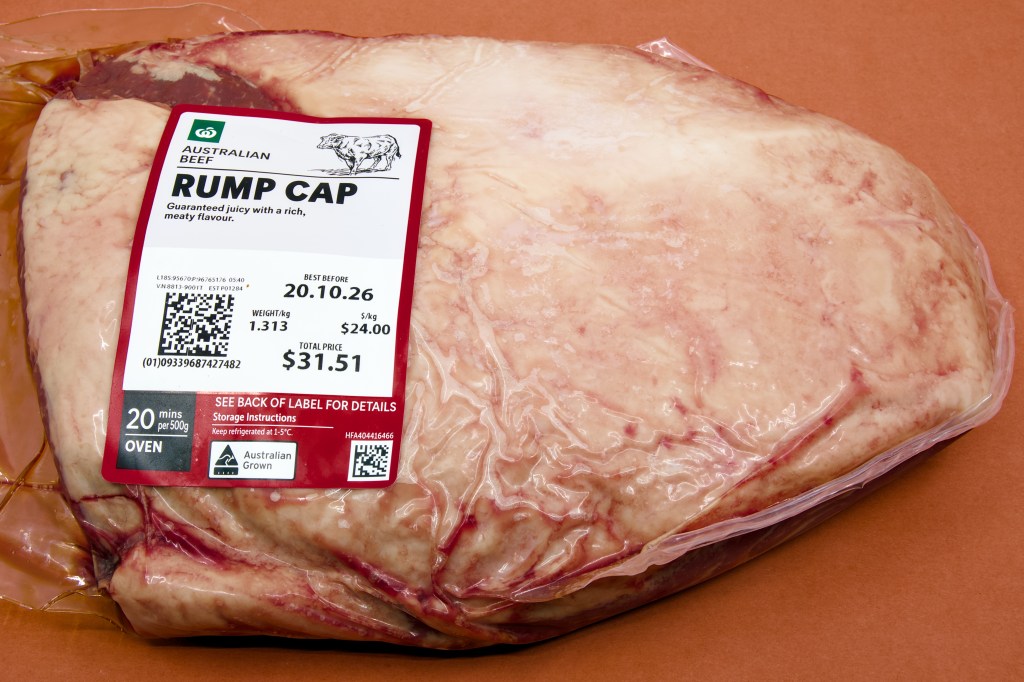
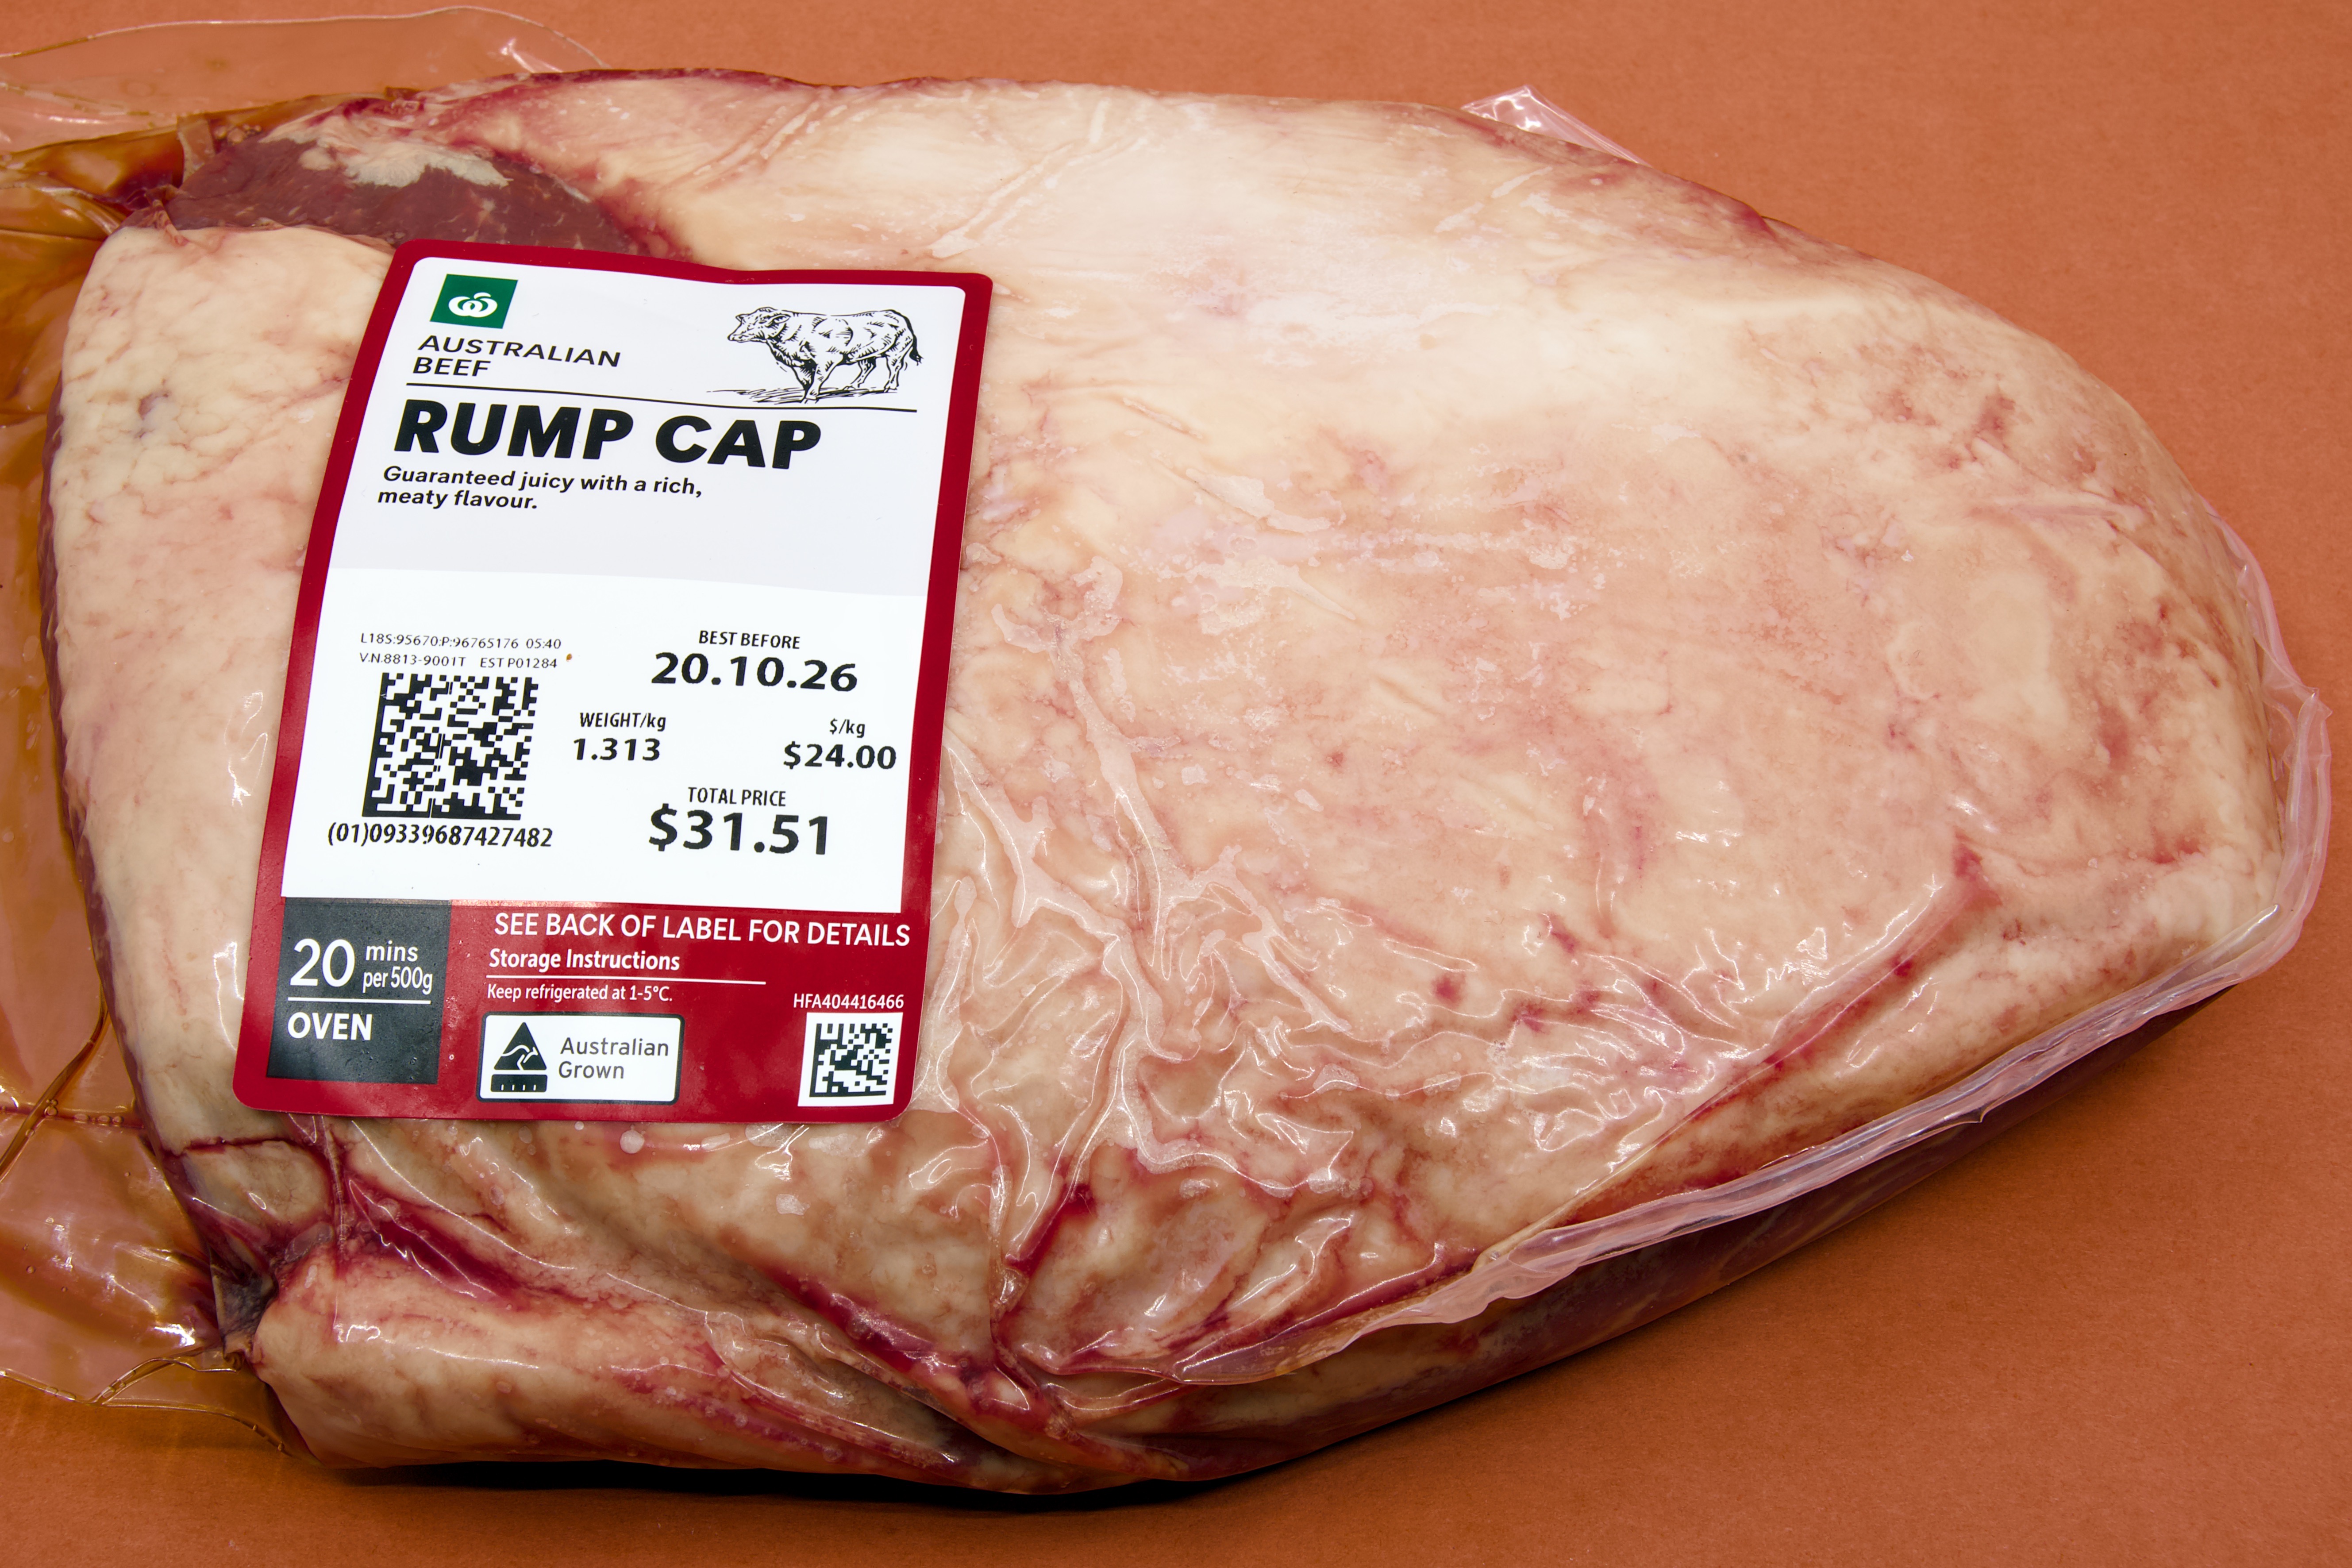
    A whole beef rump cap in vacuum-sealed plastic packaging sits on a brown bench or tabletop. The large triangular cut is covered by a thick layer of creamy-white fat, with dark red beef visible around the edges. A supermarket label on the front identifies the cut as Australian beef rump cap, weighing 1.313 kilograms. The image shows the roast in its original retail packaging before preparation and cooking.

    A Brief History of Rump Cap

    Rump cap has been valued for generations in cattle-producing regions because it provides a balance between tenderness, flavour, and affordability.

    In Brazil, the cut became widely known as picanha and is a traditional feature of churrasco, where beef is cooked over live fire on large skewers. The popularity of Brazilian barbecue has introduced the cut to diners around the world.

    In Australia, rump cap was often sold simply as part of the rump. As consumer interest in specific beef cuts increased, many butchers began identifying rump cap as a separate cut. Today it is commonly prepared on barbecues, rotisseries, and in domestic ovens.

    Although often associated with grilling, rump cap is equally suitable for roasting, particularly when cooked as a whole piece and monitored with a meat thermometer.

    Ingredients

    • 1.3 kg beef rump cap roast
    • 1 tablespoon butter, softened
    • 1 tablespoon mustard
    • 1 to 2 teaspoons cooking salt
    • 1 teaspoon freshly ground black pepper

    Equipment

    • Benchtop oven
    • Aluminium foil roasting tray
    • Aluminium foil cover
    • Wireless thermometer
    • Tongs
    • Carving knife
    • Cutting board

    Temperature and Cooking Time

    For a 1.3 kg beef rump cap roast:

    • Oven temperature: 180 °C
    • Approximate cooking time: 60 to 75 minutes

    Actual cooking time will vary according to the shape of the roast, the accuracy of the oven, and the starting temperature of the meat. Internal temperature should be used as the primary guide.

    Target Internal Temperatures

    DonenessRemove from ovenFinal temperature after resting
    Rare48 °C52 °C
    Medium-rare52 °C55 °C to 57 °C
    Medium57 °C60 °C to 63 °C
    Medium-well63 °C66 °C to 68 °C

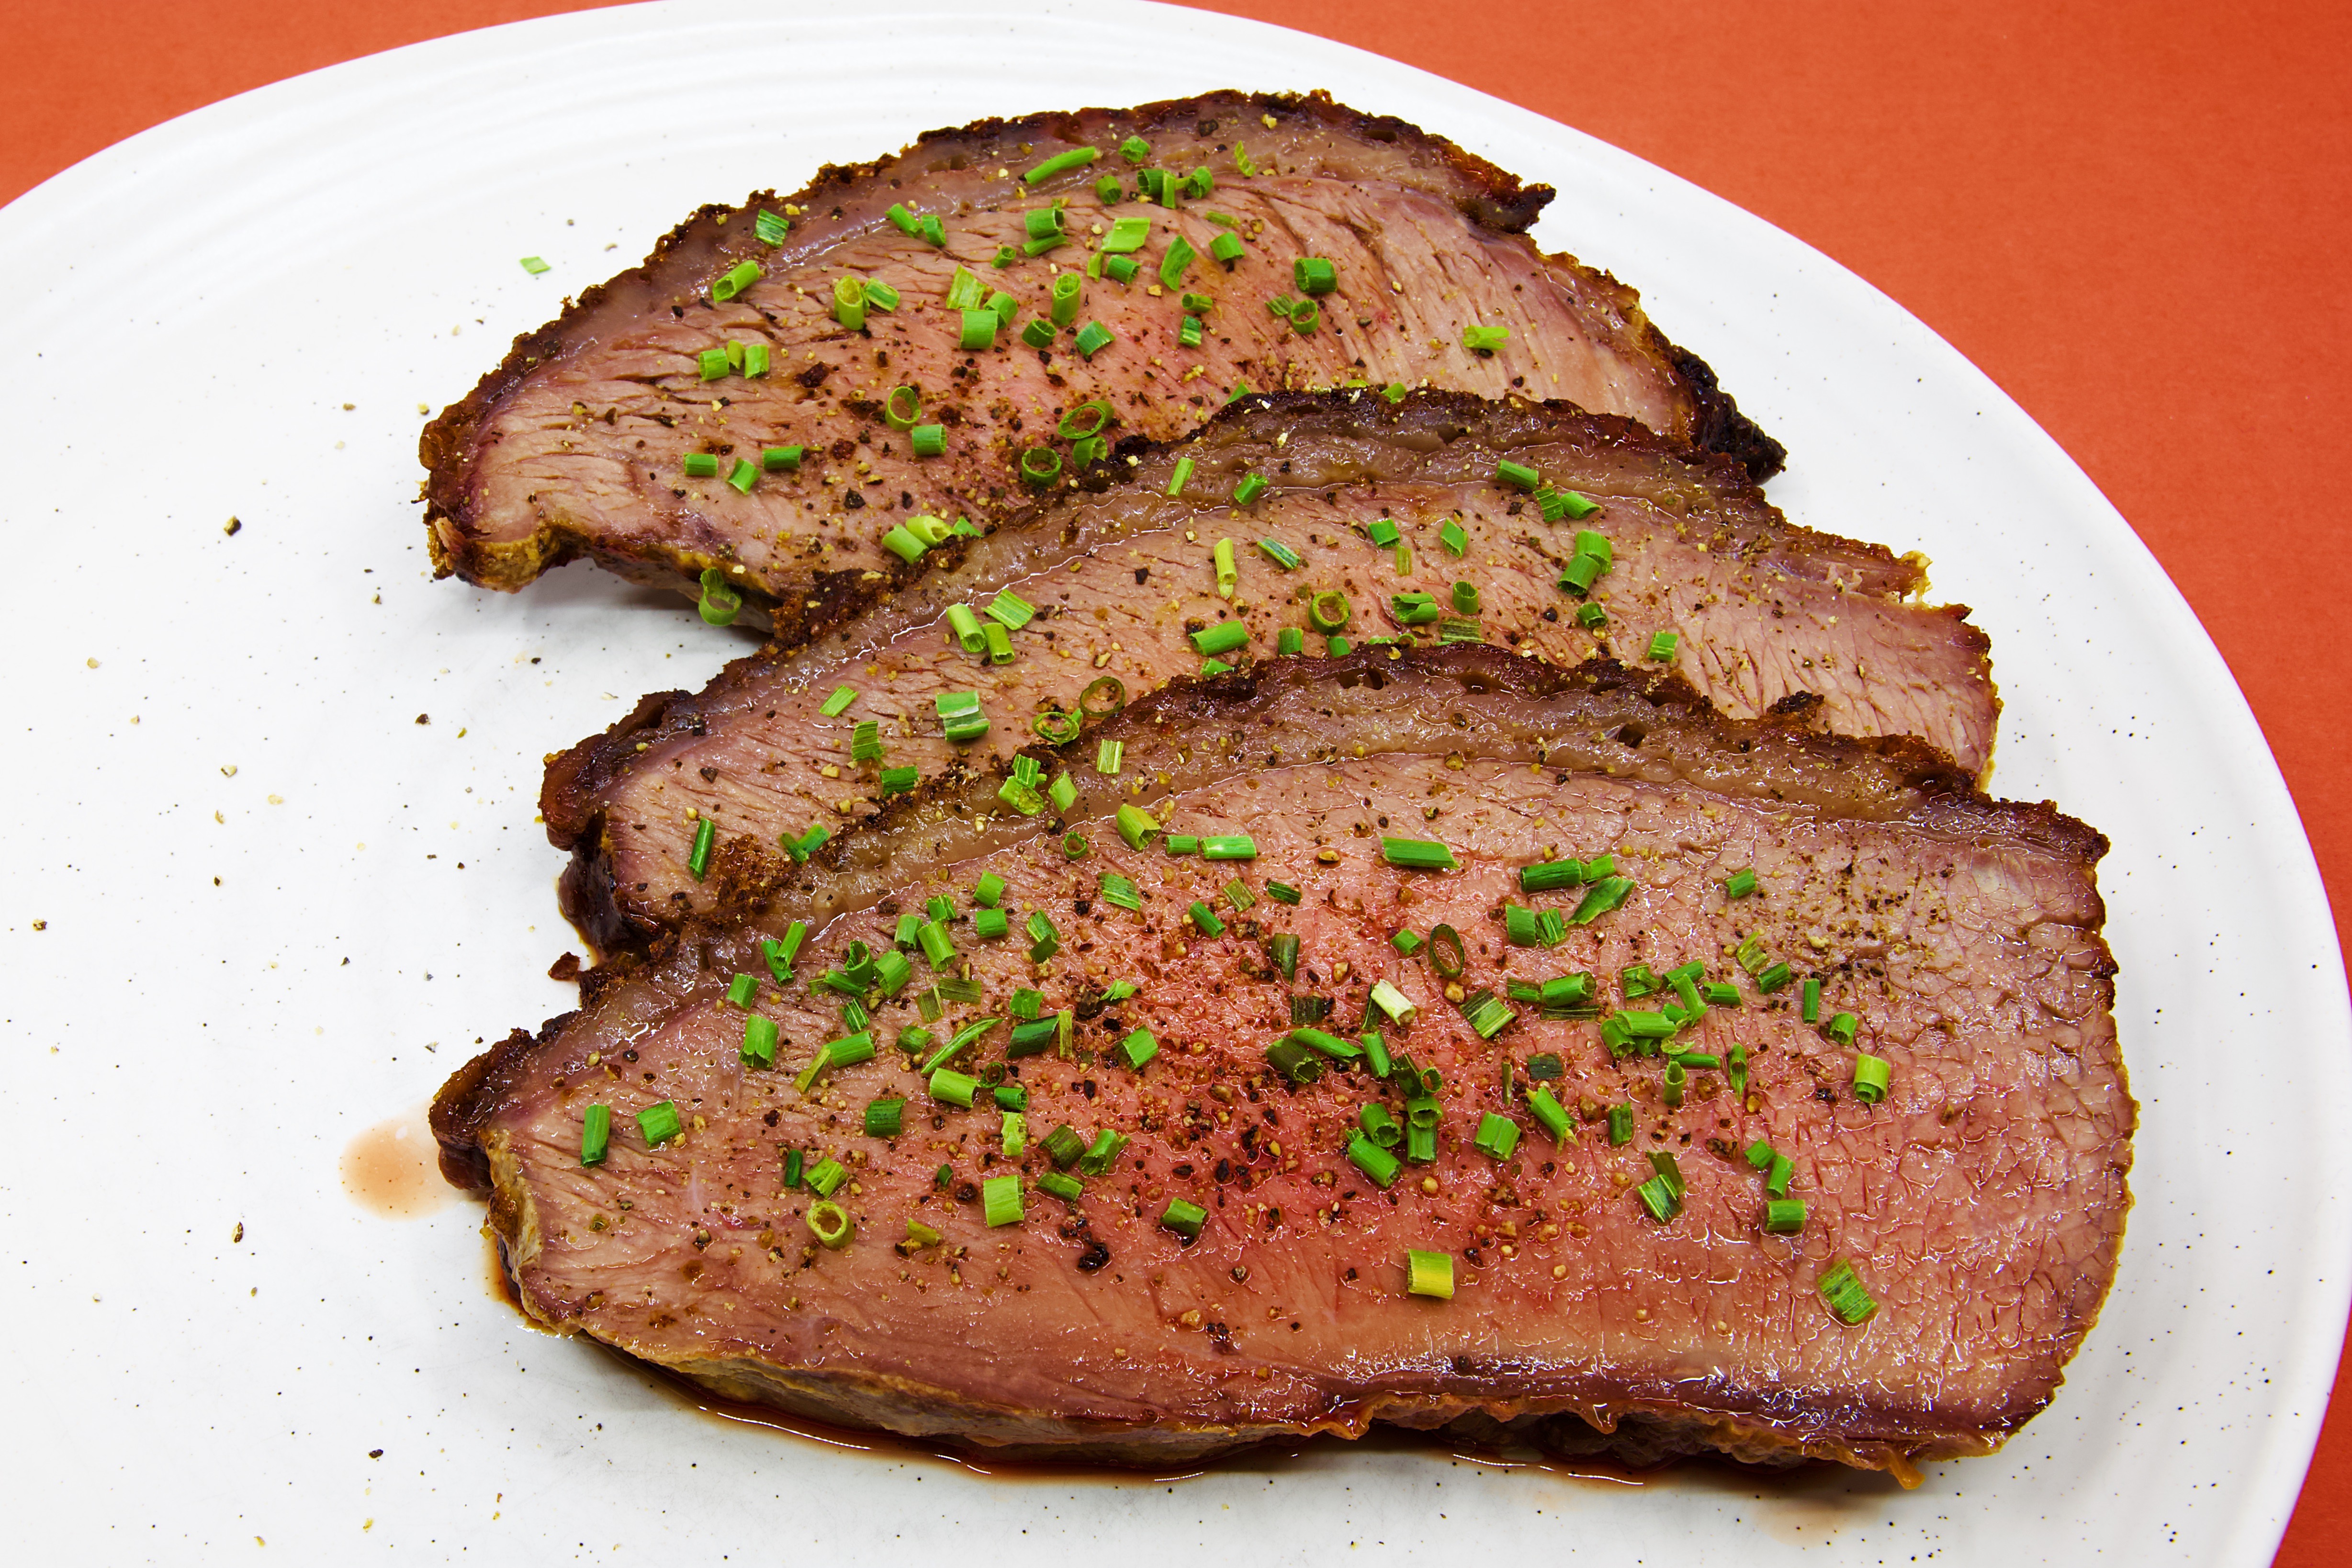
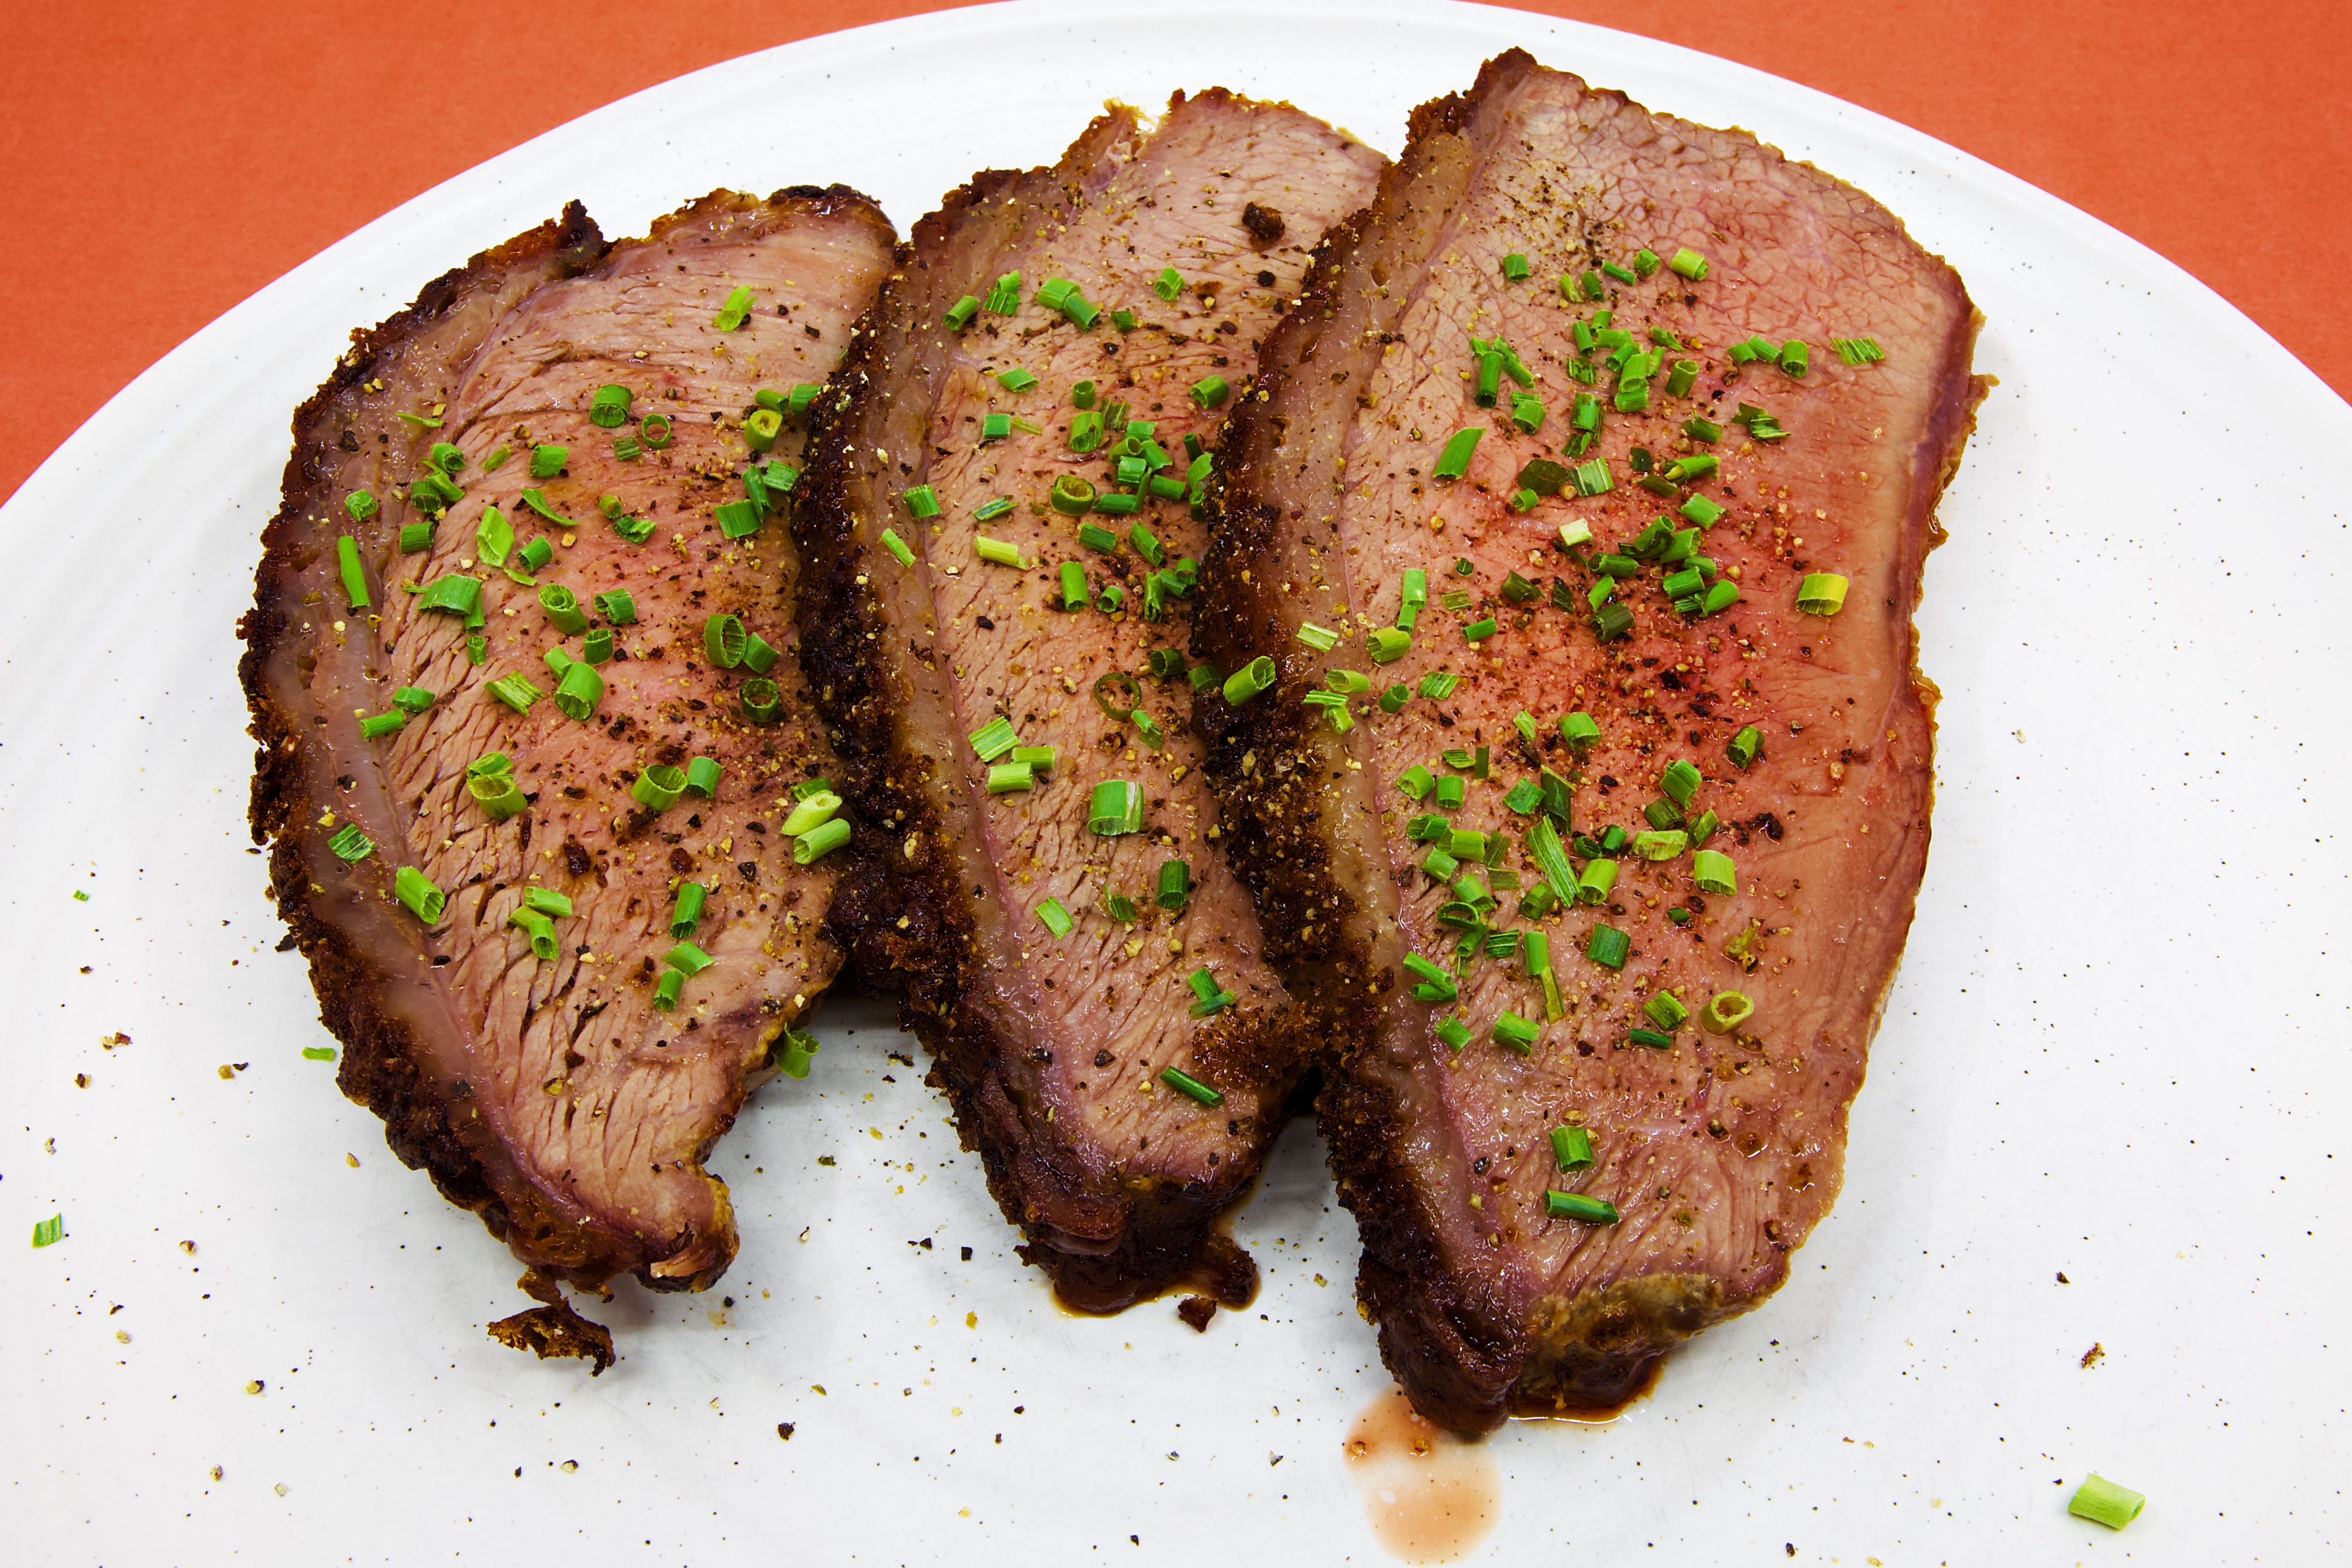
    For many people, a final temperature of 55 °C to 57 °C provides a pink centre while maintaining a tender texture.

    Instructions

    1. Prepare the Roast

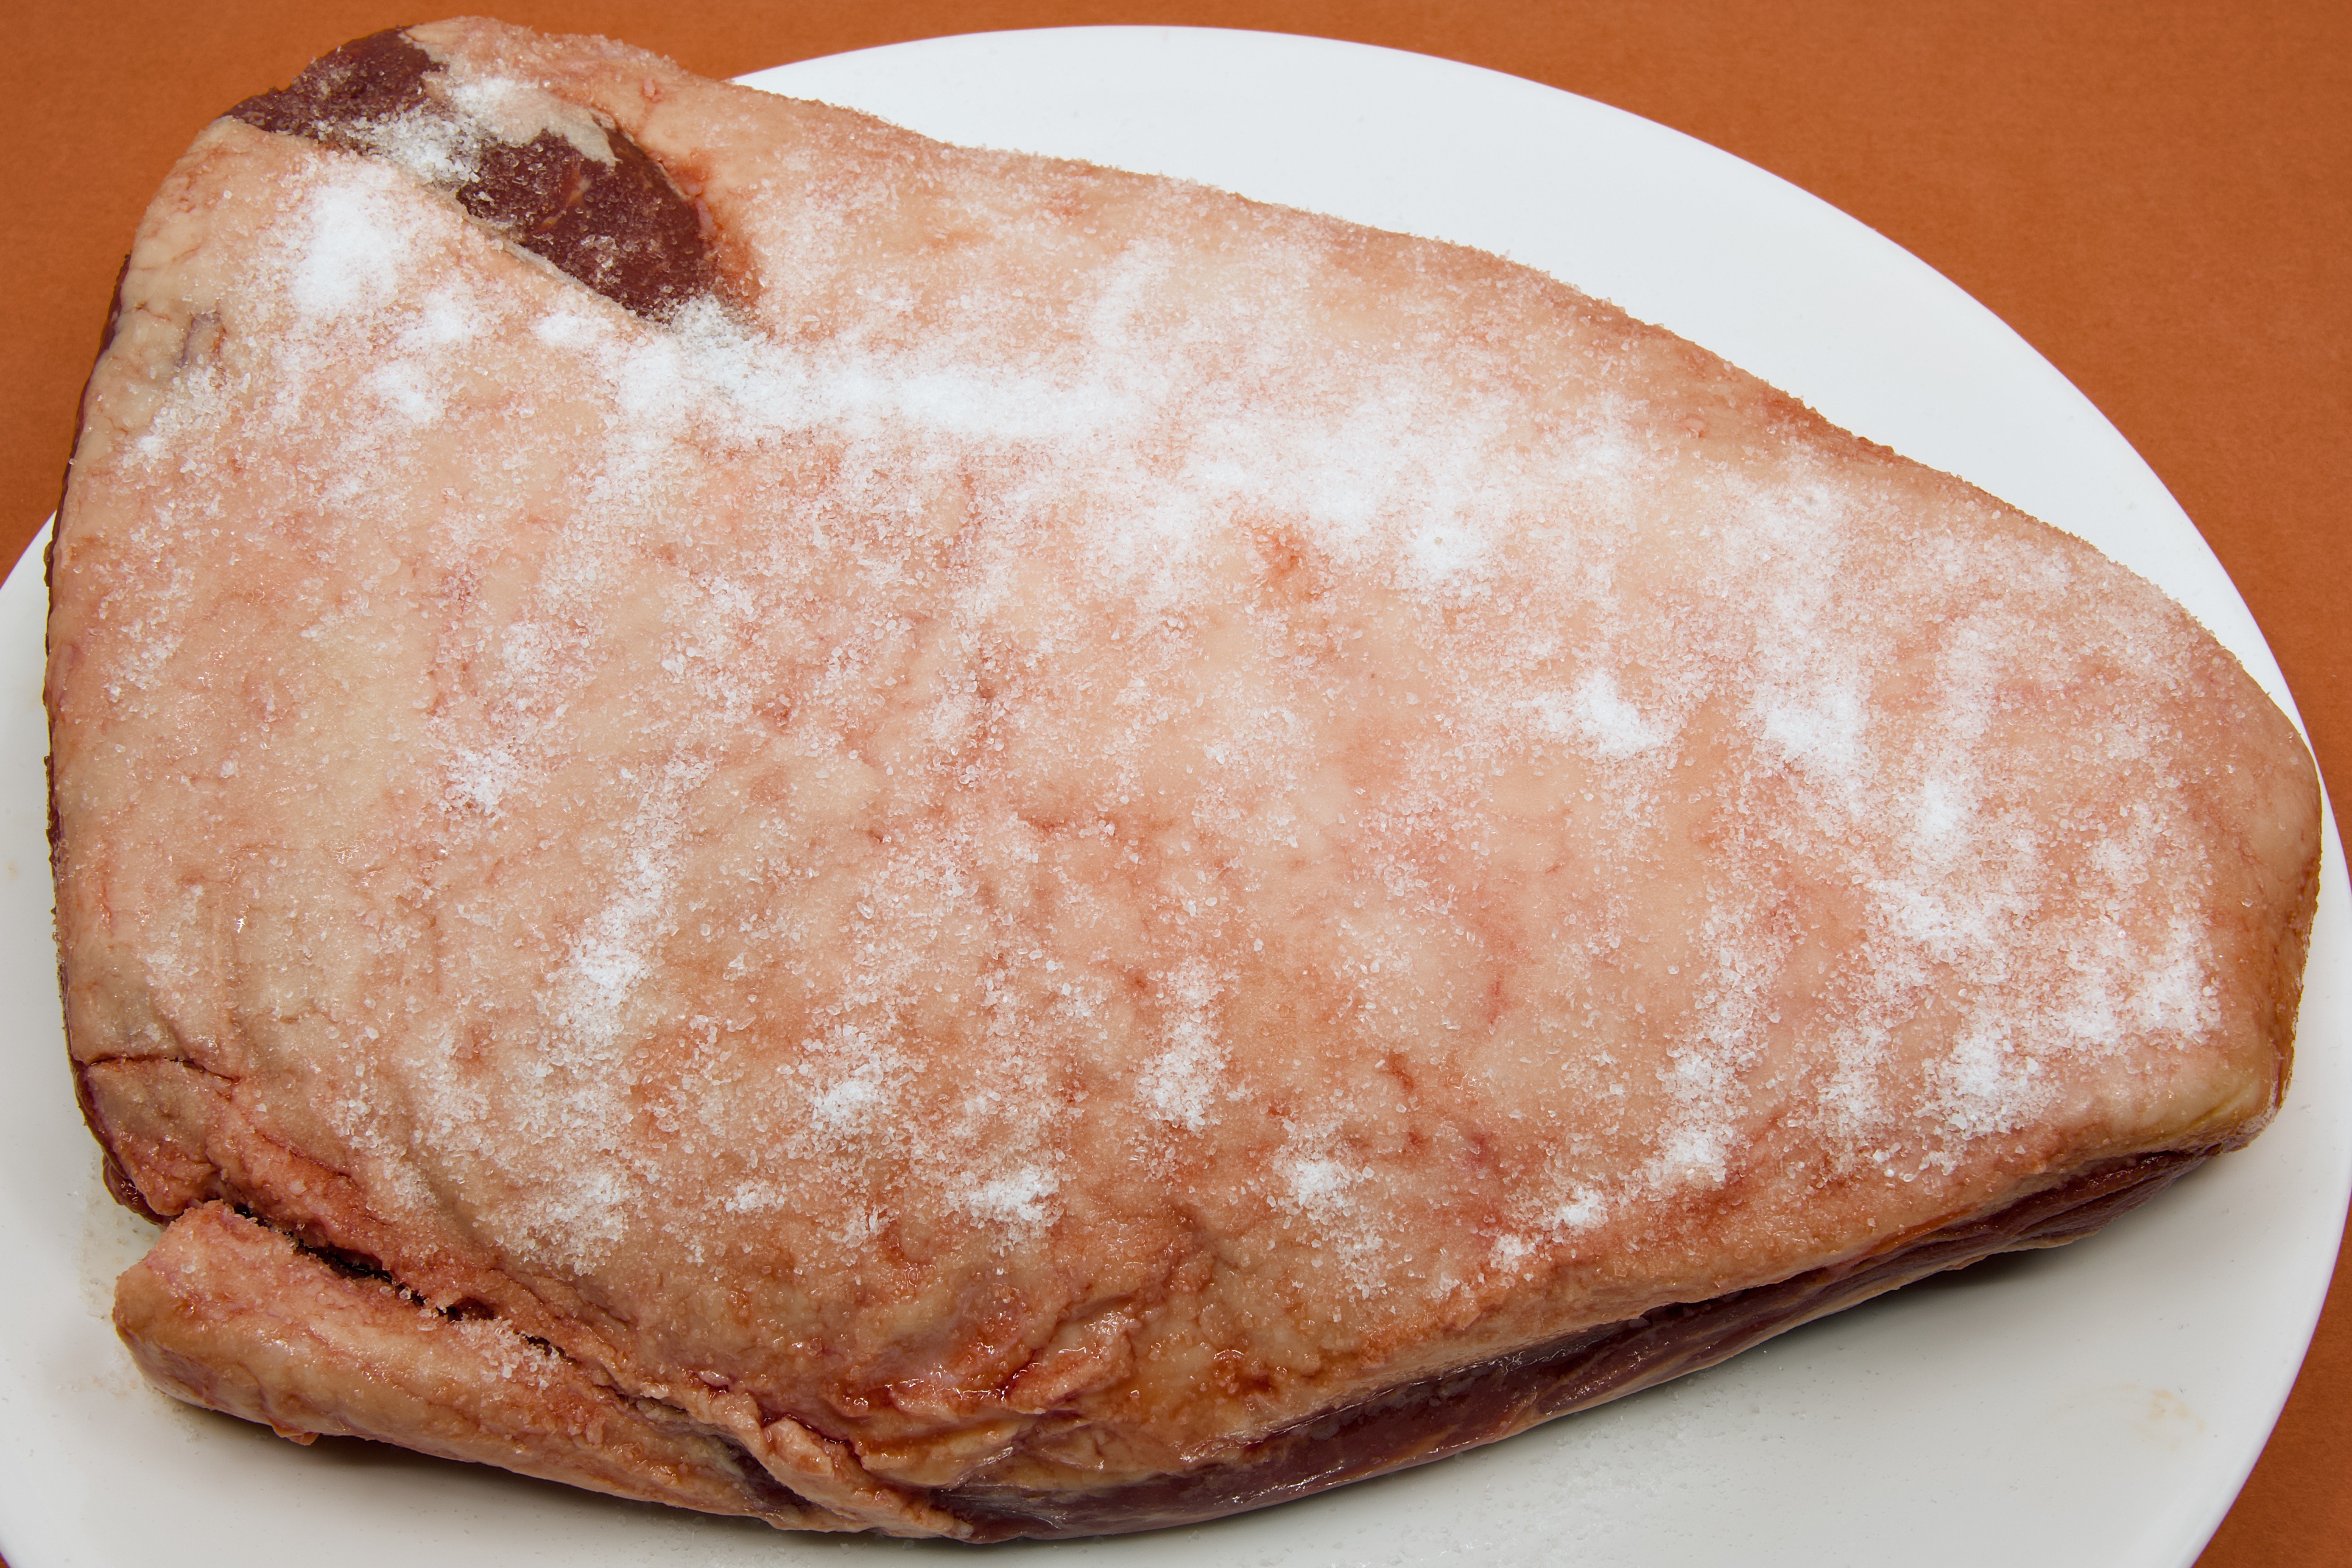
    Dry brine the meat overnight.

    Remove the beef from the refrigerator 30 to 45 minutes before cooking.

    A whole beef rump cap sits on a large white plate atop a brown benchtop. The creamy-white fat cap has been heavily sprinkled with coarse salt, creating a visible crystalline coating across the surface. The triangular cut is shown fat-side up and is ready for an overnight dry brine, a process that helps season the meat and improve browning and flavour before cooking.

    Pat the surface dry with a paper towel.

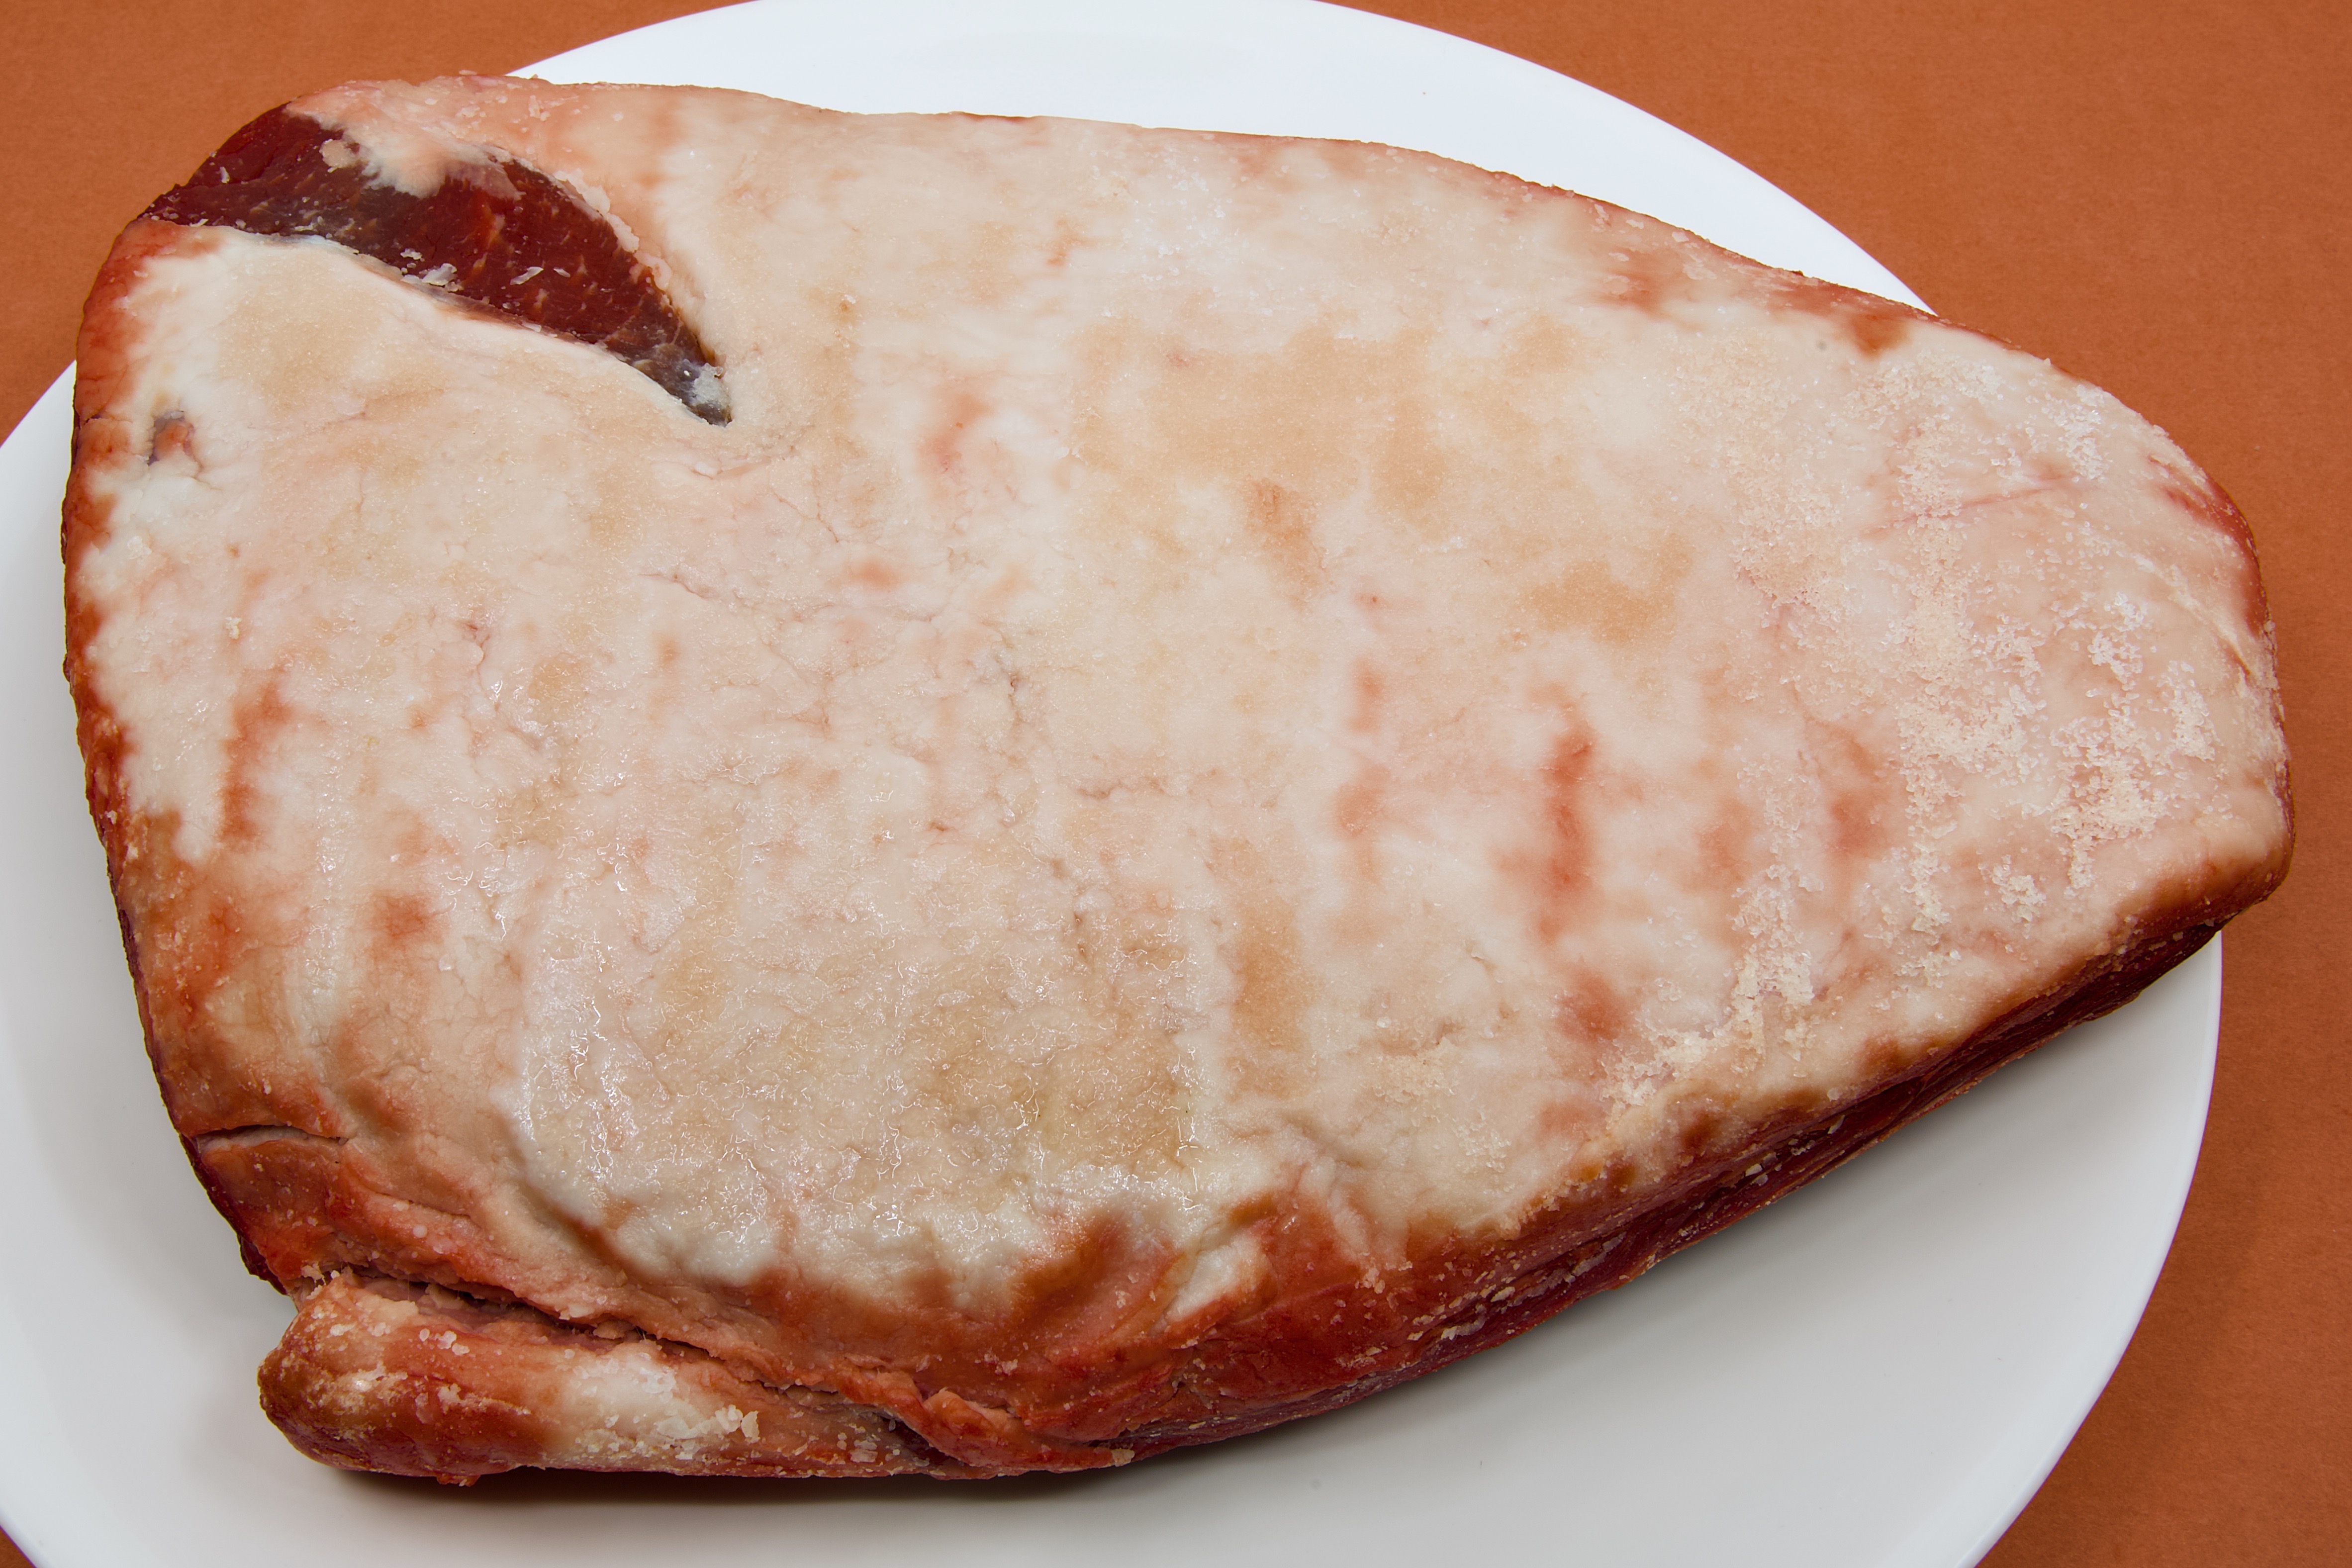
    A whole beef rump cap sits fat-side up on a large white plate after being dry brined overnight. The coarse salt applied the previous day has largely dissolved, drawing moisture to the surface and creating a slightly glossy sheen across the creamy-white fat cap. Only small patches of salt crystals remain visible. The roast is shown prepared and ready for cooking, with the deep red beef visible around the edges beneath the fat layer.

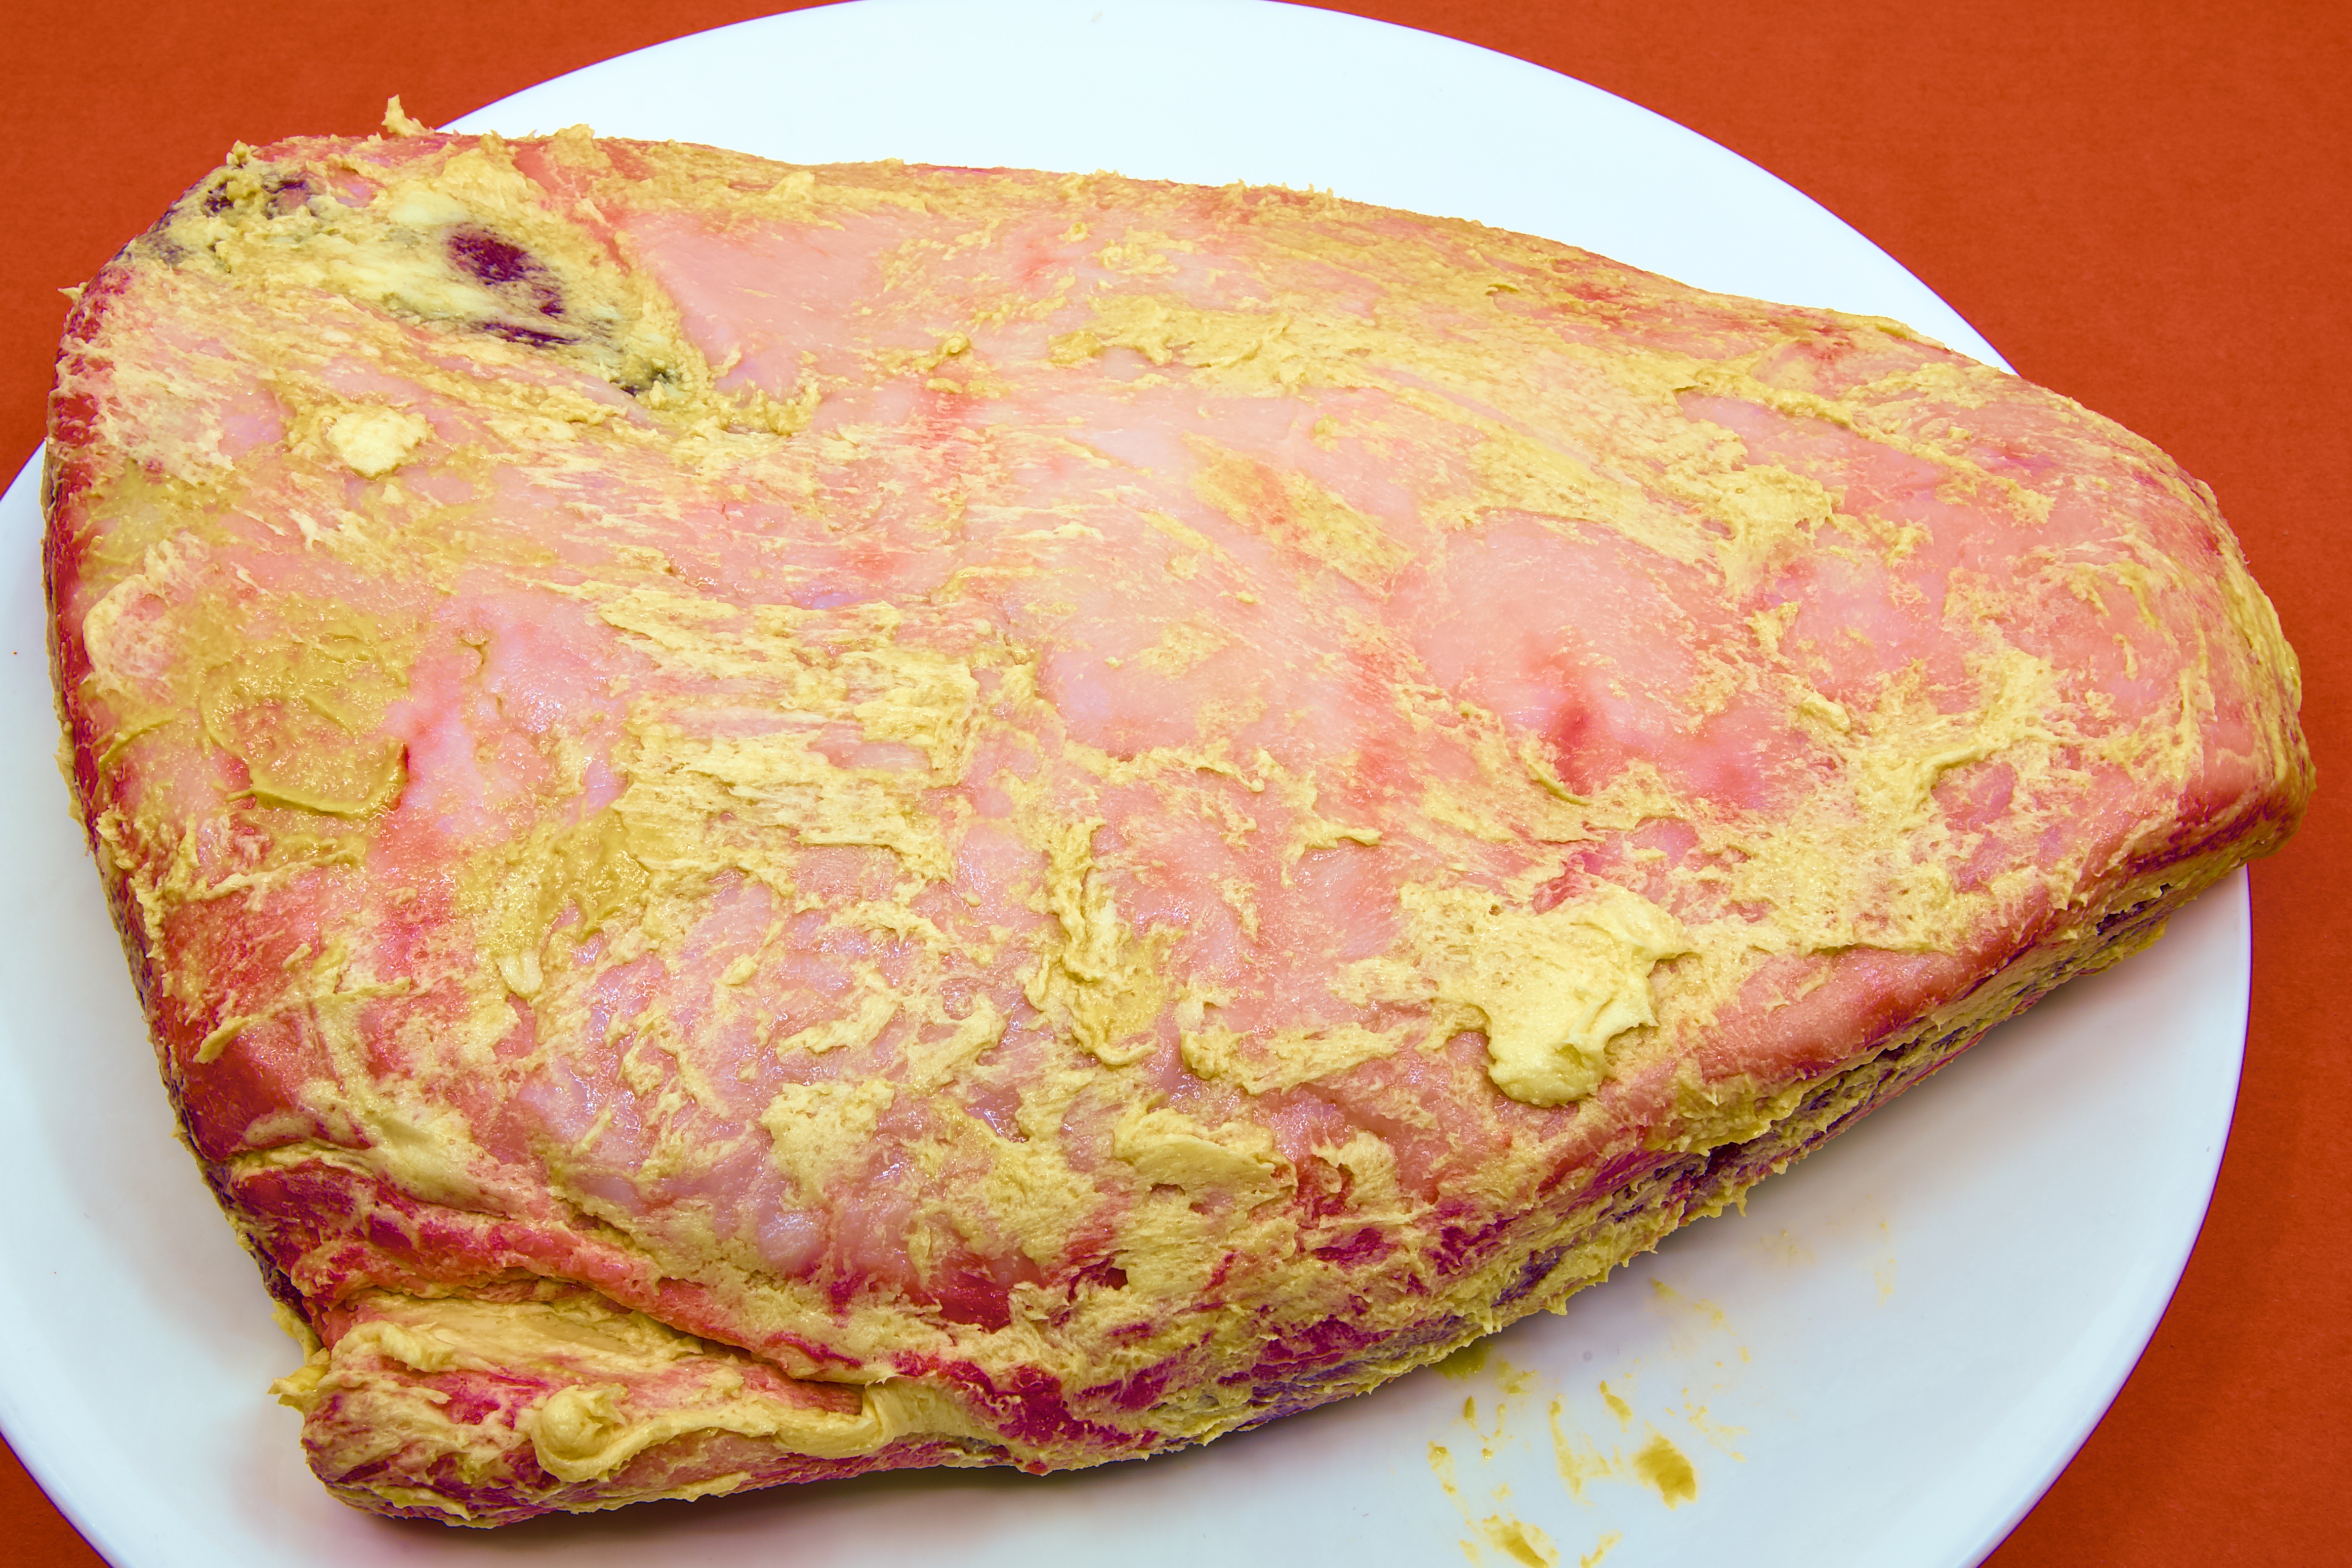
    Place the softened butter and mustard in your hands. Use the warmth of your hands to mix them until combined, then rub the mustard butter gently over the entire surface of the meat to coat it evenly.

    A whole beef rump cap sits on a large white plate on a brown benchtop. Following an overnight dry brine, the thick fat cap has been rubbed with a mixture of yellow mustard and butter, leaving a pale golden coating across the surface. The triangular roast remains fat-side up, with some dark red beef visible around the edges. The mustard and butter are spread in a rustic layer, preparing the roast for oven cooking and the development of a richly browned crust.

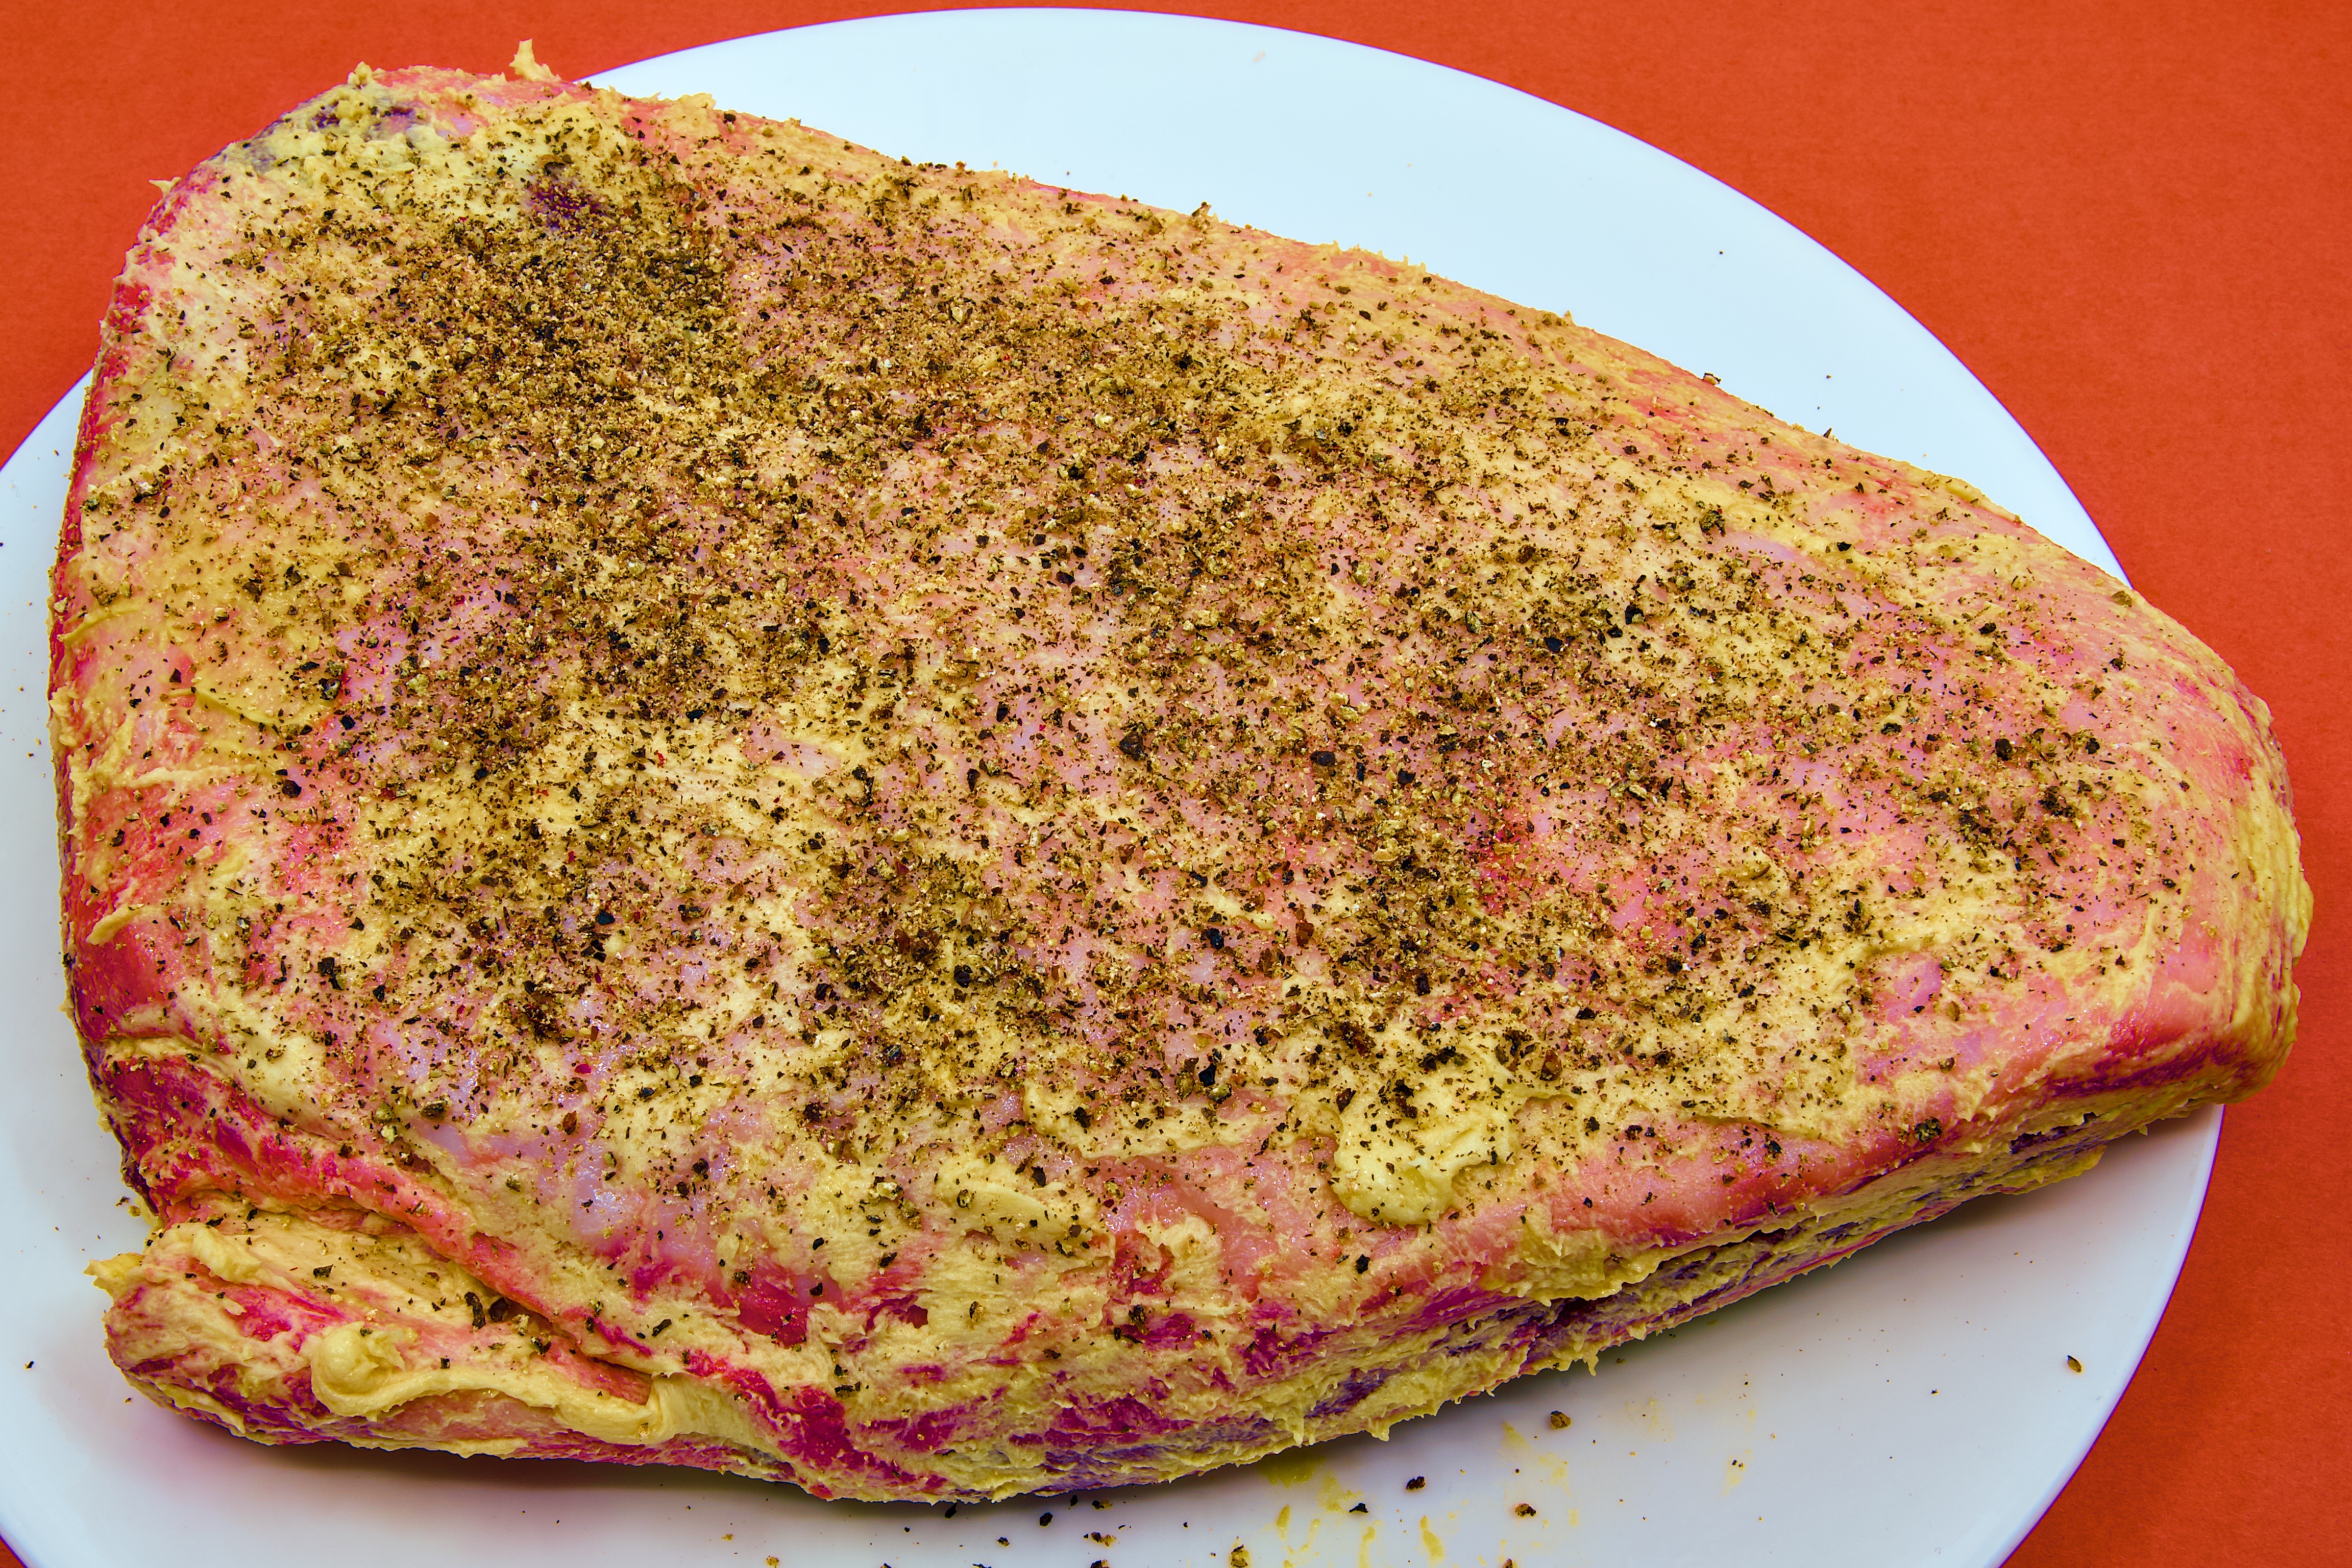
    The mustard butter helps additional cooking salt and freshly ground peppercorns adhere to the surface during roasting. Season the coated roast evenly.

    A whole beef rump cap sits fat-side up on a large white plate on a brown benchtop. After an overnight dry brine, the fat cap has been rubbed with mustard and butter, creating a pale golden coating over the surface. Freshly ground black pepper and sea salt have been sprinkled generously across the roast, forming a speckled seasoning layer. The triangular cut is ready for roasting, with the rich red beef visible around the edges beneath the thick fat cap.

    2. Insert the Thermometer

    Insert the wireless thermometer into the centre of the thickest part of the roast.

    Position the sensor in the middle of the meat and avoid placing it directly into the fat cap.

    3. Prepare the Roasting Tray

    Place the rump cap into the aluminium foil tray with the fat cap facing upward.

    Cover the tray loosely with aluminium foil. Leave sufficient space between the foil and the meat to allow air circulation.

    4. Roast the Beef

    Preheat the benchtop oven to 180 °C.

    Place the covered tray into the oven.

    Cook until the internal temperature approaches the desired finishing temperature.

    As a guide:

    • Medium-rare: remove at 52 °C
    • Medium: remove at 57 °C

    For a 1.3 kg roast, this will generally require 60 to 75 minutes.

    Monitor the thermometer rather than relying solely on elapsed cooking time.

    5. Finish Uncovered

    When the internal temperature is approximately 5 °C below the desired removal temperature, carefully remove the foil cover.

    Continue cooking uncovered for approximately 10 to 15 minutes.

    This allows the fat cap and exterior surface to develop colour and encourages additional fat rendering.

    6. Rest the Roast

    Remove the roast from the oven when it reaches the target temperature.

    Cover loosely with foil and allow it to rest for 15 to 20 minutes.

    During this period, the internal temperature will continue to rise by approximately 3 °C to 5 °C.

    7. Slice and Serve

    Transfer the roast to a carving board.

    Slice across the grain into thin slices and serve immediately.

    Notes on Using a Thermometer

    A wireless thermometer provides a more reliable guide than cooking time alone.

    • Use internal temperature as the primary indicator of doneness.
    • Allow for carry-over cooking during the resting period.
    • Set temperature alerts on the device if available.
    • Check the thermometer placement before roasting begins.
    • Avoid repeatedly opening the oven door, as this can extend cooking time.

    Summary

    For a 1.3 kg beef rump cap roast cooked in a benchtop oven:

    • Preheat the oven to 180 °C.
    • Place the roast in an aluminium foil tray.
    • Cover loosely with aluminium foil.
    • Cook for approximately 60 to 75 minutes.
    • Remove the foil for the final 10 to 15 minutes.
    • Use a wireless thermometer to determine doneness.
    • Rest the meat for 15 to 20 minutes before carving.

    A removal temperature of 52 °C will generally produce a medium-rare roast after resting, while 57 °C will generally produce a medium roast. Monitoring internal temperature throughout the cook will provide more consistent results than relying on cooking time alone.

    Combustion Inc Predictive Thermometer

    The Combustion Inc Predictive Thermometer is a wireless cooking probe with eight sensors that measure temperatures from the centre of the meat to its surface, as well as the temperature around the food. It connects to the Combustion app via Bluetooth, identifies the coldest part of the meat, and estimates how much cooking time remains. This makes it useful for checking doneness without repeatedly opening the oven, although the measured internal temperature should remain the main guide when deciding when to remove the roast.

    Fediverse Reactions
  • Labour day steak

    Labour day steak


    Labour Day is a public holiday most Australians enjoy without necessarily thinking about why it exists. We welcome the long weekend, some sleep in, some light the barbecue, and some people spend time with family and friends.

    I welcome the long weekend; I get out of bed before dawn to go for a walk and I am happy spending it alone on my couch watching TV. Mind you I did go into the office today to complete some compulsory training in peace and quiet.

    Behind the public holiday lies a story of workers who argued for something many of us take for granted: a reasonable balance between work, recreation, and rest.

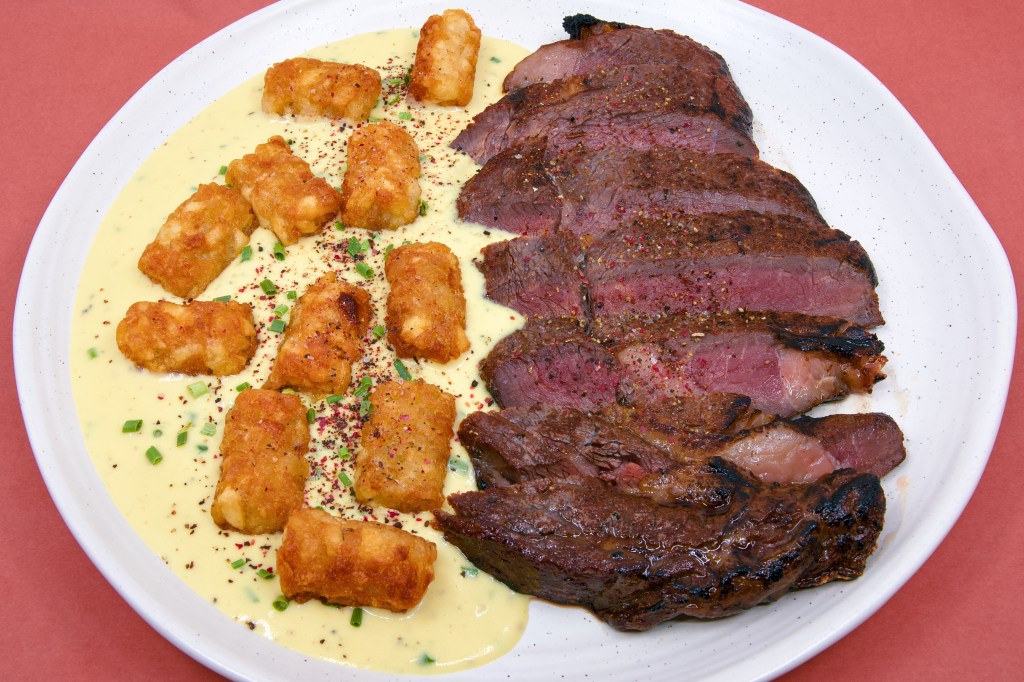
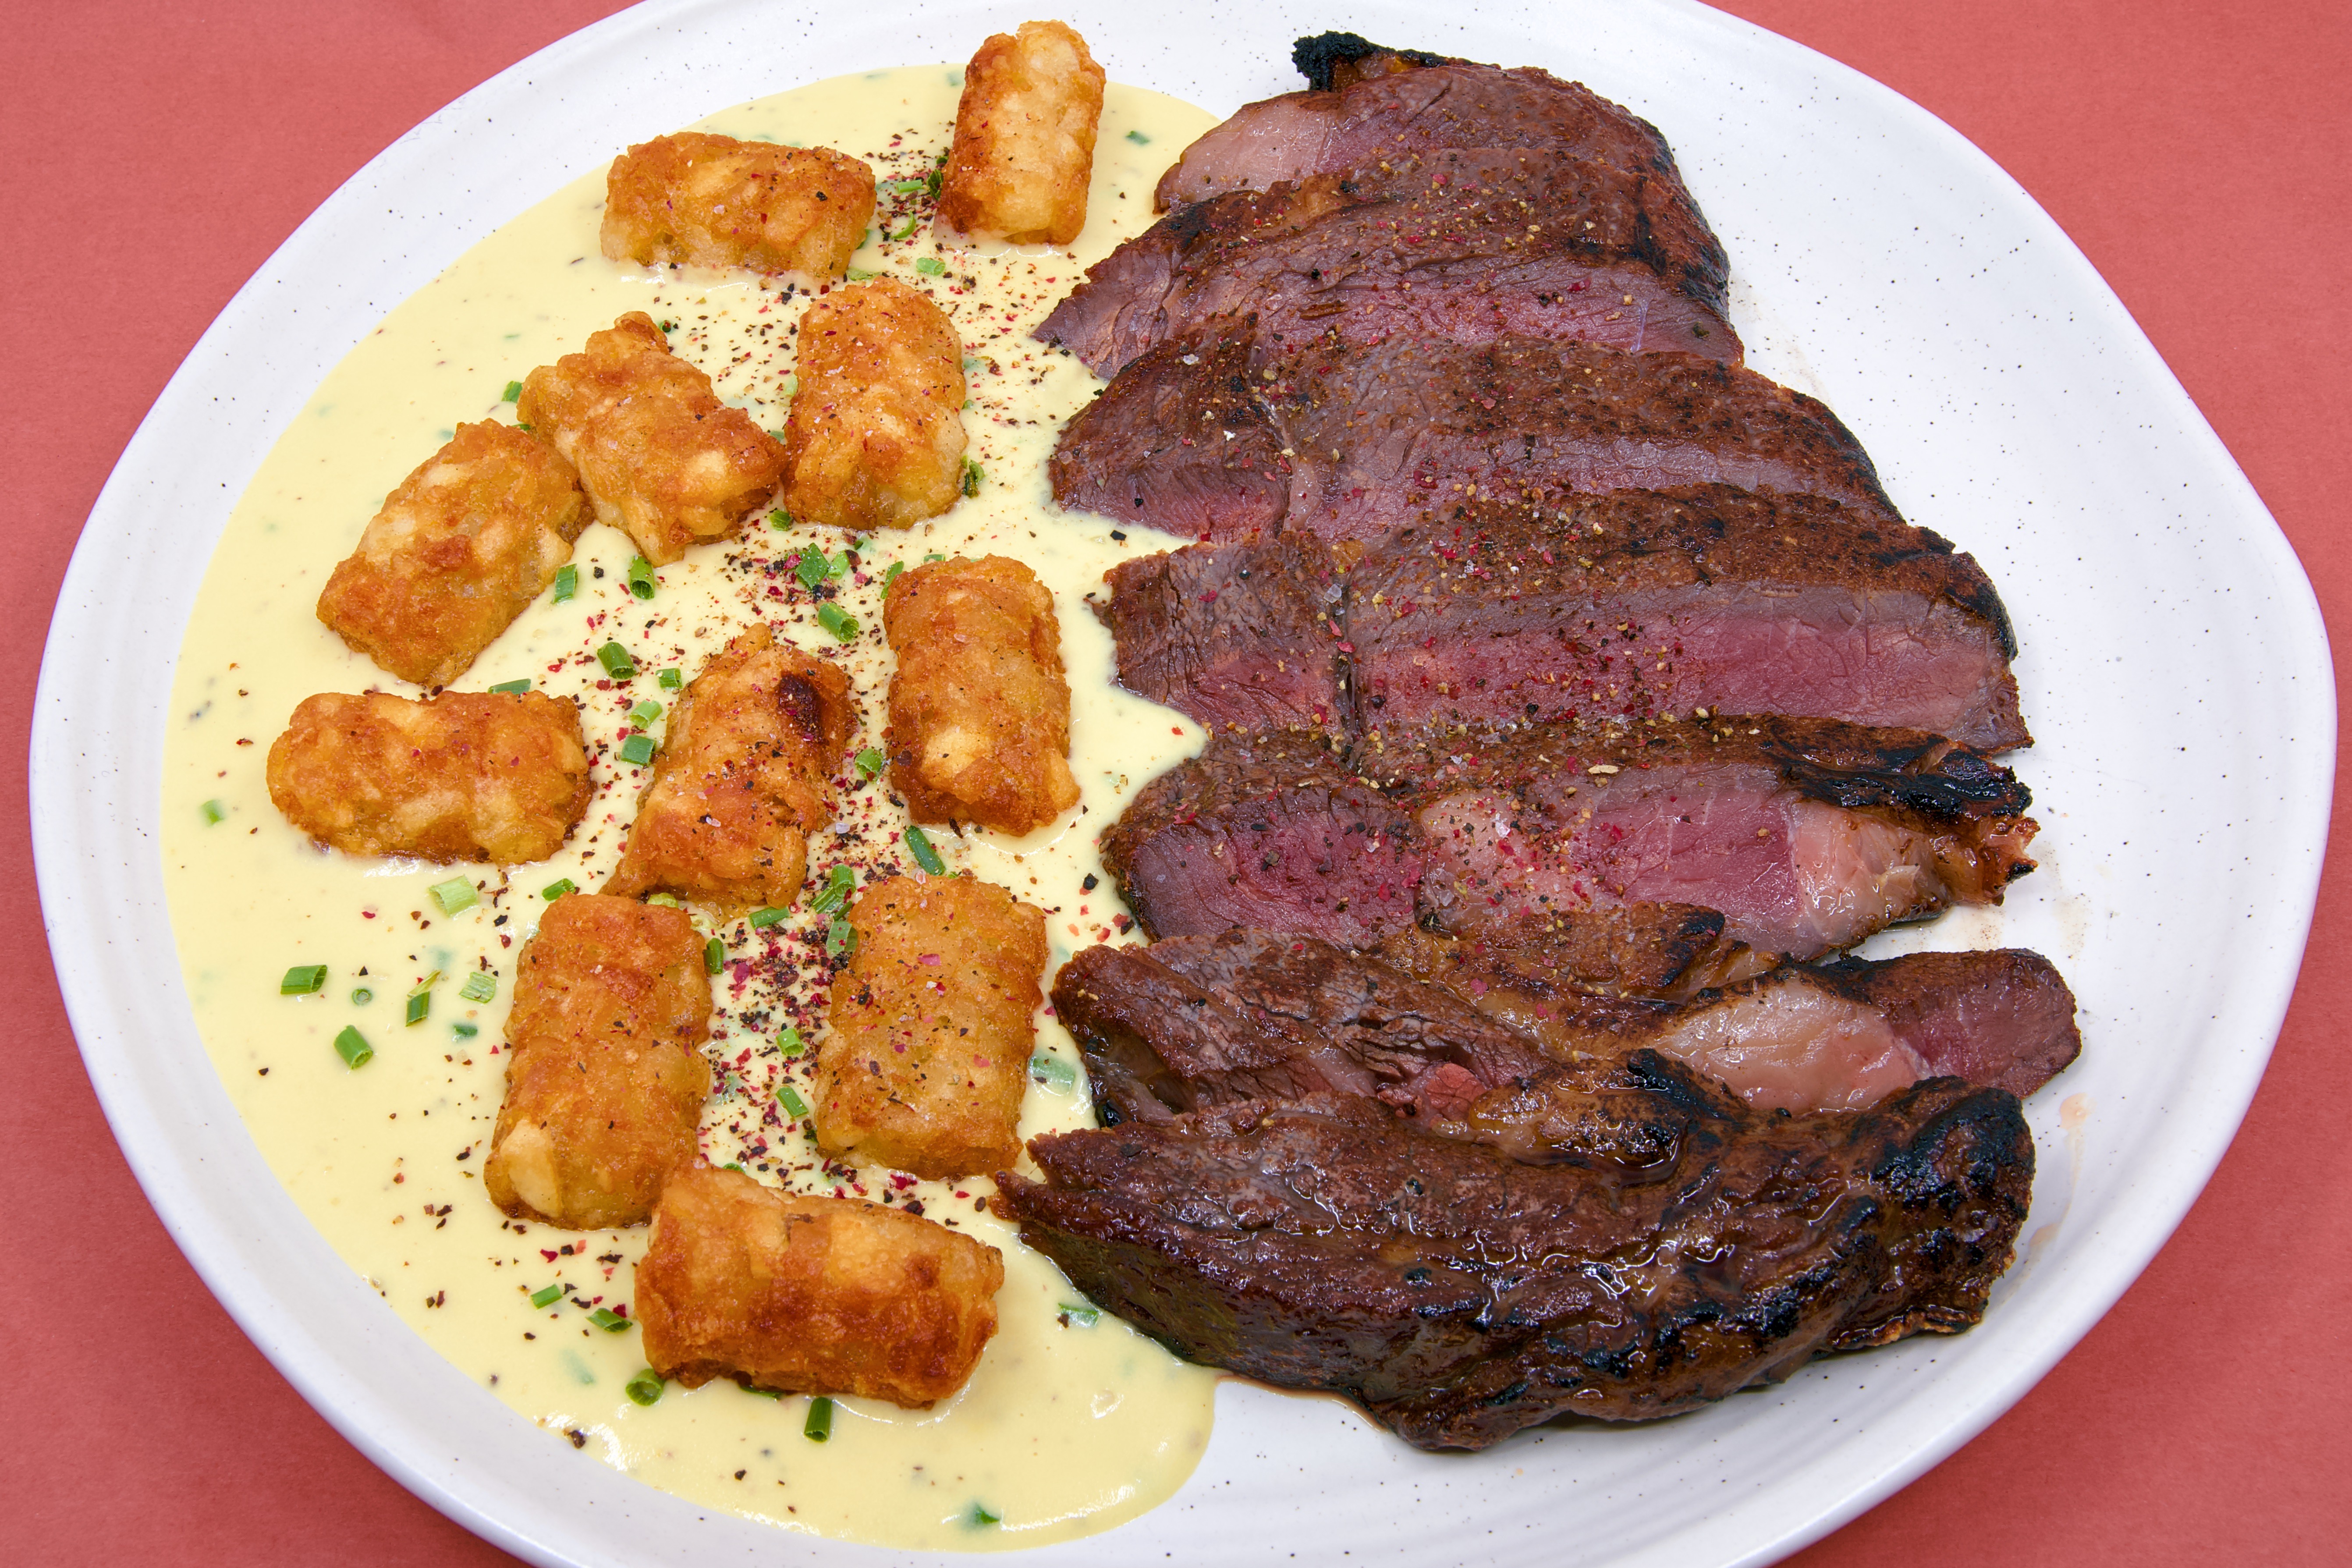
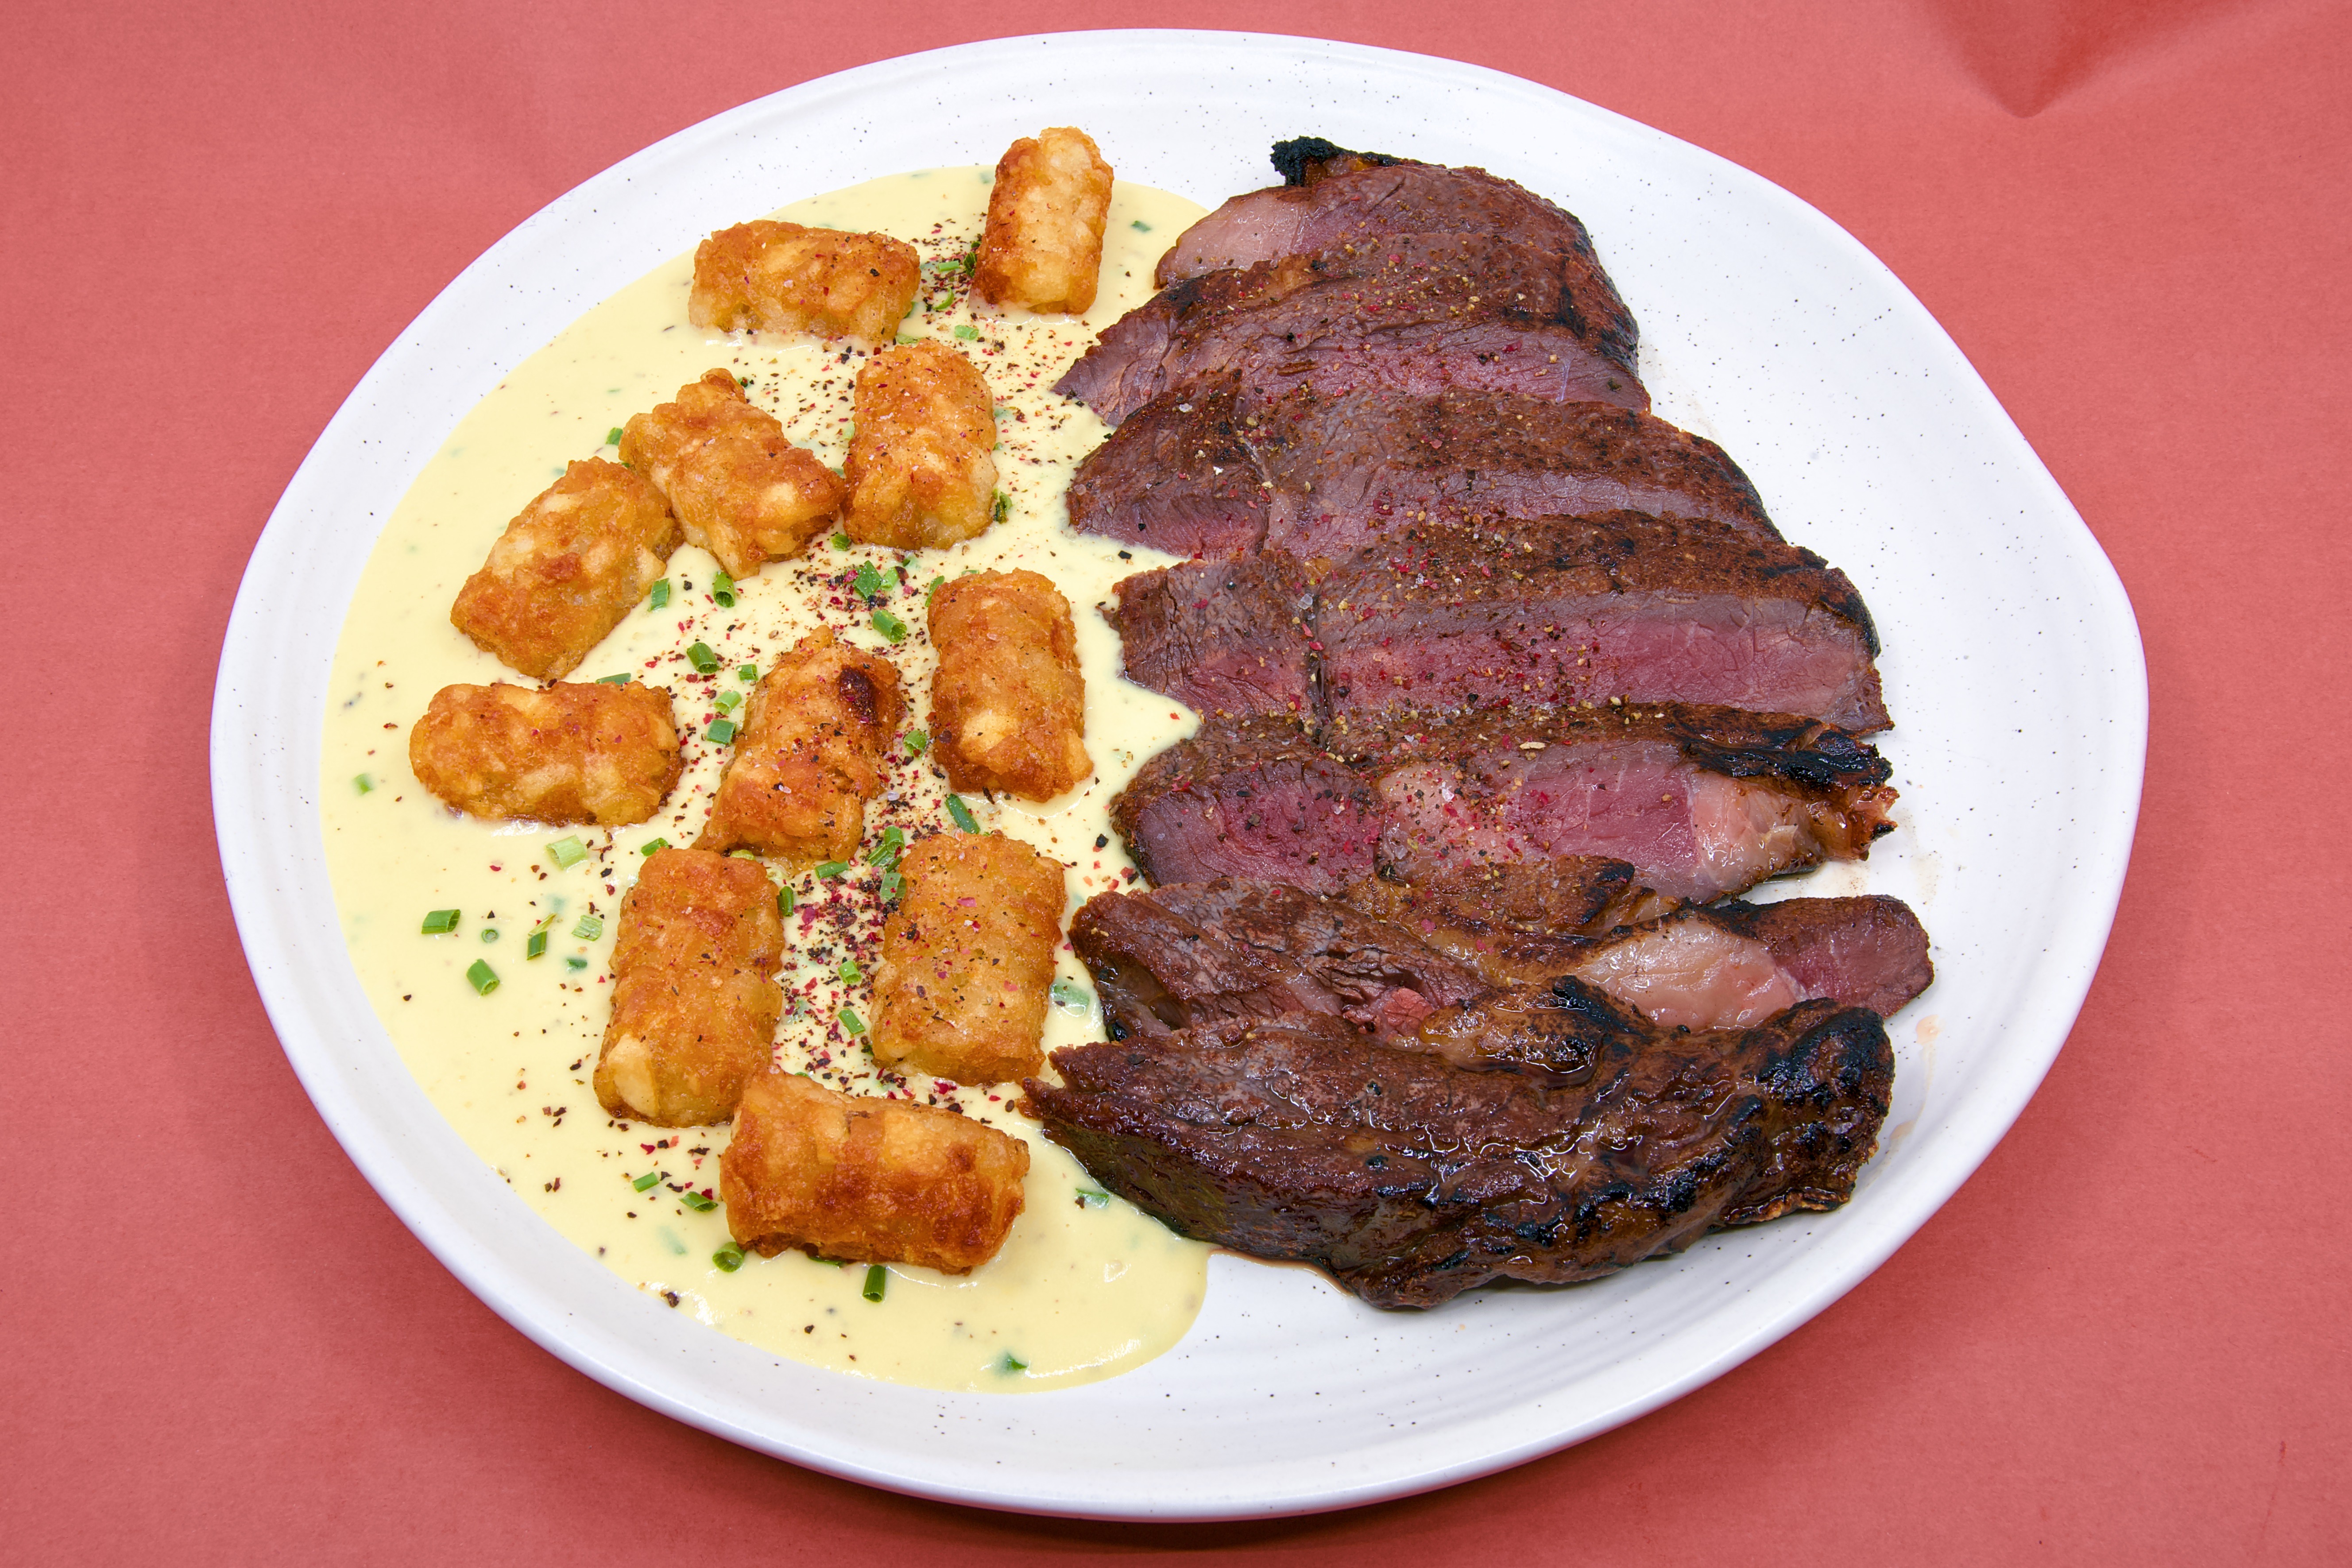
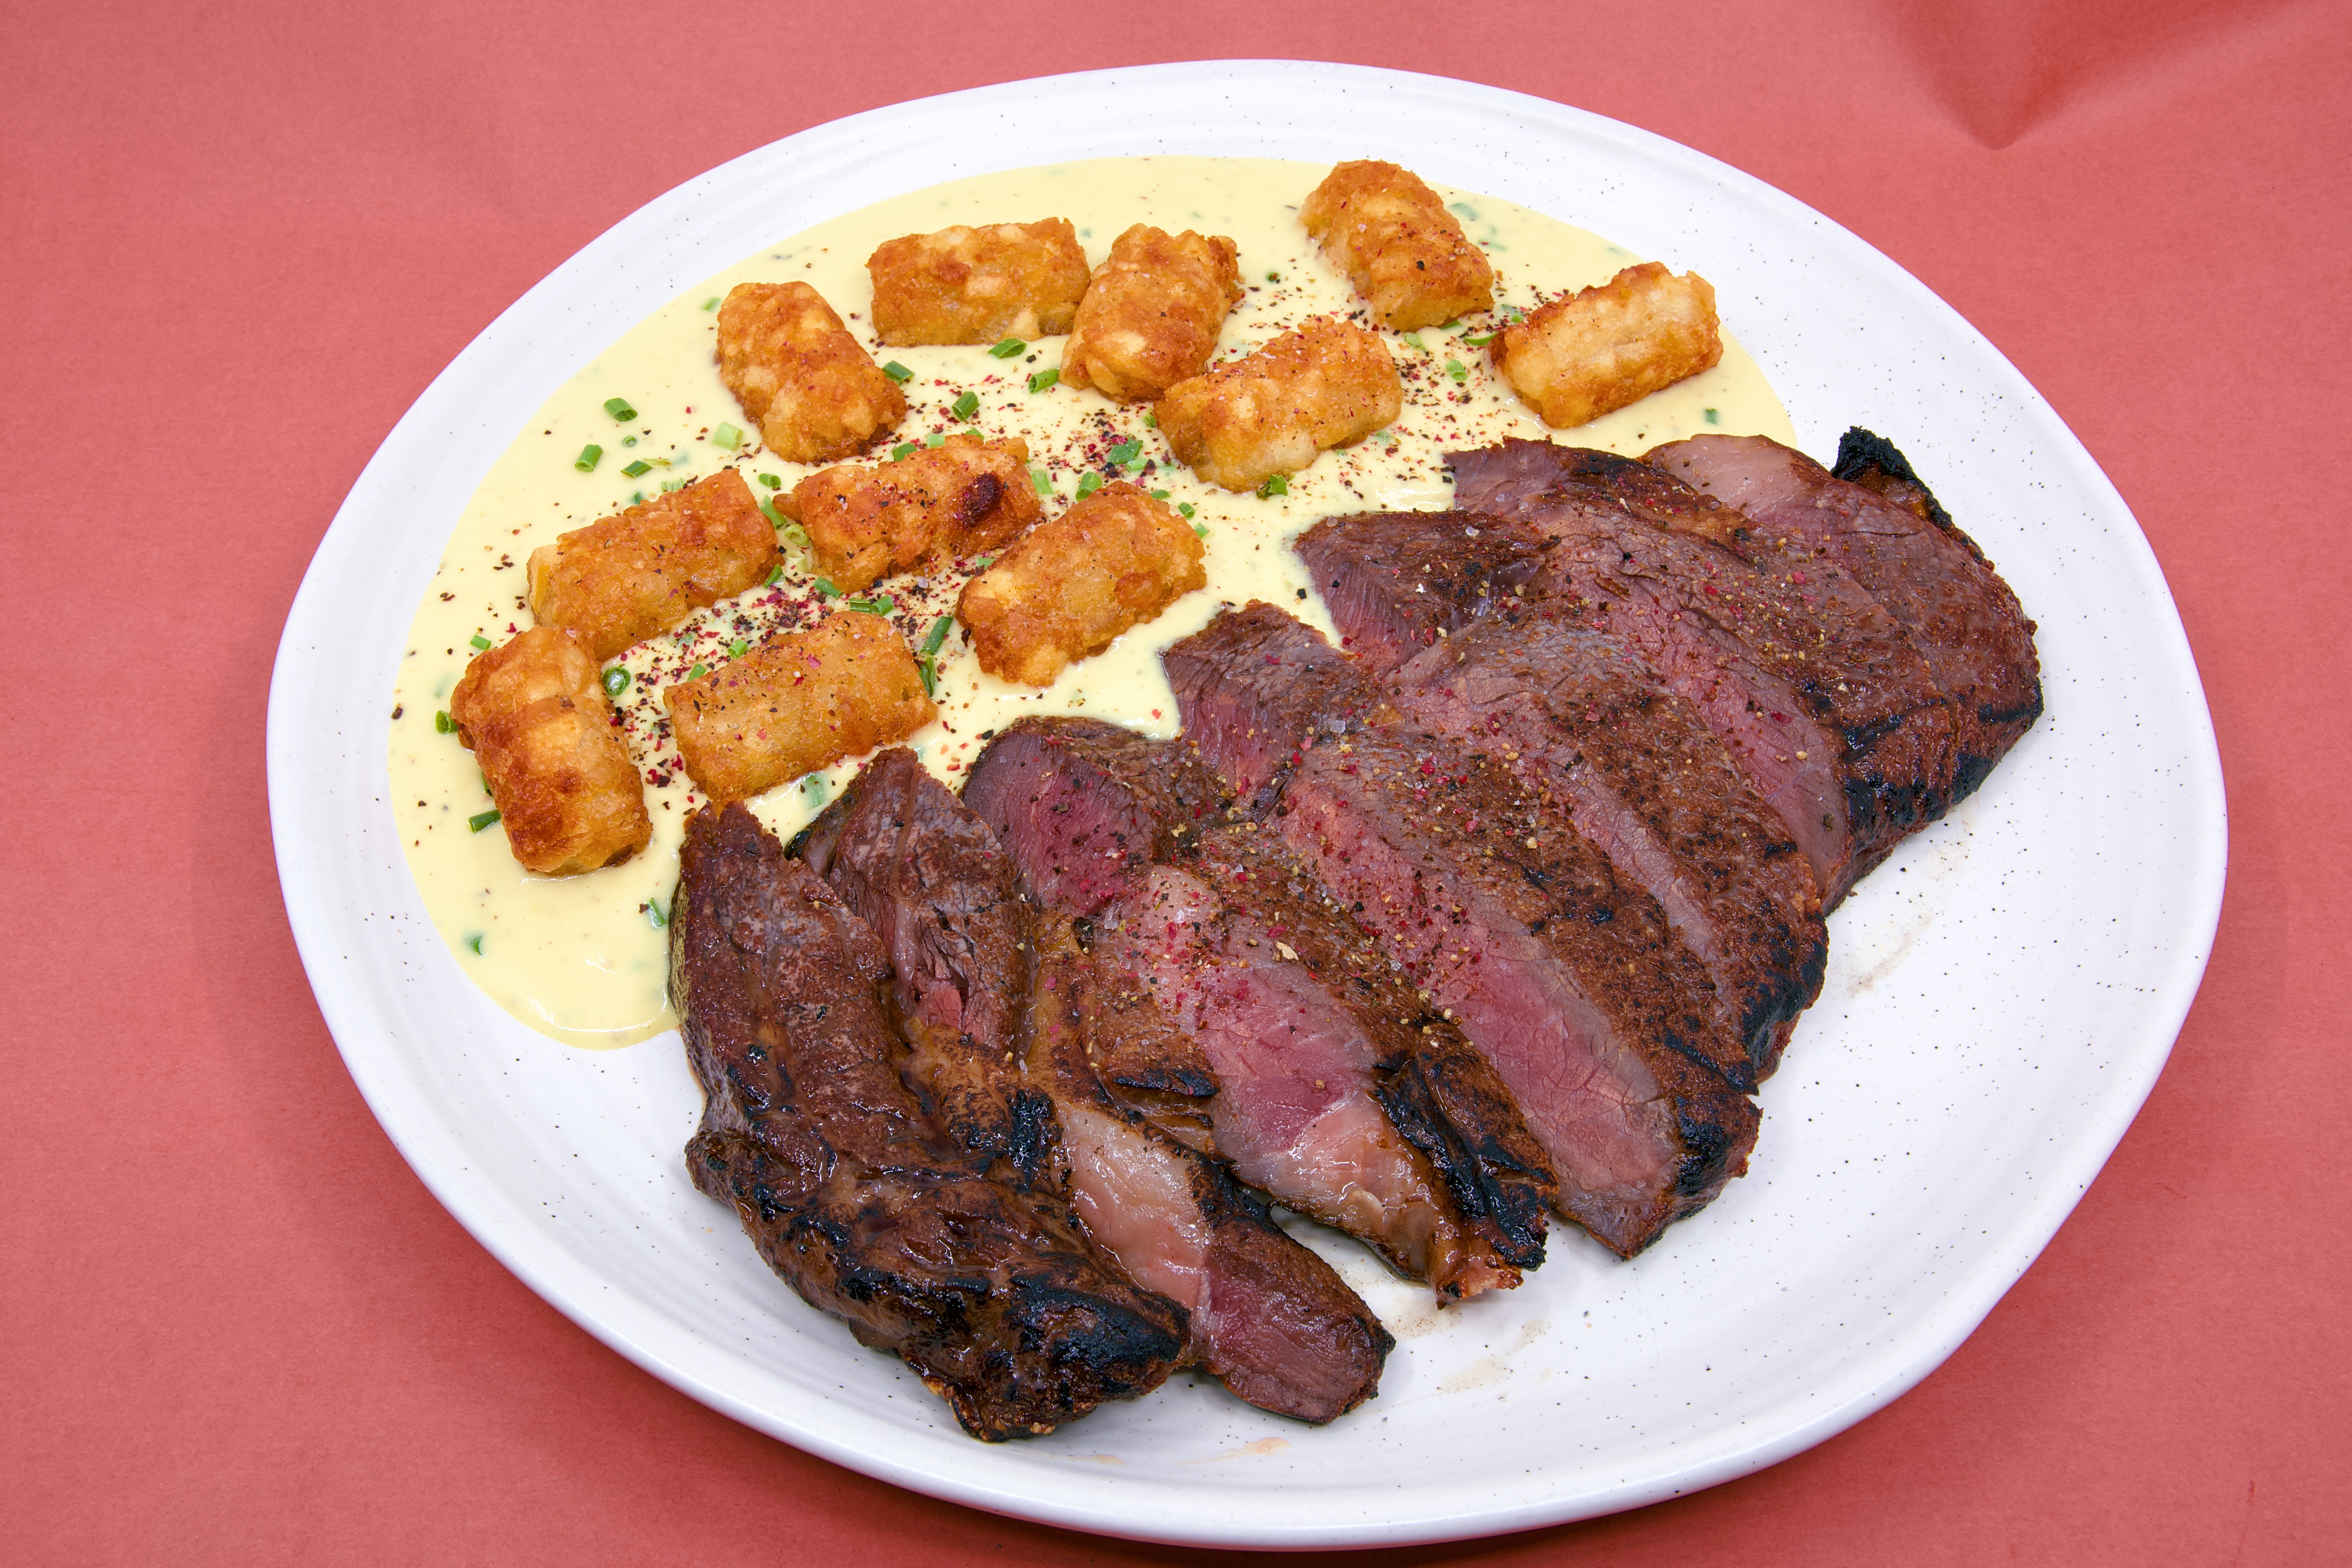
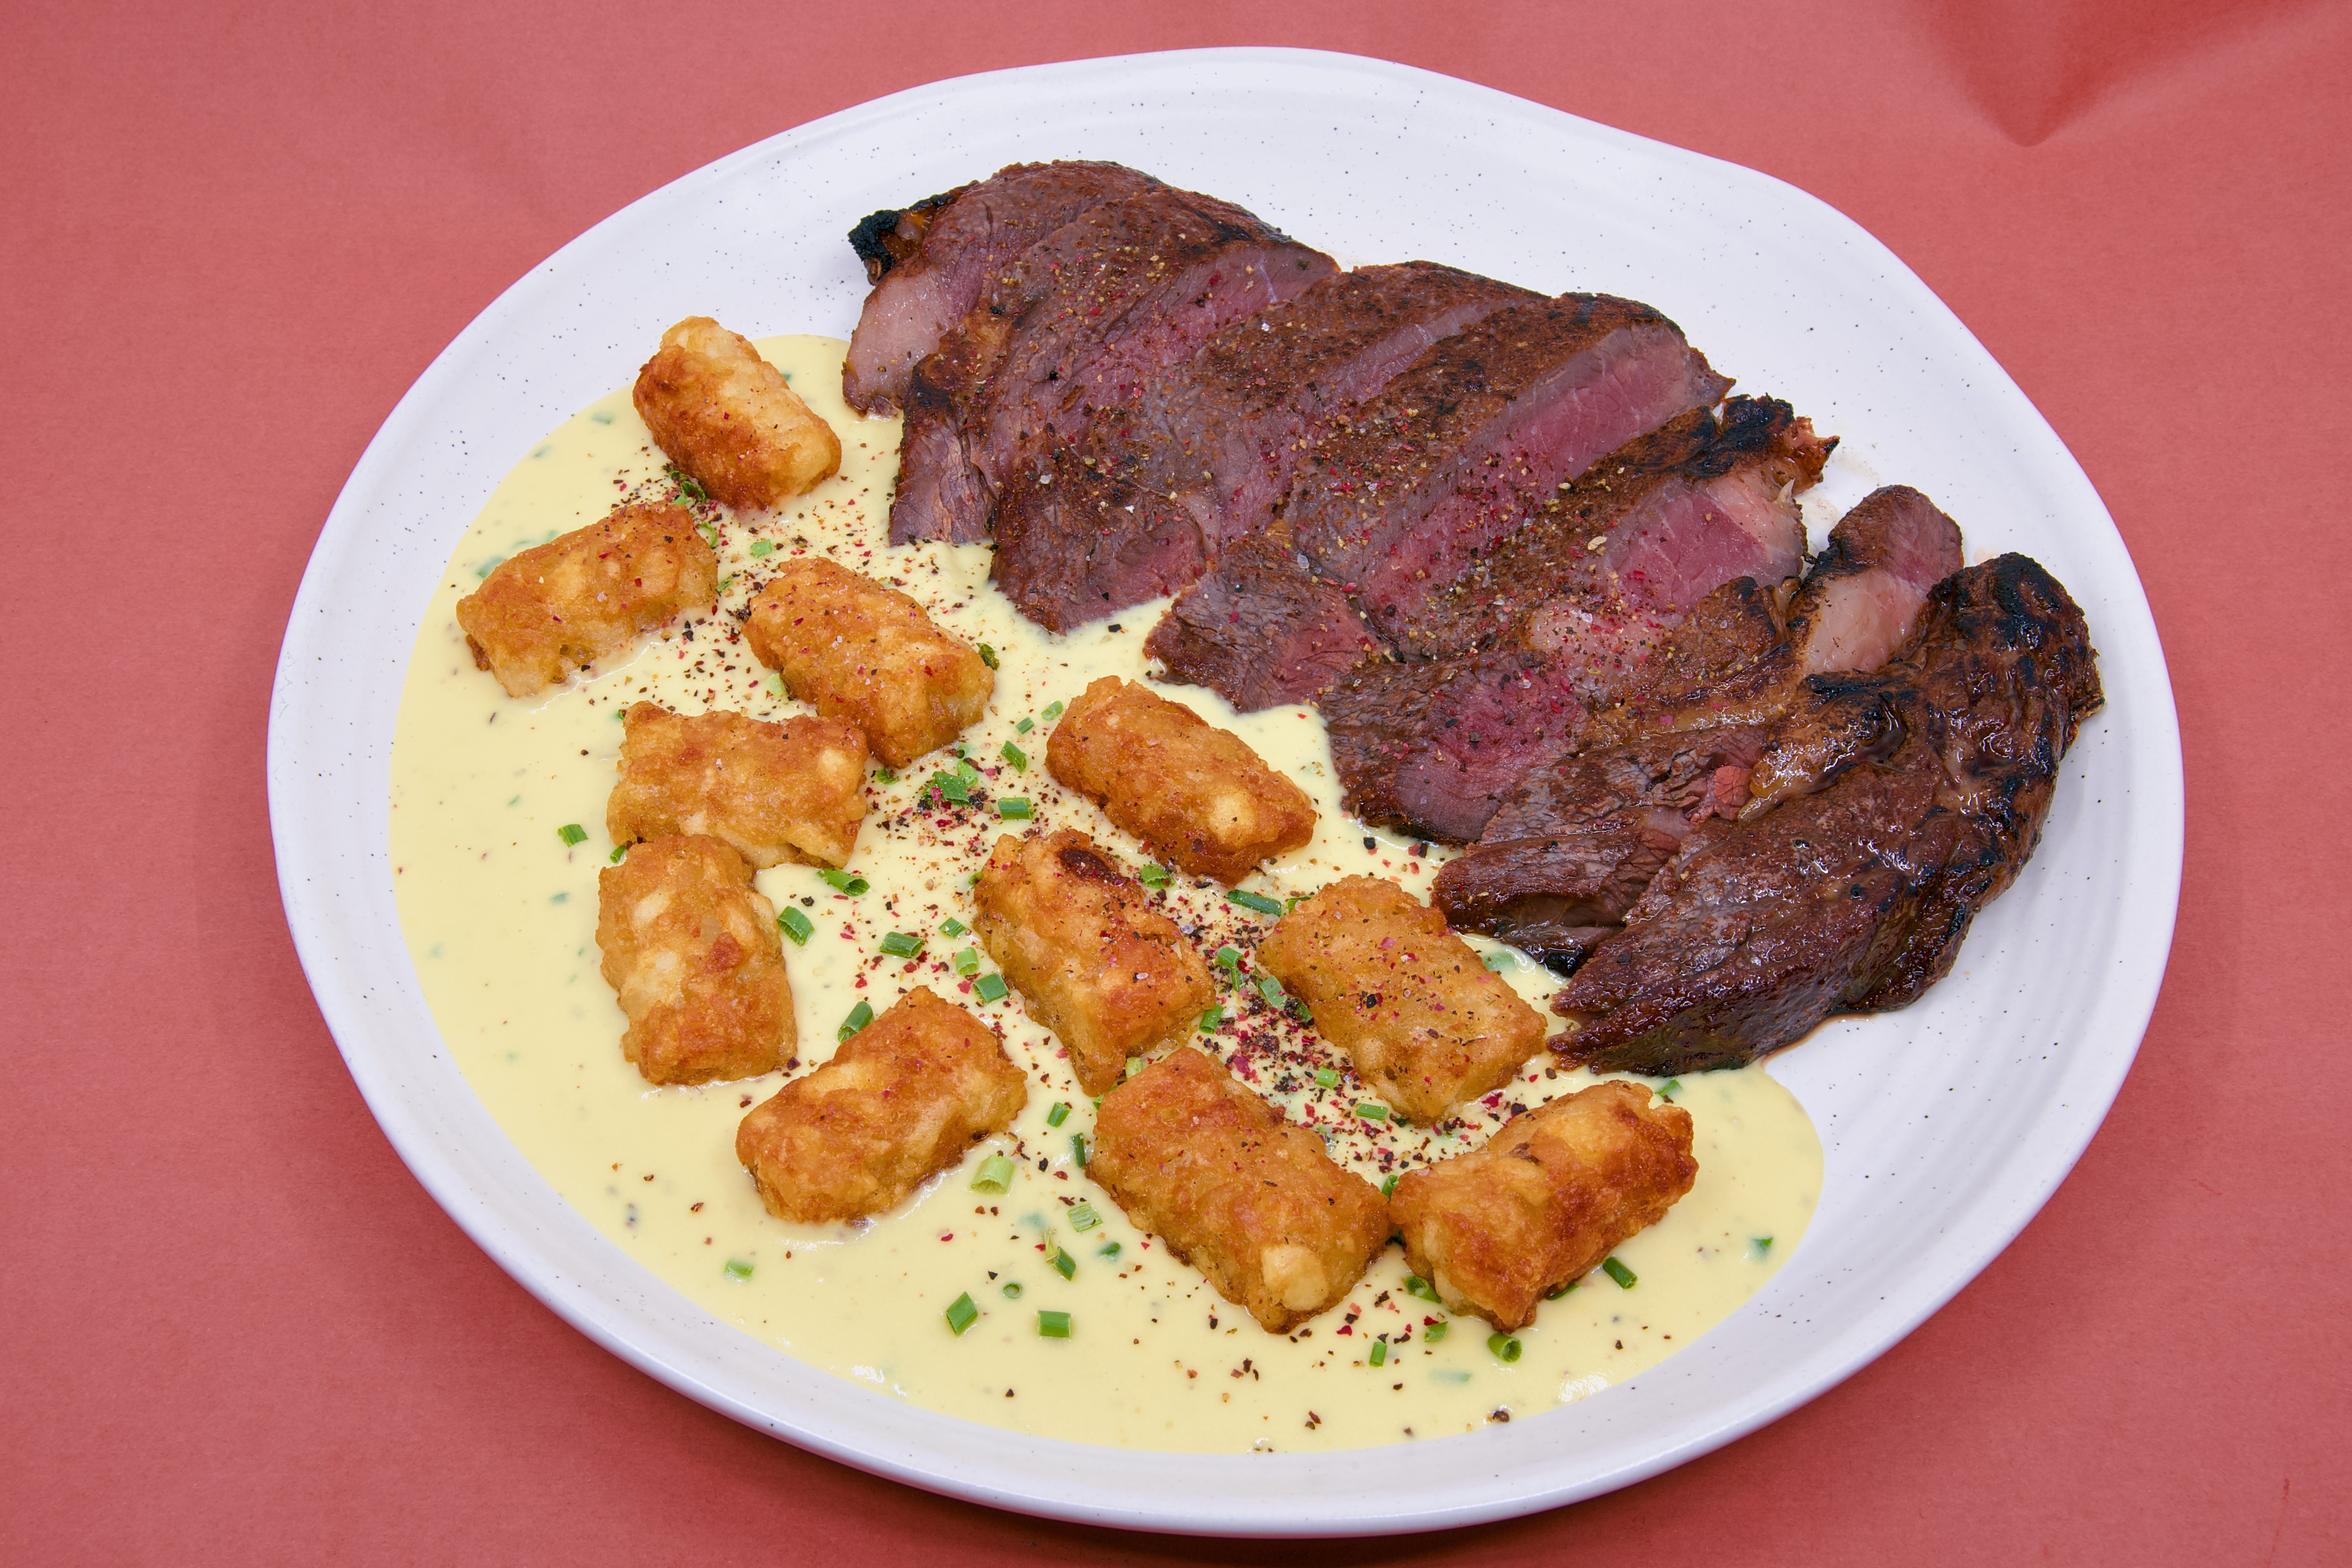
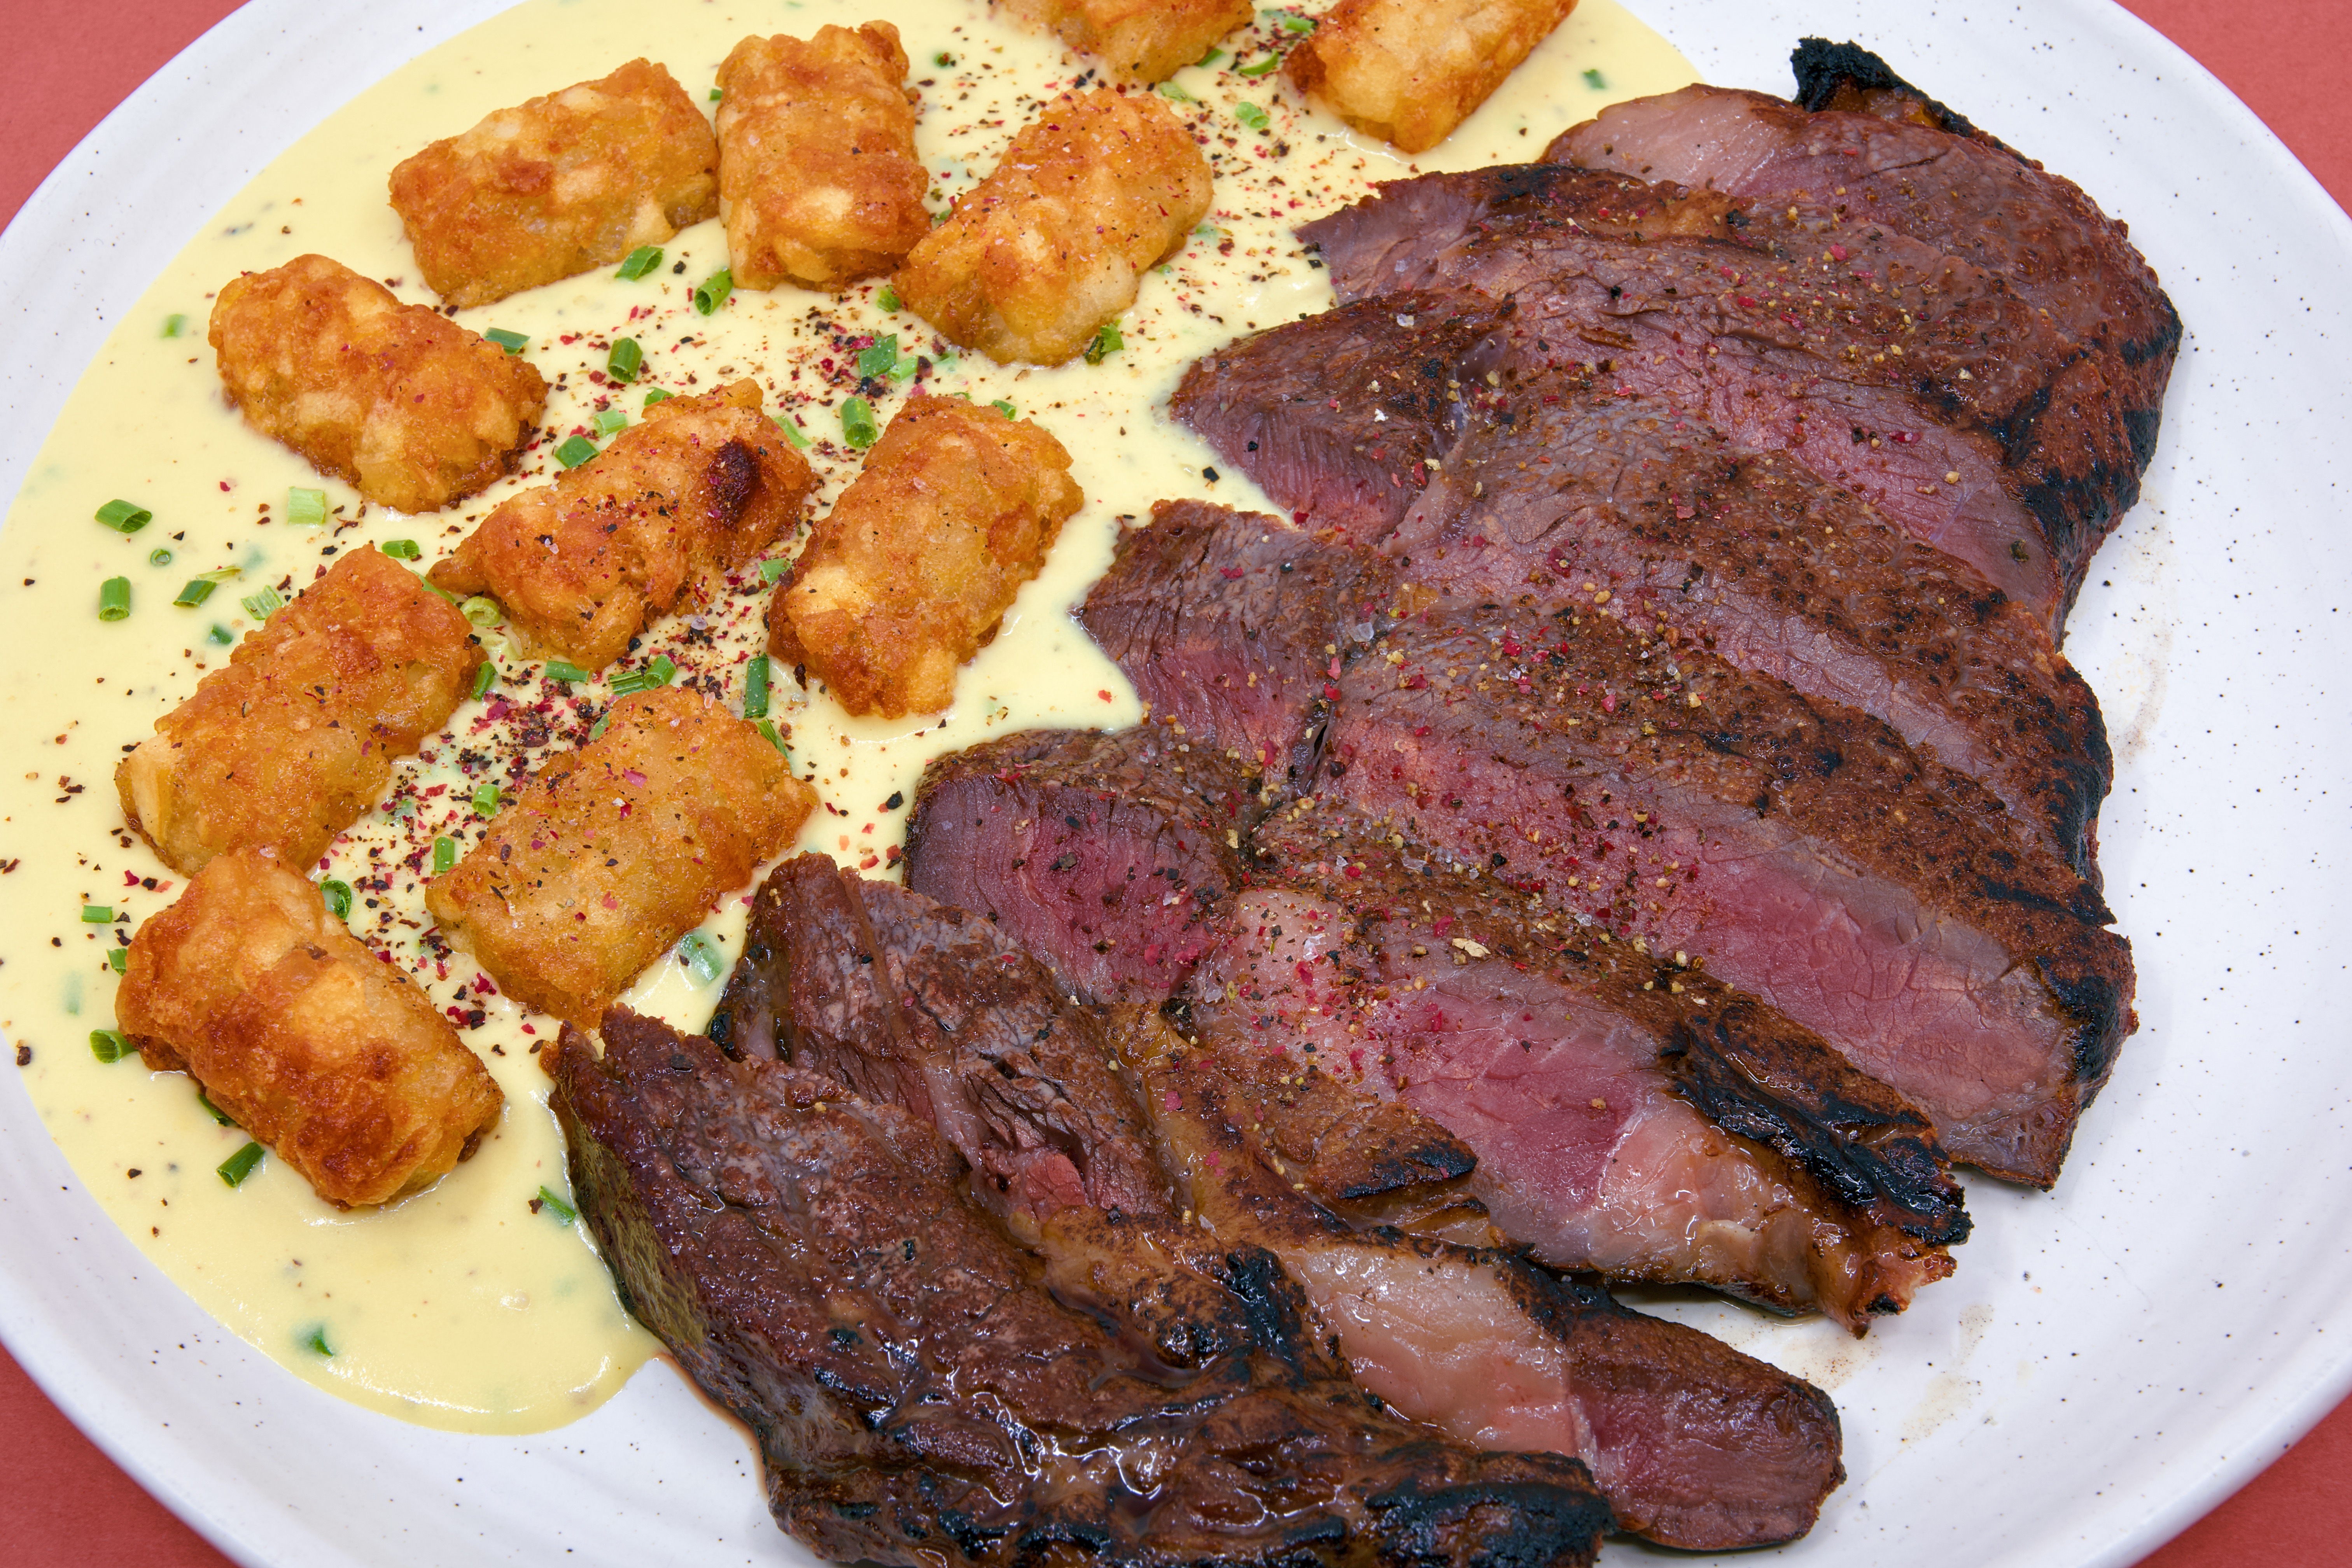
    This Labour Day, I celebrated with a scotch fillet steak, crispy potato gems cooked in beef fat, and a blue cheese sauce.

    What is Labour Day?

    Labour Day marks the achievements of the labour movement and the efforts for fair working conditions in Australia. It celebrates the campaign for the eight-hour working day.

    This idea was revolutionary. In the mid-1800s, many workers worked for 10 to 14 hours a day, six days a week, often in physically demanding and dangerous conditions.

    Labour Day in Australia

    Australia’s Labour Day traces its origins to the Eight Hour Day movement.

    On 21 April 1856, stonemasons working on the construction of the University of Melbourne stopped work and marched through Melbourne demanding shorter working hours. Their campaign succeeded, securing an eight-hour working day without a reduction in pay. This was a landmark achievement and one of the earliest successful campaigns of its kind anywhere in the world.

    It became a symbol for workplace reforms. Over subsequent decades, workers and unions continued campaigning for better conditions, leading eventually to shorter working weeks, workplace safety improvements, paid leave, and other employment protections that Australians now regard as normal.

    What Does Labour Day Mark?

    Labour Day marks:

    • The achievements of Australian workers.
    • The success of the eight-hour day movement.
    • The importance of fair pay and working conditions.
    • The contribution of organised labour and trade unions.
    • The principle that life should include work, rest, and recreation.

    Labour Day recognises that workers are more than economic units. They are parents, partners, community members, volunteers, and citizens.

    Why Do We Have a Labour Day Public Holiday?

    The purpose of the public holiday is both commemorative and practical.

    It commemorates the struggles and victories of previous generations of workers while giving today’s workers a day to enjoy the very work-life balance those campaigns sought to achieve. The holiday reminds Australians that fair working conditions were won through collective action rather than simply granted by employers or governments.

    A long weekend is arguably an expression of the eight-hour movement’s goals.

    What Official Activities Occur on Labour Day?

    Official activities vary between states and territories, but commonly include:

    • Union-organised marches and parades.
    • Community festivals.
    • Speeches by union representatives and political leaders.
    • Ceremonies recognising workers and labour history.
    • Educational events focused on workplace rights and labour history.

    In Queensland, May Day marches remain a prominent tradition, while other states often host commemorative gatherings and community events connected to labour organisations.

    How Many Australians Participate in Official Labour Day Events?

    This is harder to answer precisely.

    While Labour Day marches, parades, and commemorative activities occur, I could not locate an authoritative national statistic showing what proportion of Australians participate in official Labour Day events. Sources describe the events and their significance, but do not provide a national participation rate.

    Anecdotally, participation in official events represents only a small fraction of the Australian population, with most people observing the holiday simply as a public holiday and long weekend.

    Labour day meal

    A public holiday deserves a meal that feels special without requiring a day spent in the kitchen.

    Scotch Fillet Steak

    The dry-brined steak spent one hour in a water bath maintained at 57 °C. This temperature produces an even medium-rare result from edge to edge, preserving tenderness and juiciness.

    Once removed from the bag, the steak was dried thoroughly and finished over a gas barbecue. To achieve a deeper crust, a gas blowtorch assisted with the final sear, creating a caramelised exterior.

    The result was what a scotch fillet should be:

    • Tender.
    • Juicy.
    • Beefy.
    • Browned on the outside.

    Potato Gems in Beef Fat

    Potato gems are already one of humanity’s finer inventions.

    Cooking them in beef fat elevates them to another level.

    The hot beef fat develops a blistered golden crust while enhancing the savoury flavour. The outside becomes wonderfully crisp while the inside remains fluffy and soft.

    Every bite tastes indulgent.

    Blue Cheese Sauce

    The blue cheese sauce added richness and complexity.

    Sharp, salty, creamy, and slightly funky, it complemented the scotch fillet beautifully. Each mouthful balanced the sweetness of the beef, the crunch of the potato gems, and the bold character of the cheese.

    Final Thoughts

    Labour Day is a reminder that the balance between work, rest, and recreation is worth protecting. More than 170 years after some stonemasons marched for the eight-hour day, Australians continue to benefit.

    A long weekend provides an opportunity to reflect on those achievements. It also provides an excuse to cook a scotch fillet steak, crisp some potato gems in beef fat, and drown everything in blue cheese sauce.

    References

    National Museum of Australia. 2024. Eight-hour day.

    State Library Victoria. Origins of the 8-hour day.

    Australian Workers Heritage Centre. 2025. Labour Day History.

    Australian Workers Heritage Centre. 2026. 170 Years of the Eight Hour Day.

    LabourDay.com.au. What is Labour Day?

    ABC News. 2026. Which states get a public holiday today? What event is it?

    Time Out Australia. 2026. What is Australia’s Labour Day public holiday for?

    Fediverse Reactions
  • Pressure Cooker Beef Short Rib Stew

    Pressure Cooker Beef Short Rib Stew


    Beef Short Rib Stew

    A bowl that hugs you from the inside

    Today marks 19 years in the Australian Public Service. I wonder if I’ll get a set of steak knives next year! Given how much steak I eat, steak knives would be welcome.

    Sometimes you want a meal that looks like you’ve spent all day in the kitchen, when you’ve spent most of the day thinking about cooking while doing other important things, such as drinking coffee and working. This pressure cooker beef short rib stew is that sort of meal. Beef, some random vegetable matter, and a broth come together in a bowl that looks undesirable but tastes great.

    Ingredients

    For the stew

    • 1 kg beef short rib meat, cut into chunky pieces
    • 2 medium brown onions, roughly chopped
    • 2 celery stalks, sliced
    • 1 fennel bulb, roughly chopped
    • 2 medium potatoes, peeled and diced into large chunks
    • 700 g passata
    • 500 mL beef broth
    • 2 teaspoons salt
    • 1 teaspoon freshly ground black pepper

    Equipment

    • Pressure cooker or multicooker with pressure-cook function
    • Frying pan
    • Stick blender
    • Chopping board
    • Sharp knife
    • Measuring jug
    • Wooden spoon
    • Ladle
    • Large bowl for serving
    • Appetite large enough to deal with the aroma filling your house

    Instructions

    Step 1: Prepare the ingredients

    Chop the onion, celery, fennel, and potatoes.

    Cut the short rib meat into generous chunks. Precision knife work isn’t required. Beef short rib is substantial. Let it be mouth-filling.

    Step 2: Build the flavour base

    Sauté the onion, celery, and fennel. Cook for about 5 minutes, stirring occasionally, until everything softens and starts smelling like Mum’s kitchen.

    Step 3: Add the beef

    Add the short rib meat and stir through the vegetables.

    Brown the meat.

    Step 4: Add the liquids

    Put the meat and roughly cut vegetables into the pressure cooker.

    Pour in the passata and beef broth.

    Add the salt and pepper.

    Stir everything together until the ingredients are evenly distributed.

    Step 5: Pressure cook

    Add the potato chunks.

    Lock the lid and cook on high pressure for 40 minutes.

    When the cooking time is complete, allow the pressure to equilibrate naturally.

    Step 6: Check and adjust

    Open the lid.

    The beef should be fork-tender and the potatoes soft. Give everything a stir. Some of the potato will naturally break down and help thicken the stew.

    Taste and adjust seasoning if necessary.

    Sequester the potatoes and beef to a bowl.

    Process the remaining cooked vegetables and cooking liquor with a stick blender.

    Step 7: Serve

    Ladle the vegetable broth purée generously into a bowl and then add some meat and potato.

    Be generous.

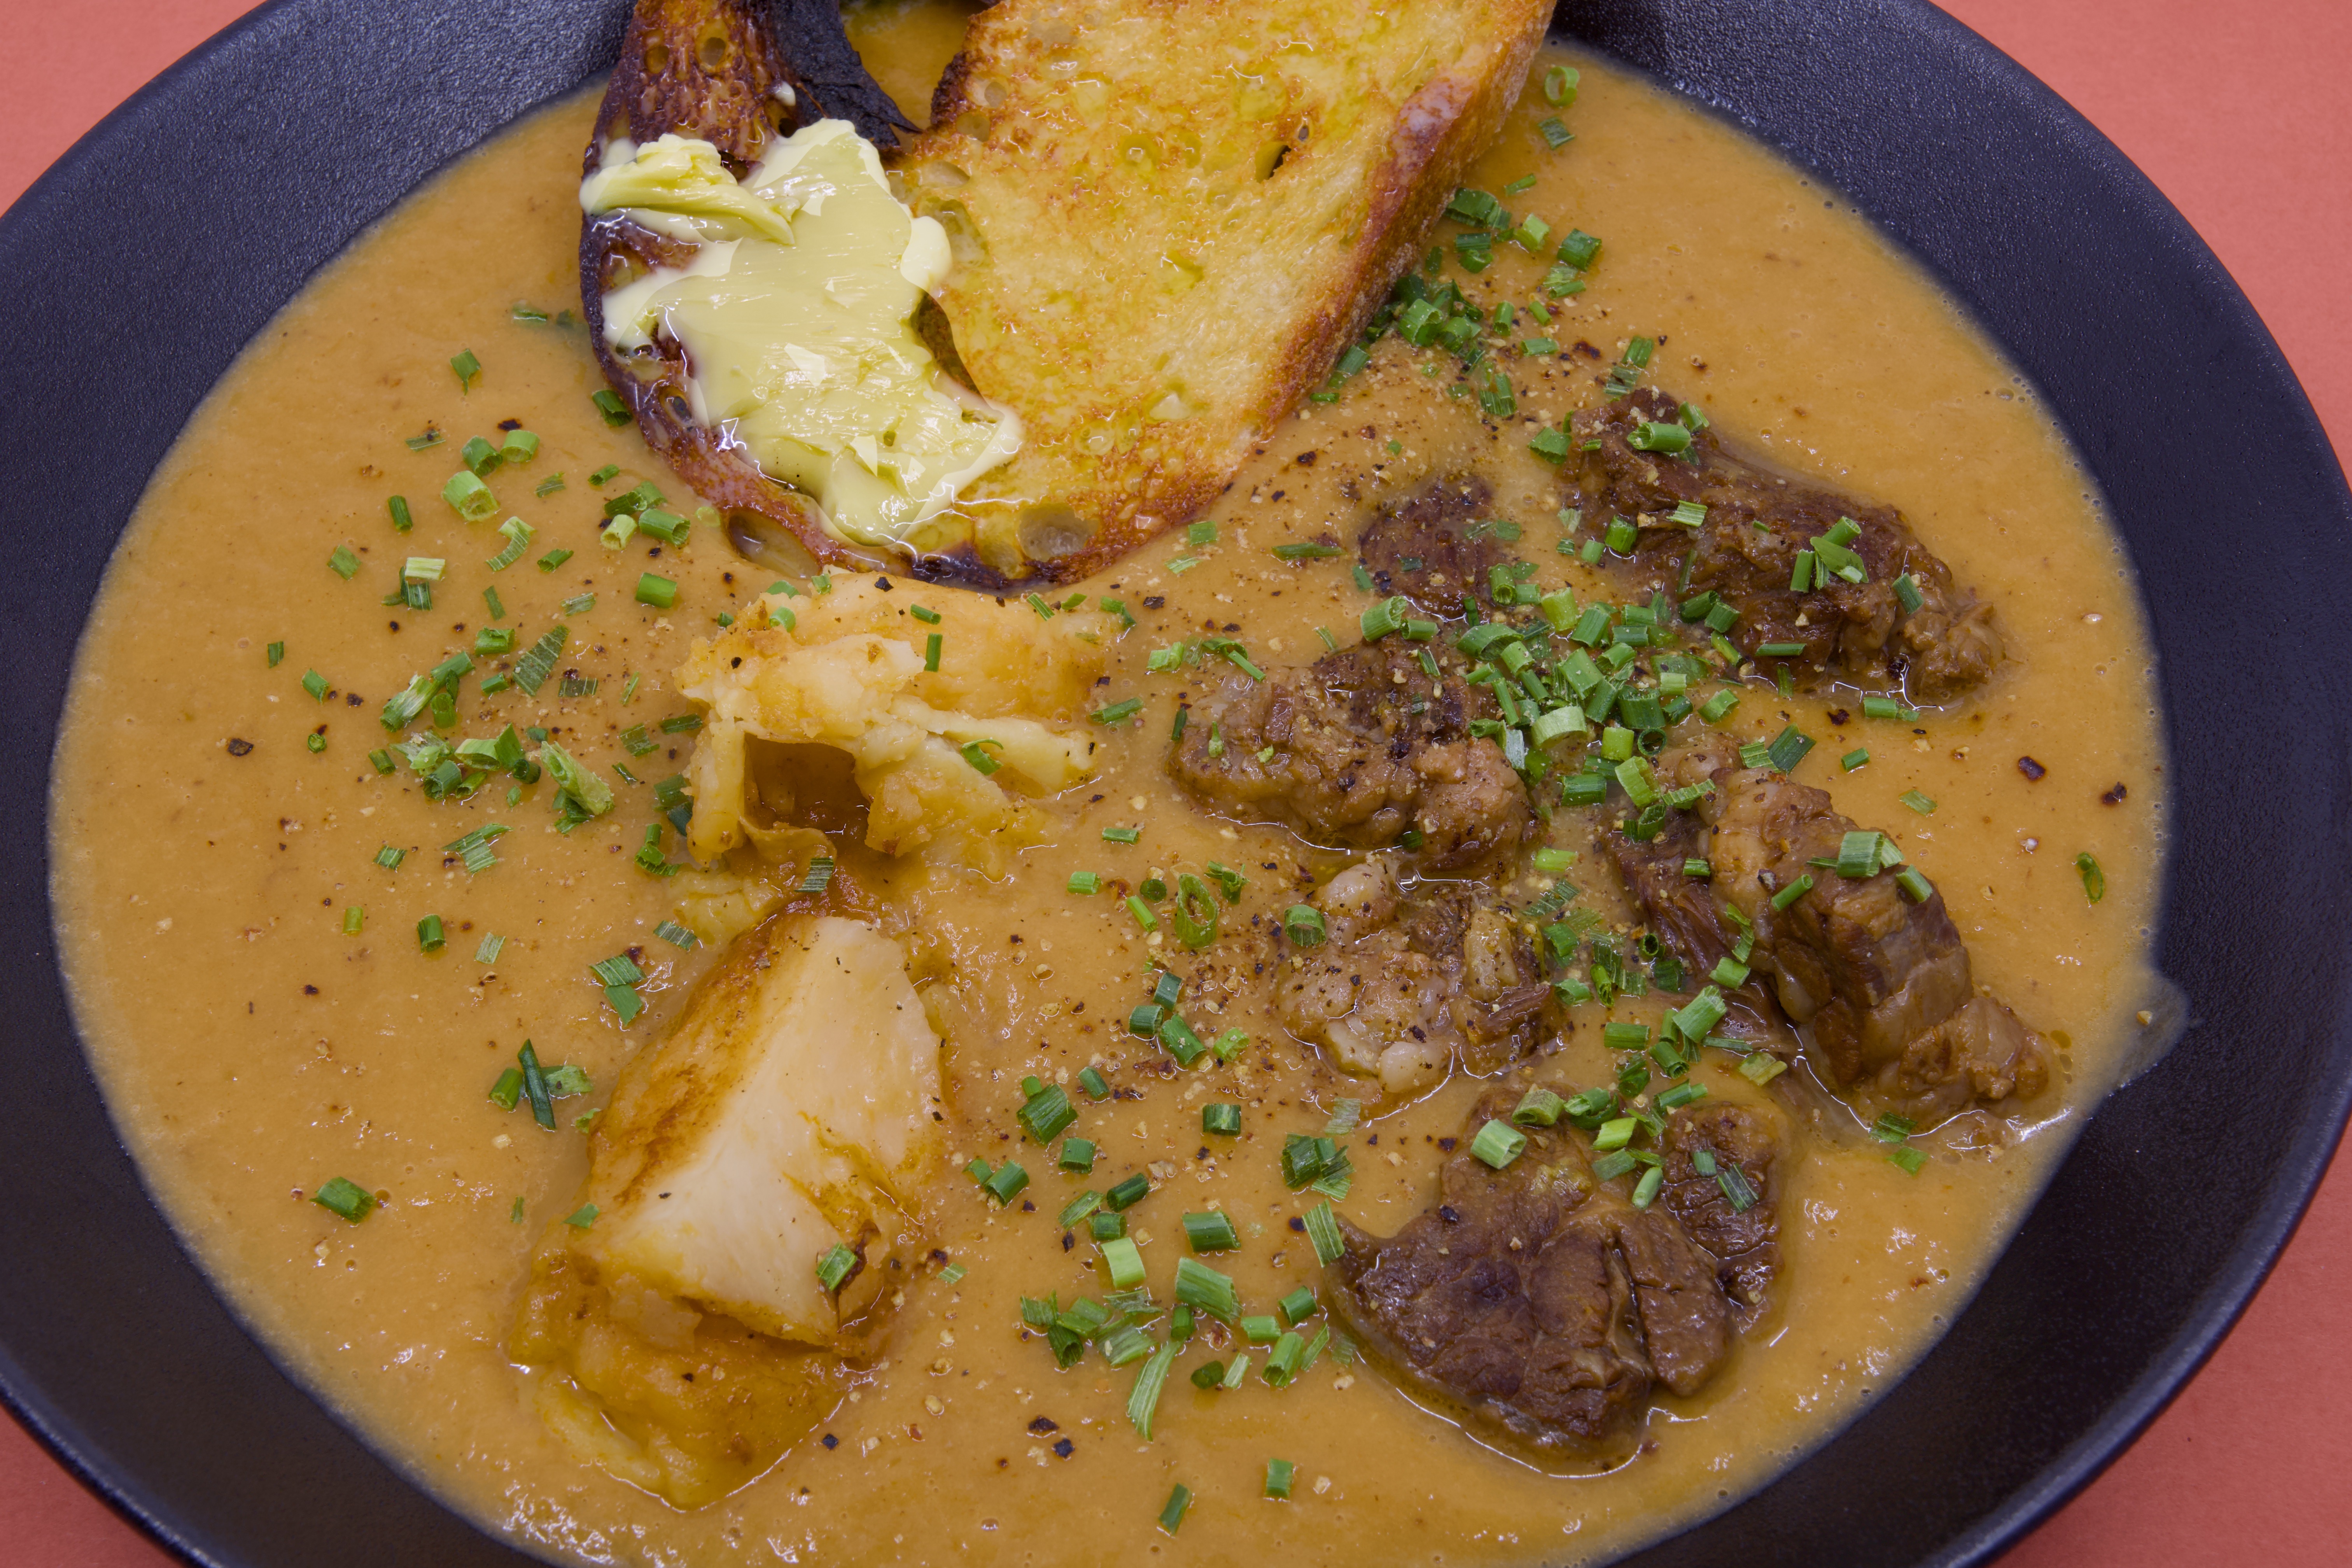
    A bowl of pressure-cooked beef short rib sits in a rich, velvety broth puréed from the cooking liquor, fennel, brown onion, celery, and potato. Several chunks of beef and potato are visible above the surface, scattered with freshly chopped chives and cracked black pepper. Resting against the rim of the bowl are two thick slices of double-butted sourdough toast, generously spread with melting butter. The black bowl is photographed against a red background, highlighting the warm golden tones of the broth.

    Final Thoughts

    This stew is what happens when tough cuts of beef meet modern technology and decide to cooperate. The pressure cooker transforms short rib meat into tender, rich morsels that practically surrender when touched with a spoon.

    The fennel quietly contributes sweetness and depth without shouting about it. The passata provides body and acidity. The potatoes become soft and comforting. The puréed broth ties everything together into something that feels both rustic and luxurious.

    Most importantly, this is the sort of meal that improves your mood after a long day. It’s warm, hearty, forgiving, and entirely unconcerned with food trends. It knows exactly what it is: a proper bowl of comfort.

    And sometimes that’s all a dinner needs to be, especially after 19 years with the same employer.

    Leftover meals

    Saturday lunch

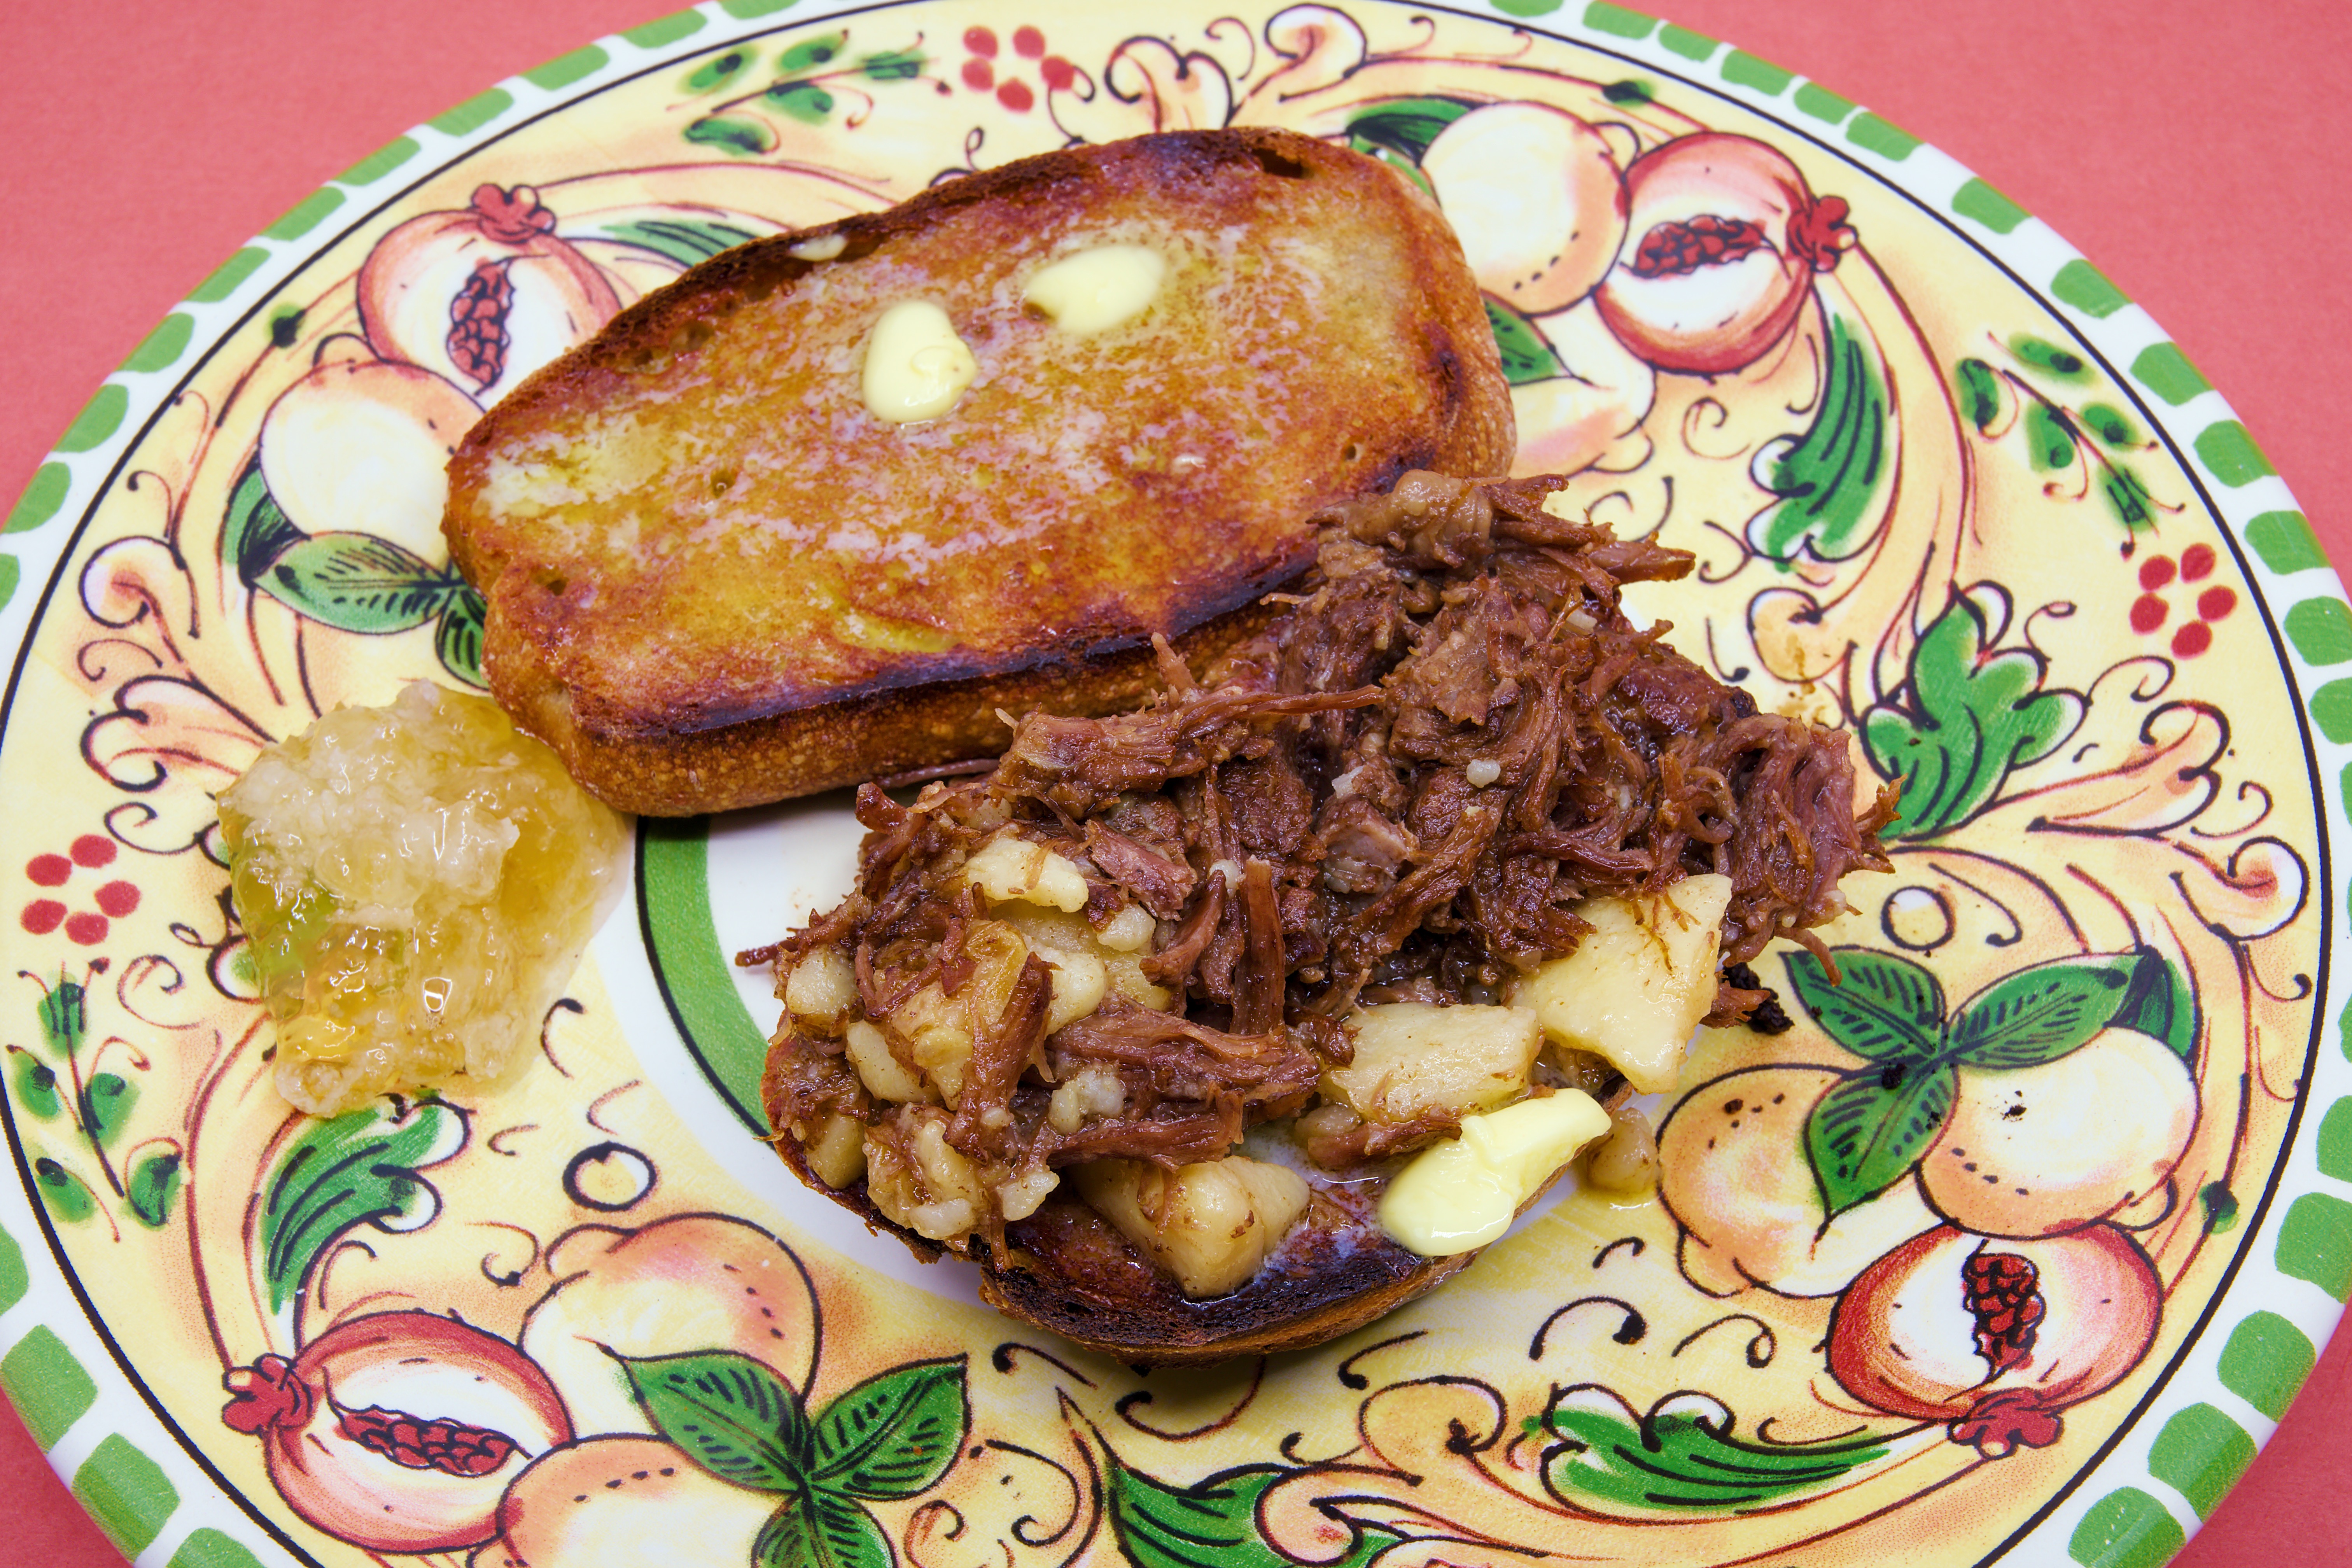
    Leftover beef short rib on a toasted, double-buttered fresh rye sourdough roll.

    Leftover beef short rib on a toasted, double-buttered fresh rye sourdough roll.

    Saturday dinner

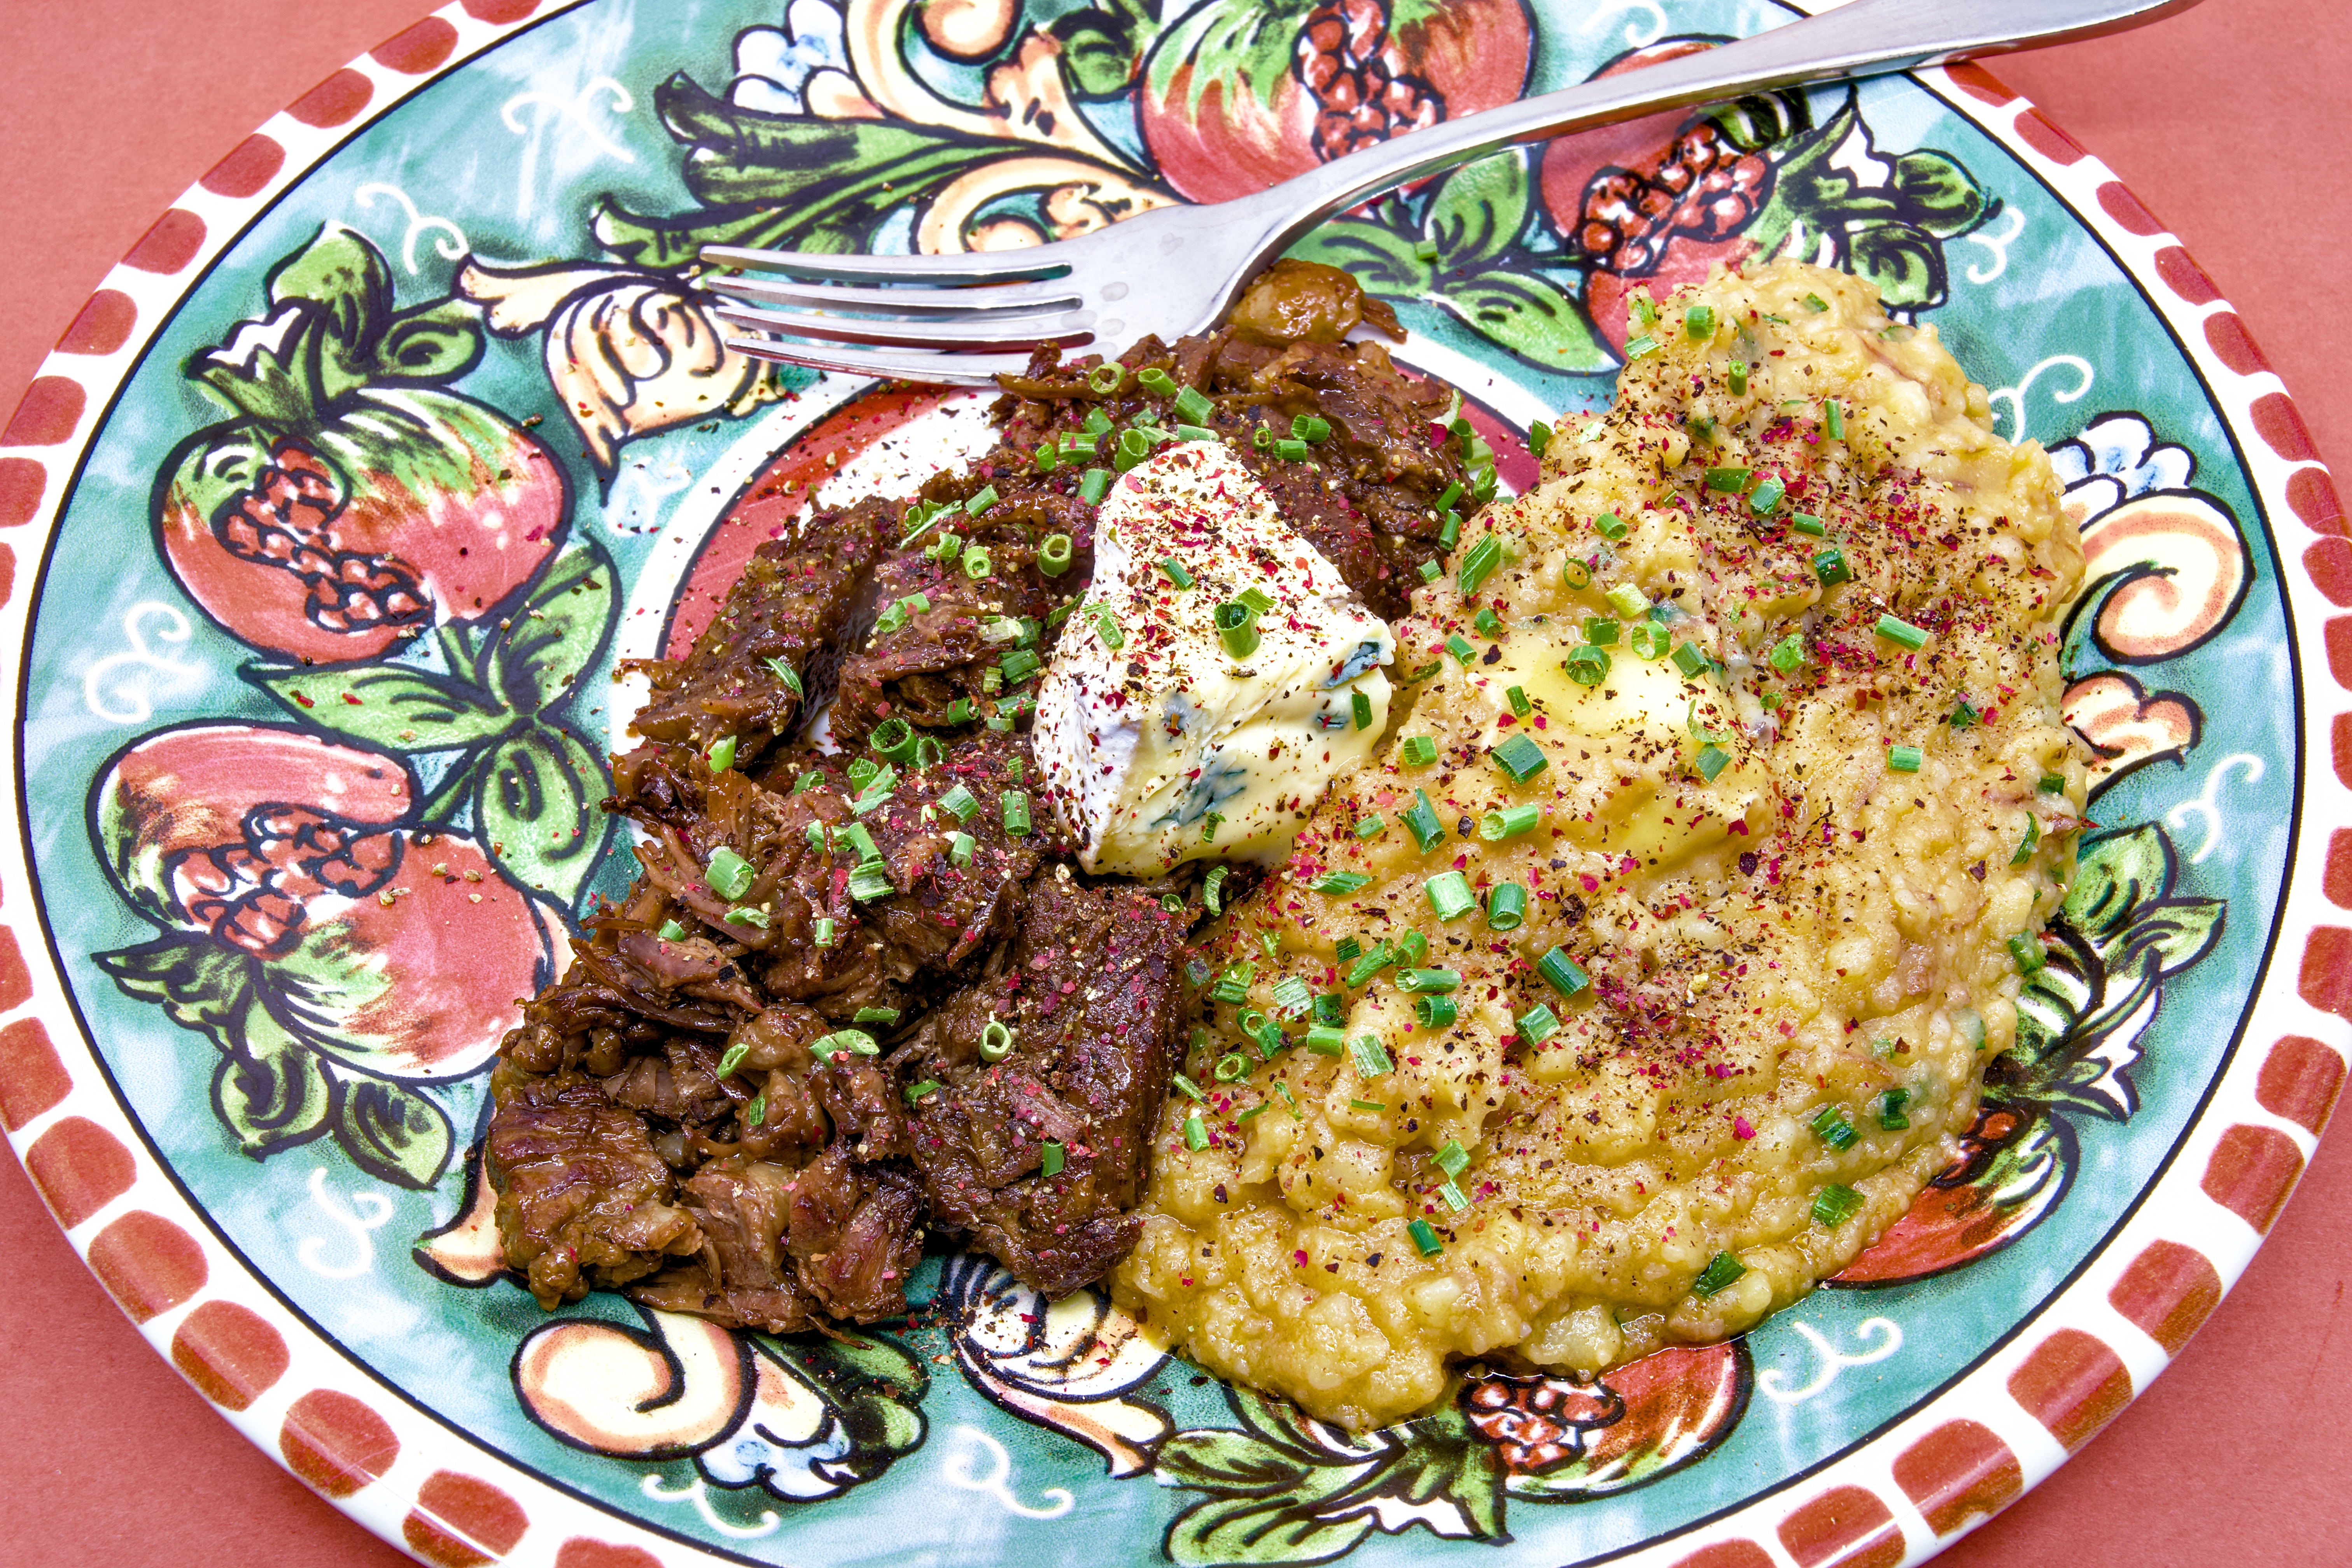
    This dish features beef short ribs and potatoes, pressure-cooked and chilled overnight to develop their rich flavours. The beef is gently hashed in a skillet until perfectly tender, served alongside buttery, fork-mashed potatoes folded with creamy blue brie. Topped with an extra chunk of brie, chives, and cracked peppercorns for the perfect finish.

    This dish features beef short ribs and potatoes, pressure-cooked and chilled overnight to develop their rich flavours. The beef is gently hashed in a skillet until perfectly tender, served alongside buttery, fork-mashed potatoes folded with creamy blue brie. Topped with an extra chunk of brie, chives, and cracked peppercorns for the perfect finish.
    Fediverse Reactions
  • Croissant sandwiches

    Croissant sandwiches


    A buttery reflection on steak, corned beef, and why a fresh croissant may be better than ordinary sandwich bread.

    There are moments in life when an ordinary sandwich loaf simply will not do. This week, fresh croissants found themselves pressed into sandwich service, and I am not sure I want to go back to standard bread any time soon.

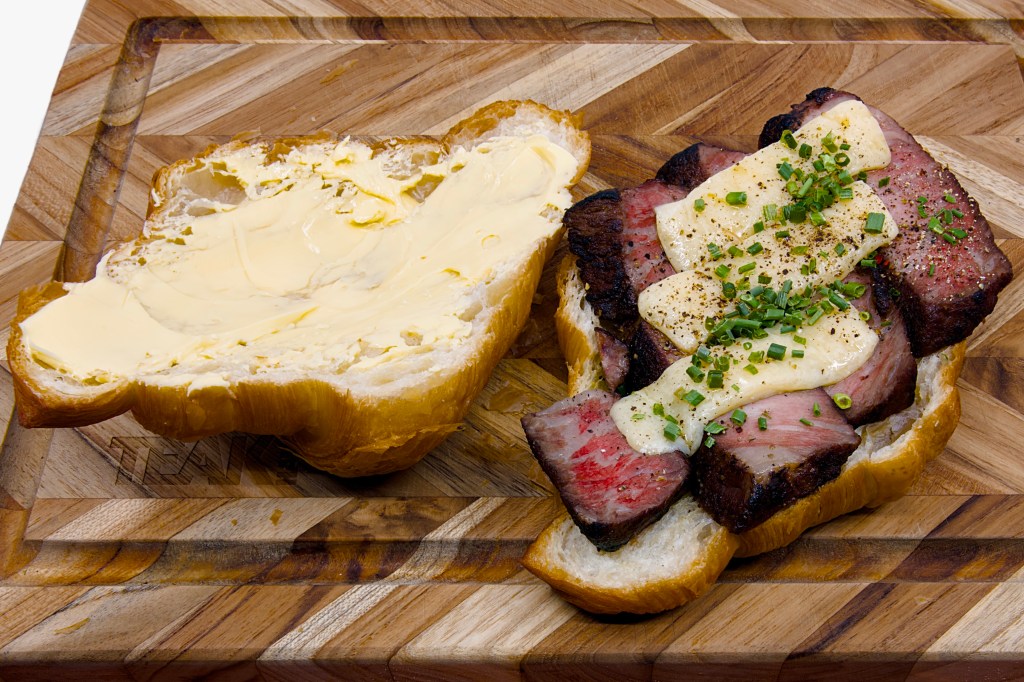
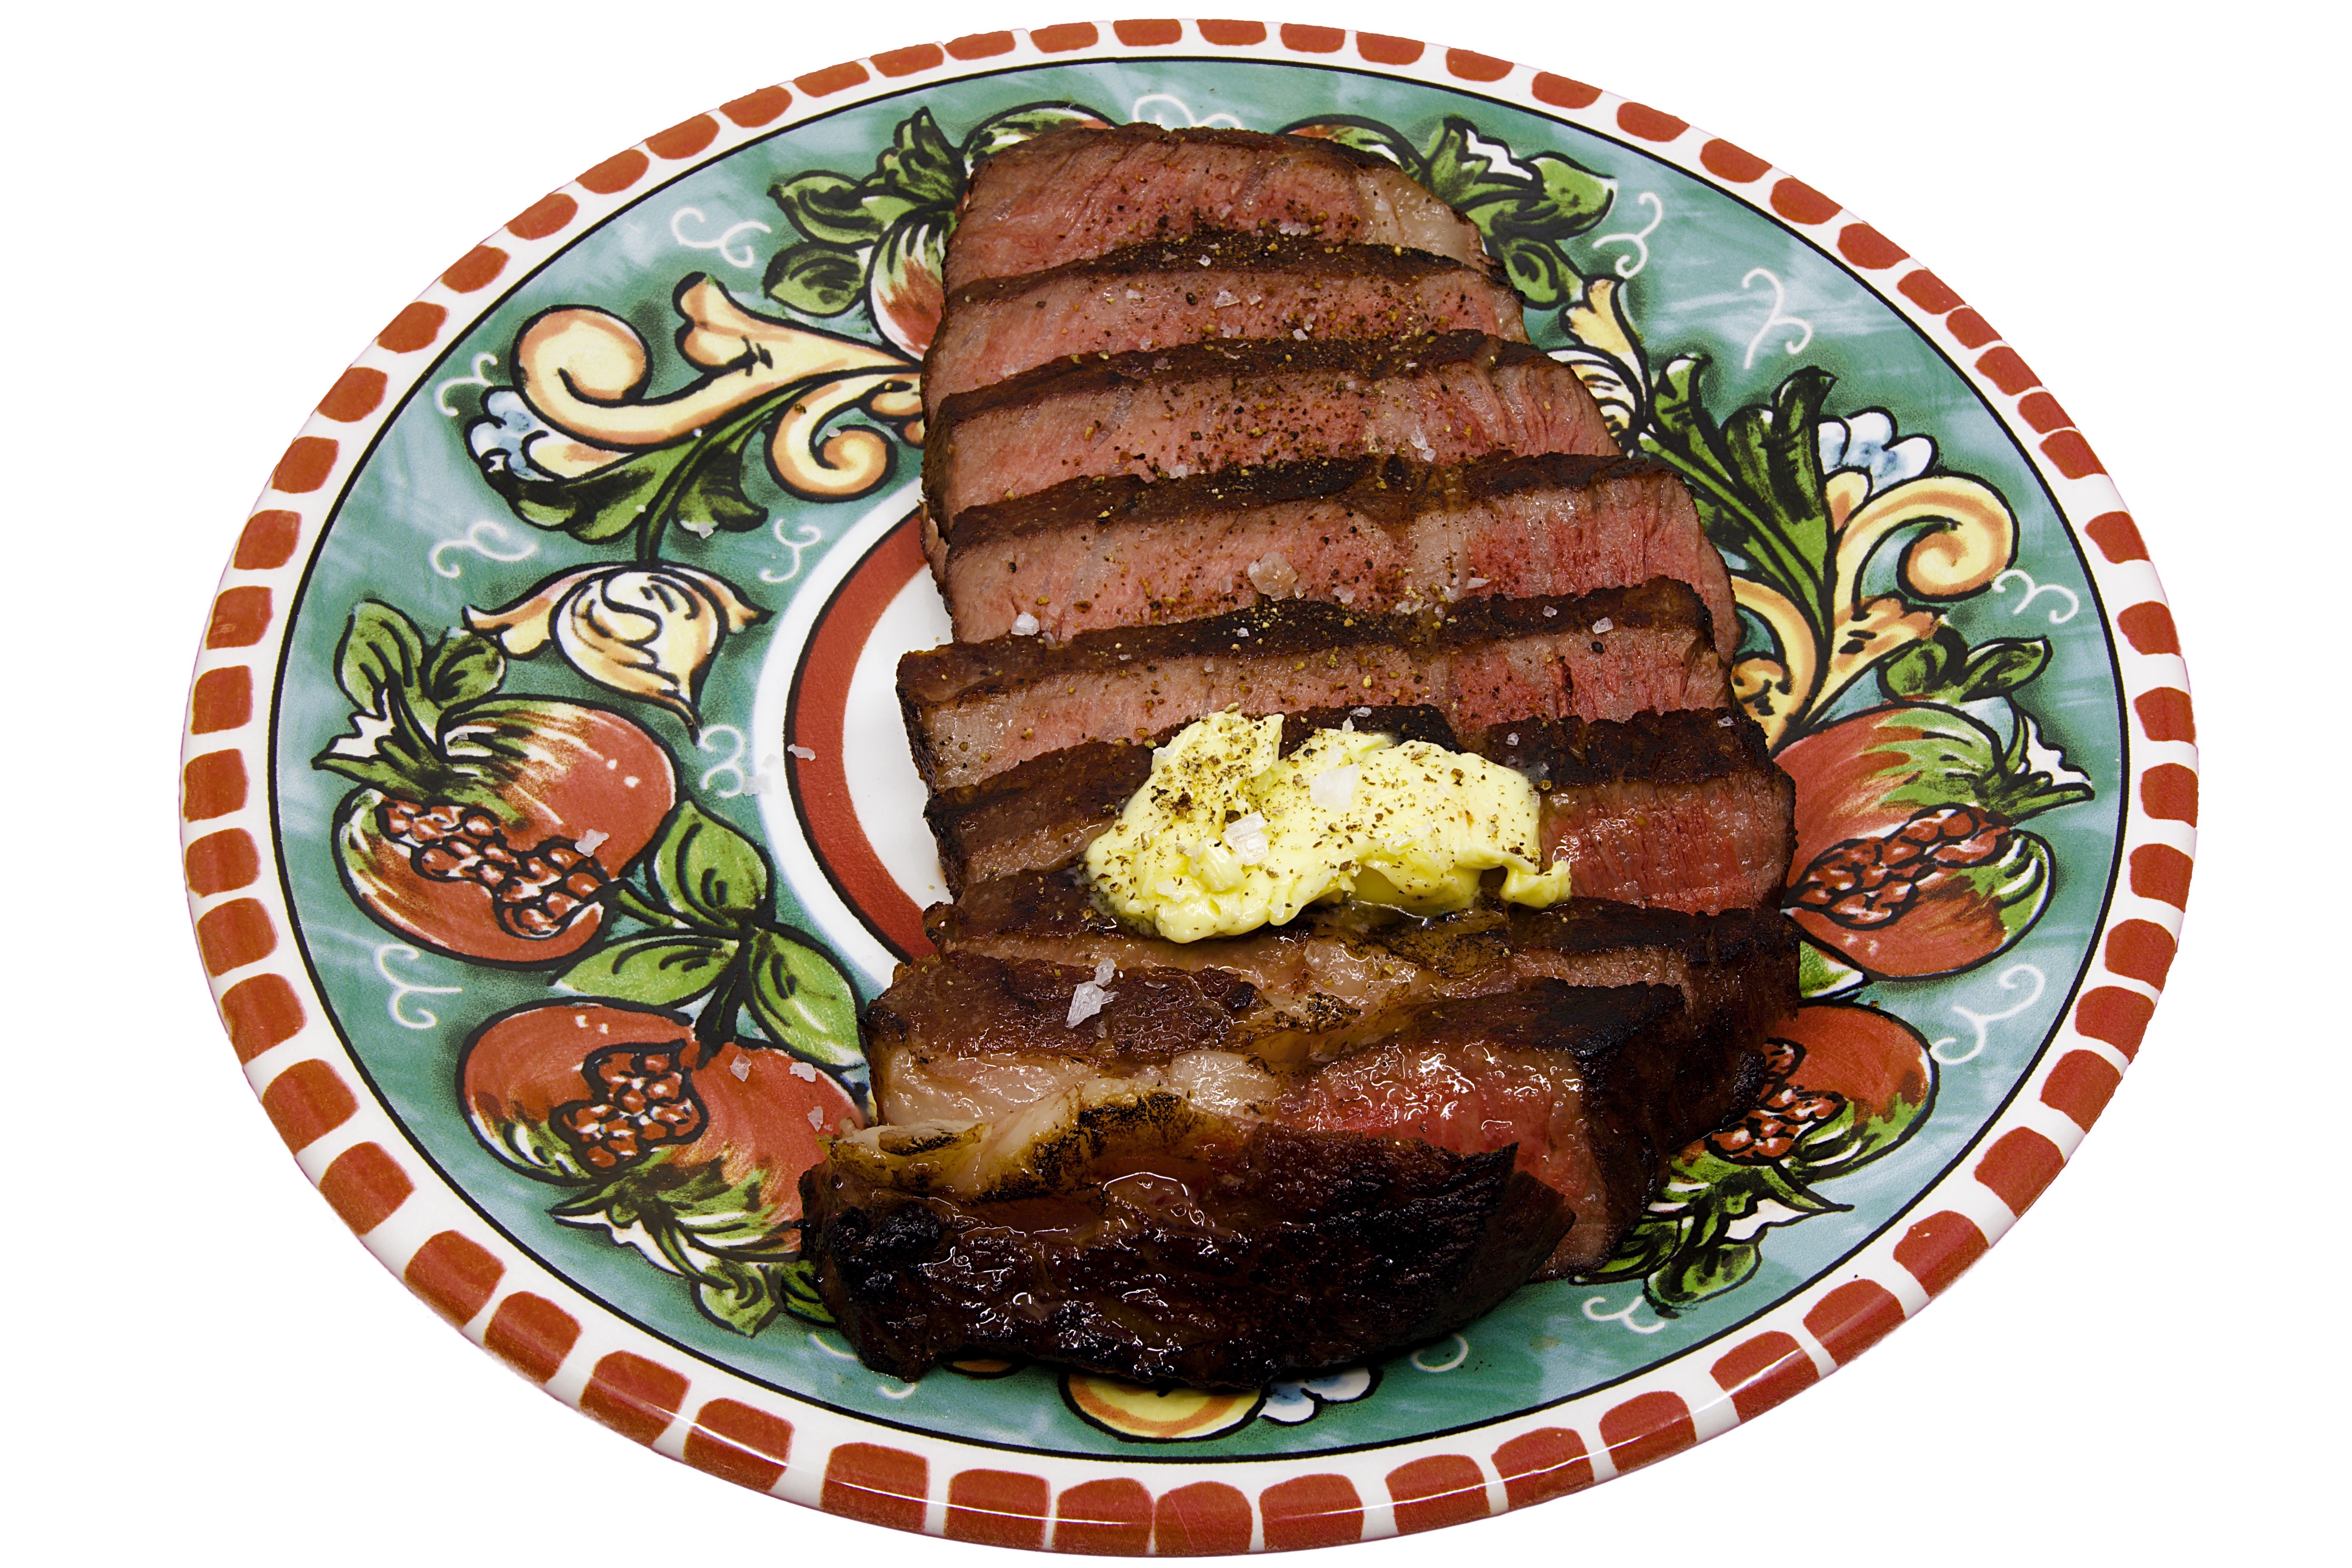
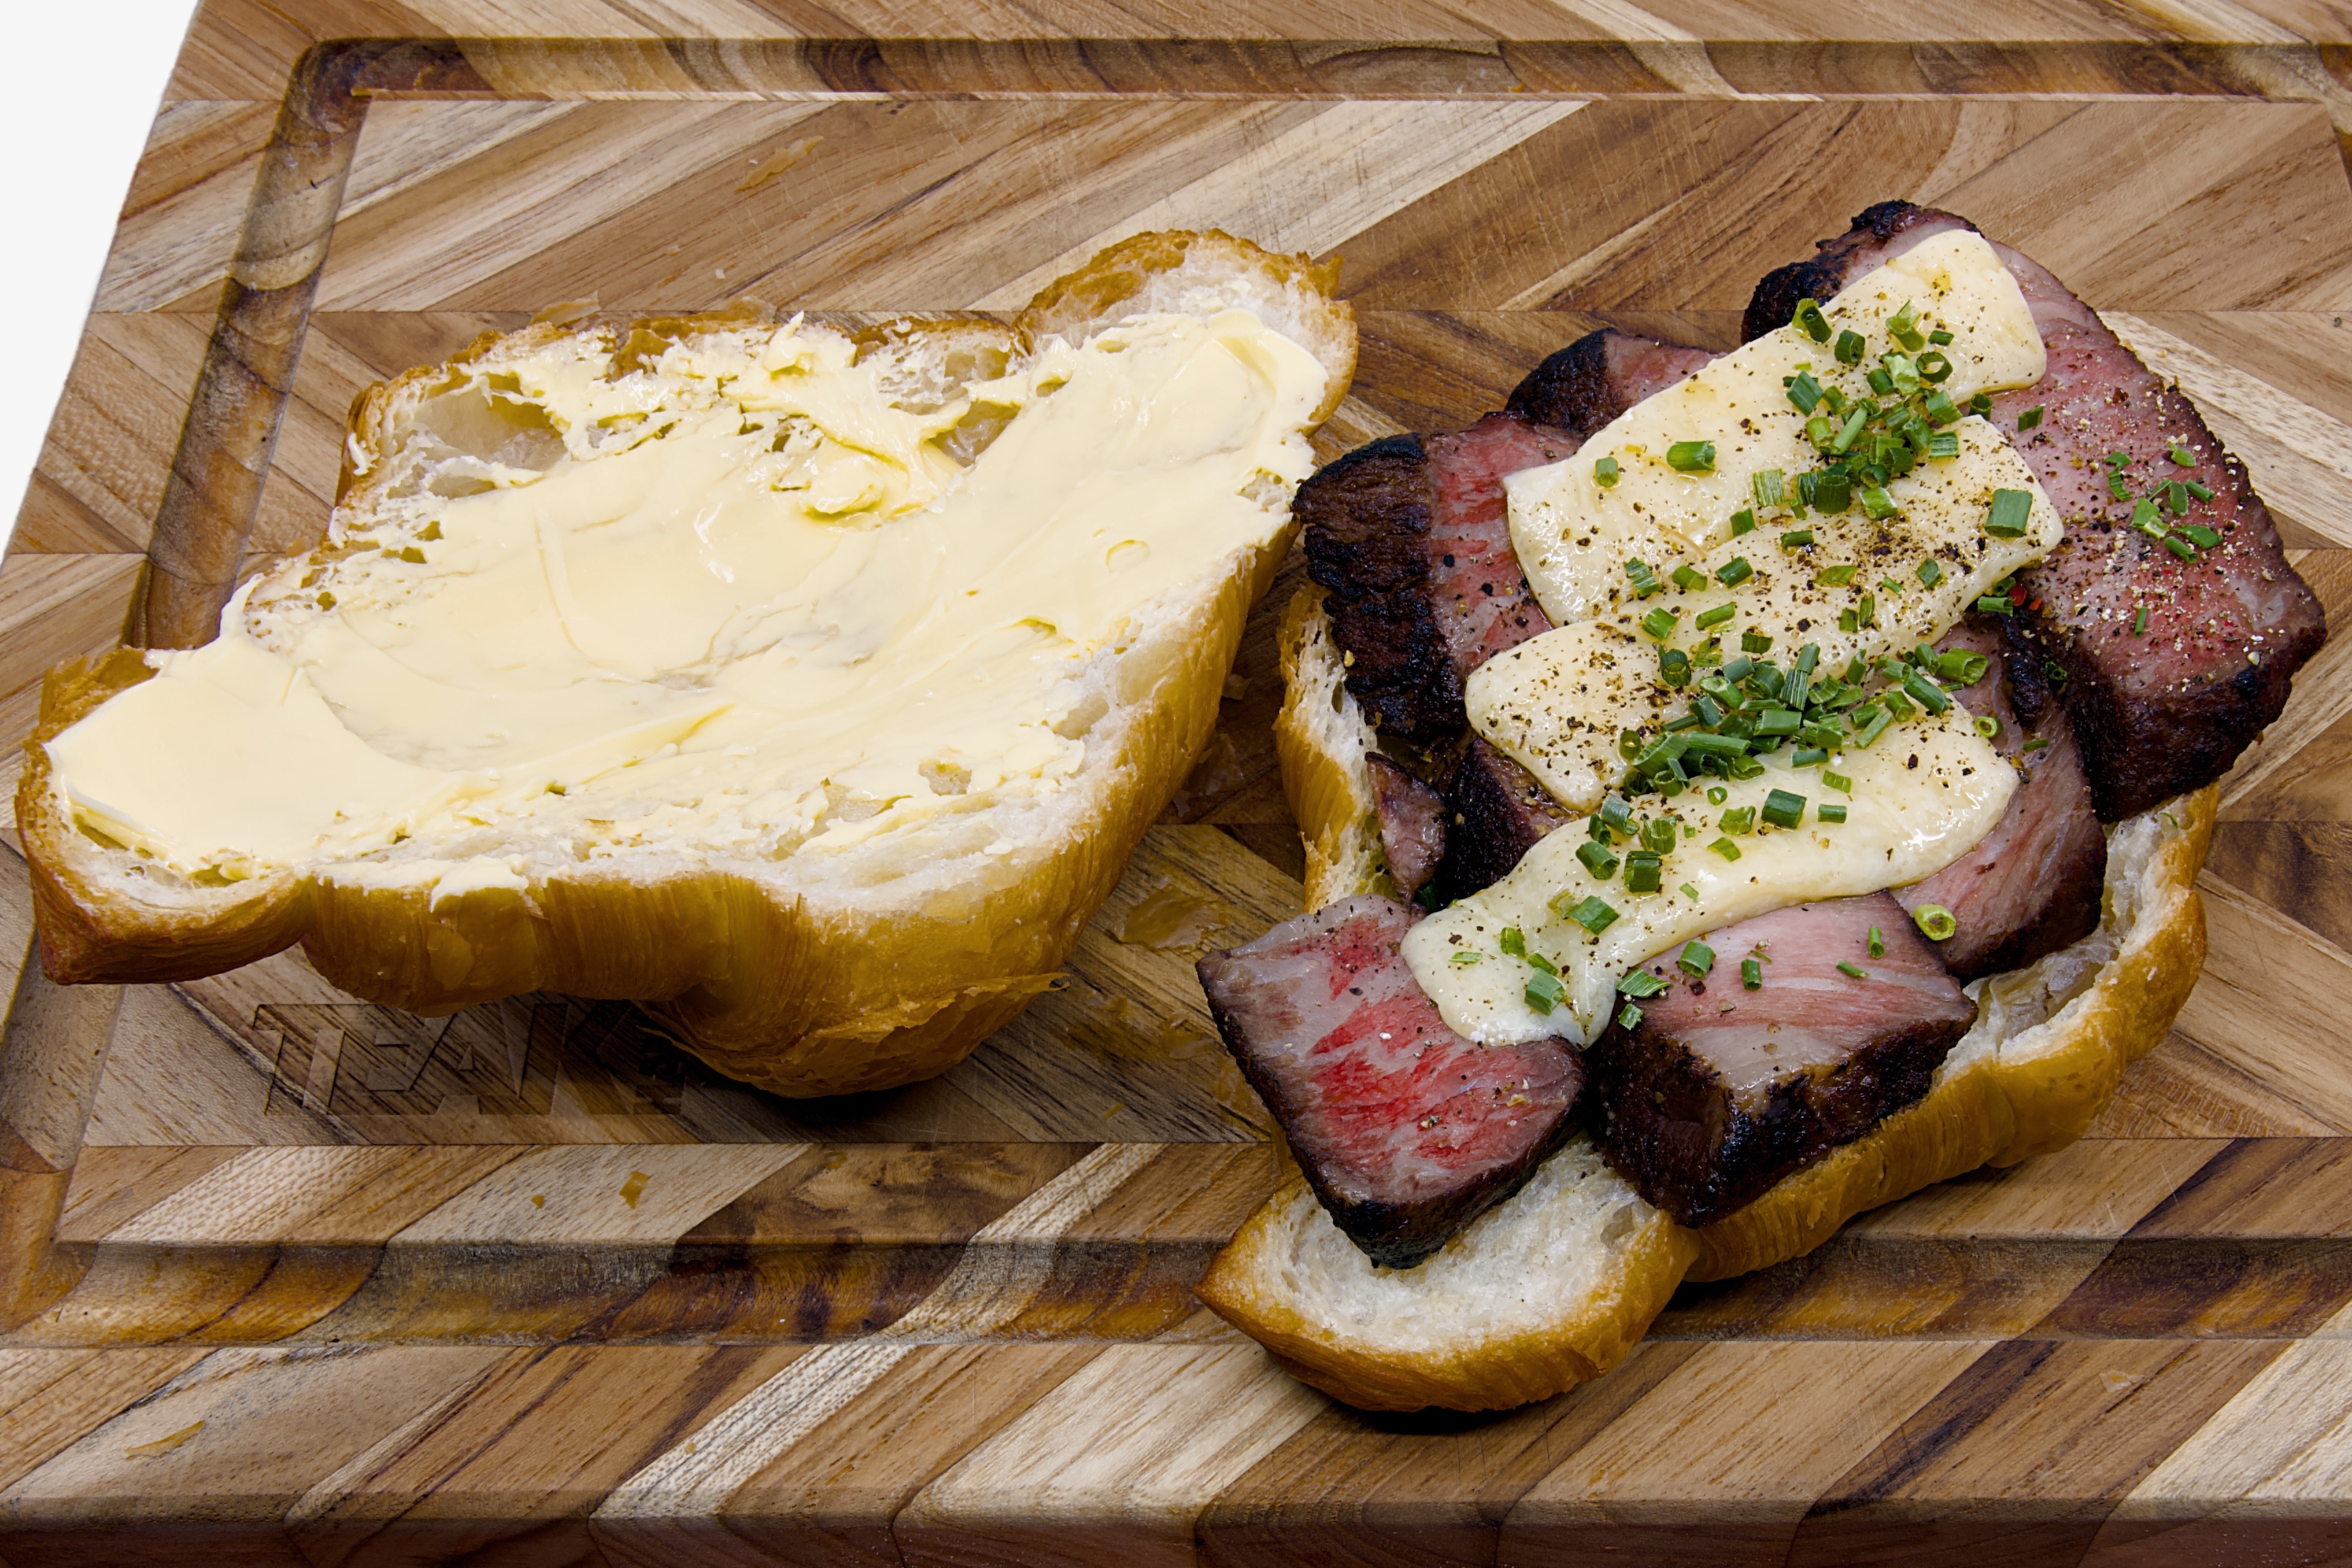
    The first experiment used leftover Scotch fillet strips, vintage cheddar, and cultured butter. The croissant was split, the base was buttered, the beef and cheese were layered over the top, and the whole lot had five minutes in the air fryer. The lid received another smear of cultured butter after it cooled slightly because, apparently, I had decided moderation was a spectator sport.

    The result was probably the best steak sandwich I have eaten in many, many years. There was flaky pastry, savoury beef, melted cheese, and enough cultured butter to make the croissant feel deeply appreciated.

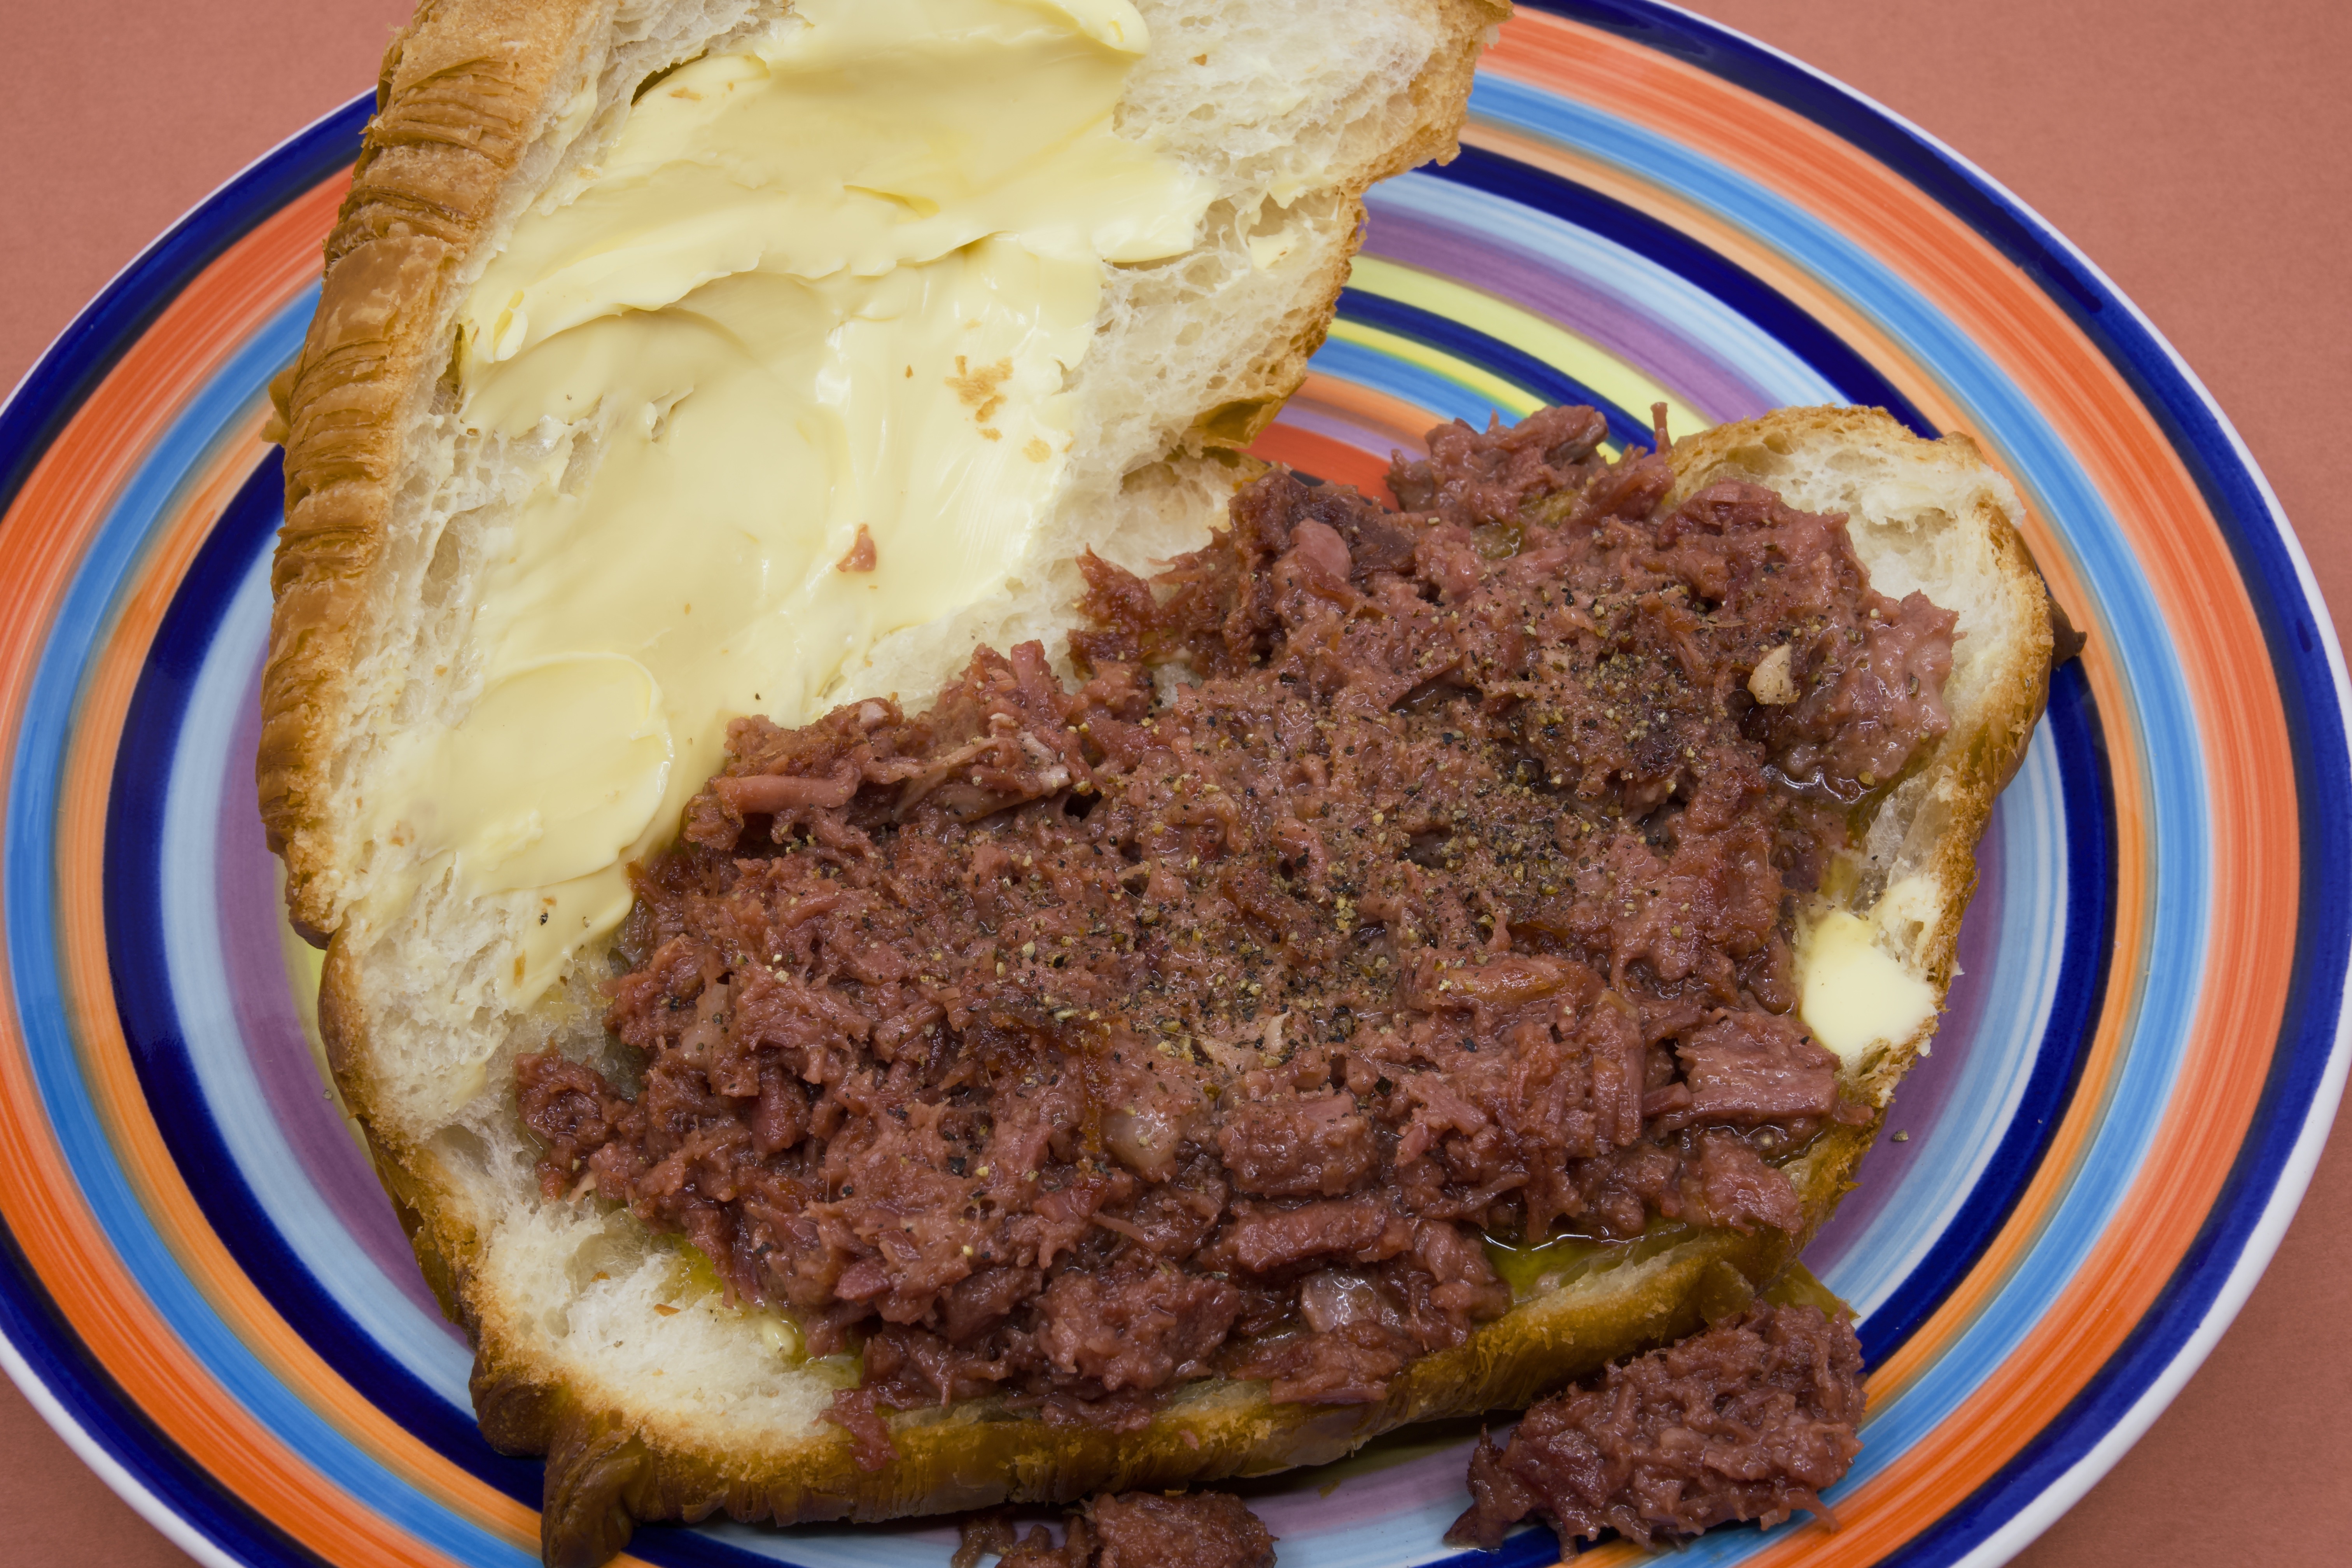
    Not content with one success, I repeated the experiment with hashed corned beef from a tin. The corned beef was gently sautéed in a skillet until the fat rendered and the meat took on a little colour without becoming dry. Because the meat was hashed, it spread beautifully over the croissant base.

    The warm corned beef met the generously buttered croissant, and the cultured butter melted through the pastry layers. This was not high ceremony. This was practical with a French accent and a very happy ending.

    Open butter croissant sandwich on a colourful striped plate, topped with a generous layer of pan-fried hashed corned beef. Thick cultured butter is spread across the upper half of the flaky croissant and has begun to melt into the pastry. The corned beef filling is lightly browned and seasoned with black pepper, with a small amount spilling onto the plate. The image highlights the contrast between the buttery golden croissant, rich pink corned beef, and brightly coloured plate.

    Why a Croissant Works So Well as Sandwich Bread

    A good sandwich loaf has one job: it holds the filling together. A good croissant does more than hold things. It participates. The laminated layers bring crispness, tenderness, and buttery richness. The exterior flakes, the interior stays soft, and every bite has more texture than a plain slice of bread can usually manage.

    That does not mean a croissant is right for every sandwich. A towering salad sandwich on a croissant may end with lettuce, tomato, and regret on your lap. However, with rich fillings such as steak, cheddar, ham, egg, chicken, or corned beef, a croissant can be just as good as ordinary bread, and possibly better. It is not merely a vehicle. It is the co-driver.

    The Nutritional Question

    Let us address the buttery elephant in the room. Nobody reaches for a croissant because it is dressed as a health food. A traditional butter croissant is more energy-dense than ordinary sandwich bread because it is made with laminated dough, in which butter is folded into the dough repeatedly to create those crisp, flaky layers.

    Approximate Nutrition per Butter Croissant

    Nutrientper large croissant
    Energy1,300–1,600 kJ
    Protein6–8 g
    Fat17–22 g
    Saturated fat10–13 g
    Carbohydrate30–40 g
    Sugars5–8 g
    Dietary fibre1–3 g
    Sodium250–450 mg

    The exact numbers will vary according to the baker, size, butter content, and whether the croissant is plain or filled. Once you add Scotch fillet, vintage cheddar, hashed corned beef, and cultured butter, the numbers change again. The beef lifts the protein and iron, the cheese adds protein and calcium, the corned beef contributes protein, iron, vitamin B12, and sodium, and the butter contributes joy, which nutrition panels still stubbornly refuse to measure.

    From a low-carbohydrate perspective, a croissant is not an everyday staple. From a culinary perspective, however, it is an occasional indulgence that can transform a simple sandwich into something memorable.

    Would the French Approve?

    Possibly. Traditional French breakfasts often feature croissants served simply with coffee, tea, hot chocolate, butter, or jam. The classic version is uncomplicated: buy it fresh, eat it fresh, and preferably enjoy it before the flakes have time to settle into your shirt.

    That said, France is not unfamiliar with savoury croissants. Café counters, bakeries, and takeaway shops commonly sell croissants filled with ham, cheese, chicken, or other savoury ingredients. Some pastry purists may object to using a croissant for corned beef, but food rules are often most interesting when they meet a hungry person holding cultured butter.

    A Brief, Buttery History

    The croissant is closely associated with France, but its ancestry is more complicated. Food historians commonly link it to the Austrian kipferl, a crescent-shaped bread or pastry that predates the modern French croissant. The croissant became distinct when French bakers applied yeasted laminated dough techniques, folding butter through dough to make the thin, airy layers that define the pastry today.

    Those layers do not happen by accident. Croissant dough is rolled, folded around butter, chilled, rolled again, folded again, shaped, proved, and baked. In the oven, water in the butter turns to steam, the layers lift, and the baker hopes the result is golden, crisp, and structured rather than a buttery landslide.

    A proper croissant is at its best on the day it is baked. The outside should shatter slightly, the inside should show an open honeycomb crumb, and the whole thing should make you feel that ordinary toast has taken the morning off.

    Final Thoughts

    Perhaps the lesson here is simple: croissants should not be confined by tradition. If a fresh croissant can elevate leftover Scotch fillet and vintage cheddar into a memorable steak sandwich, and transform humble hashed corned beef into something worth writing about, then it deserves greater recognition as sandwich bread.

    The French may debate pastry etiquette. I will be over here, applying another generous layer of cultured butter.

    Author’s note: No ordinary sandwich loaf was harmed during these experiments. Several croissants, however, made the ultimate sacrifice.

    An artificial intelligence large language model was exploited to generate some of the original text before review and editing. The images have not been edited using artificial intelligence.

    Fediverse Reactions