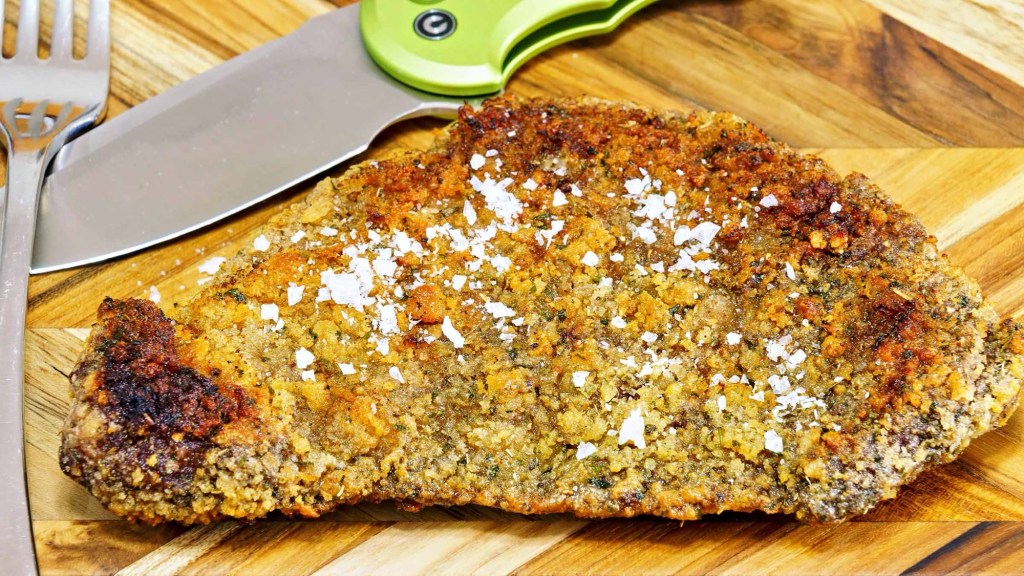
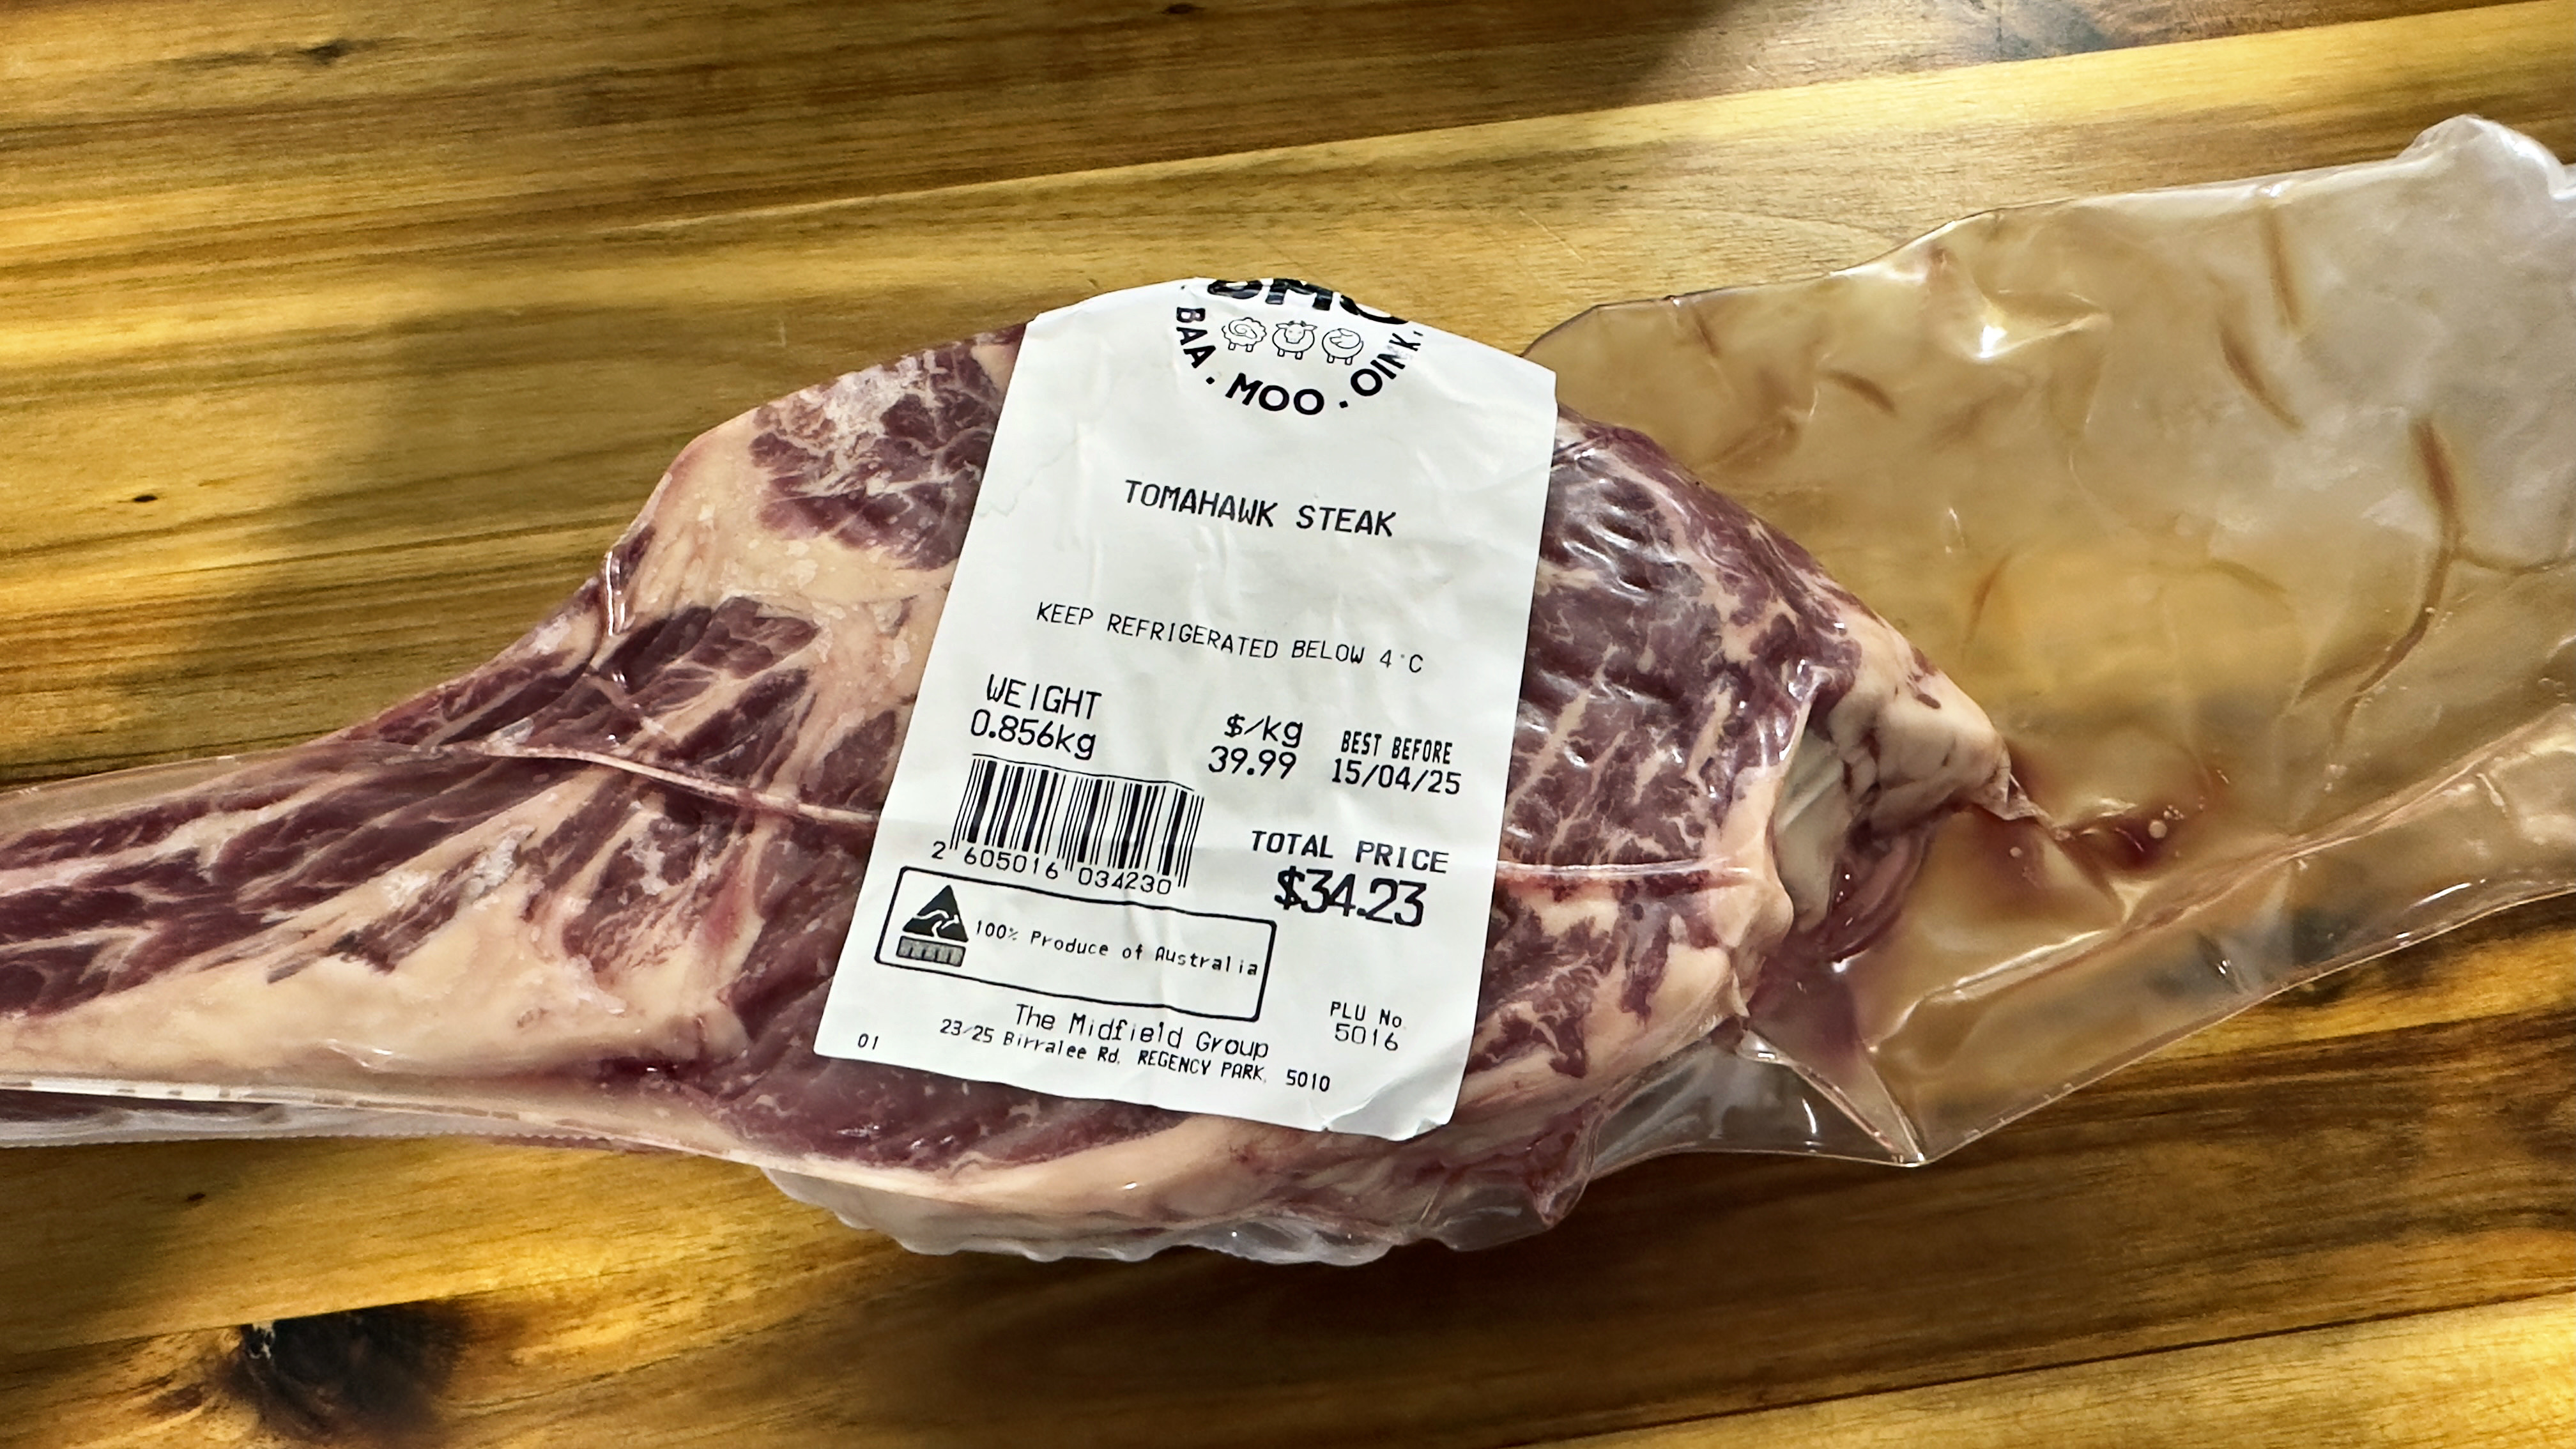
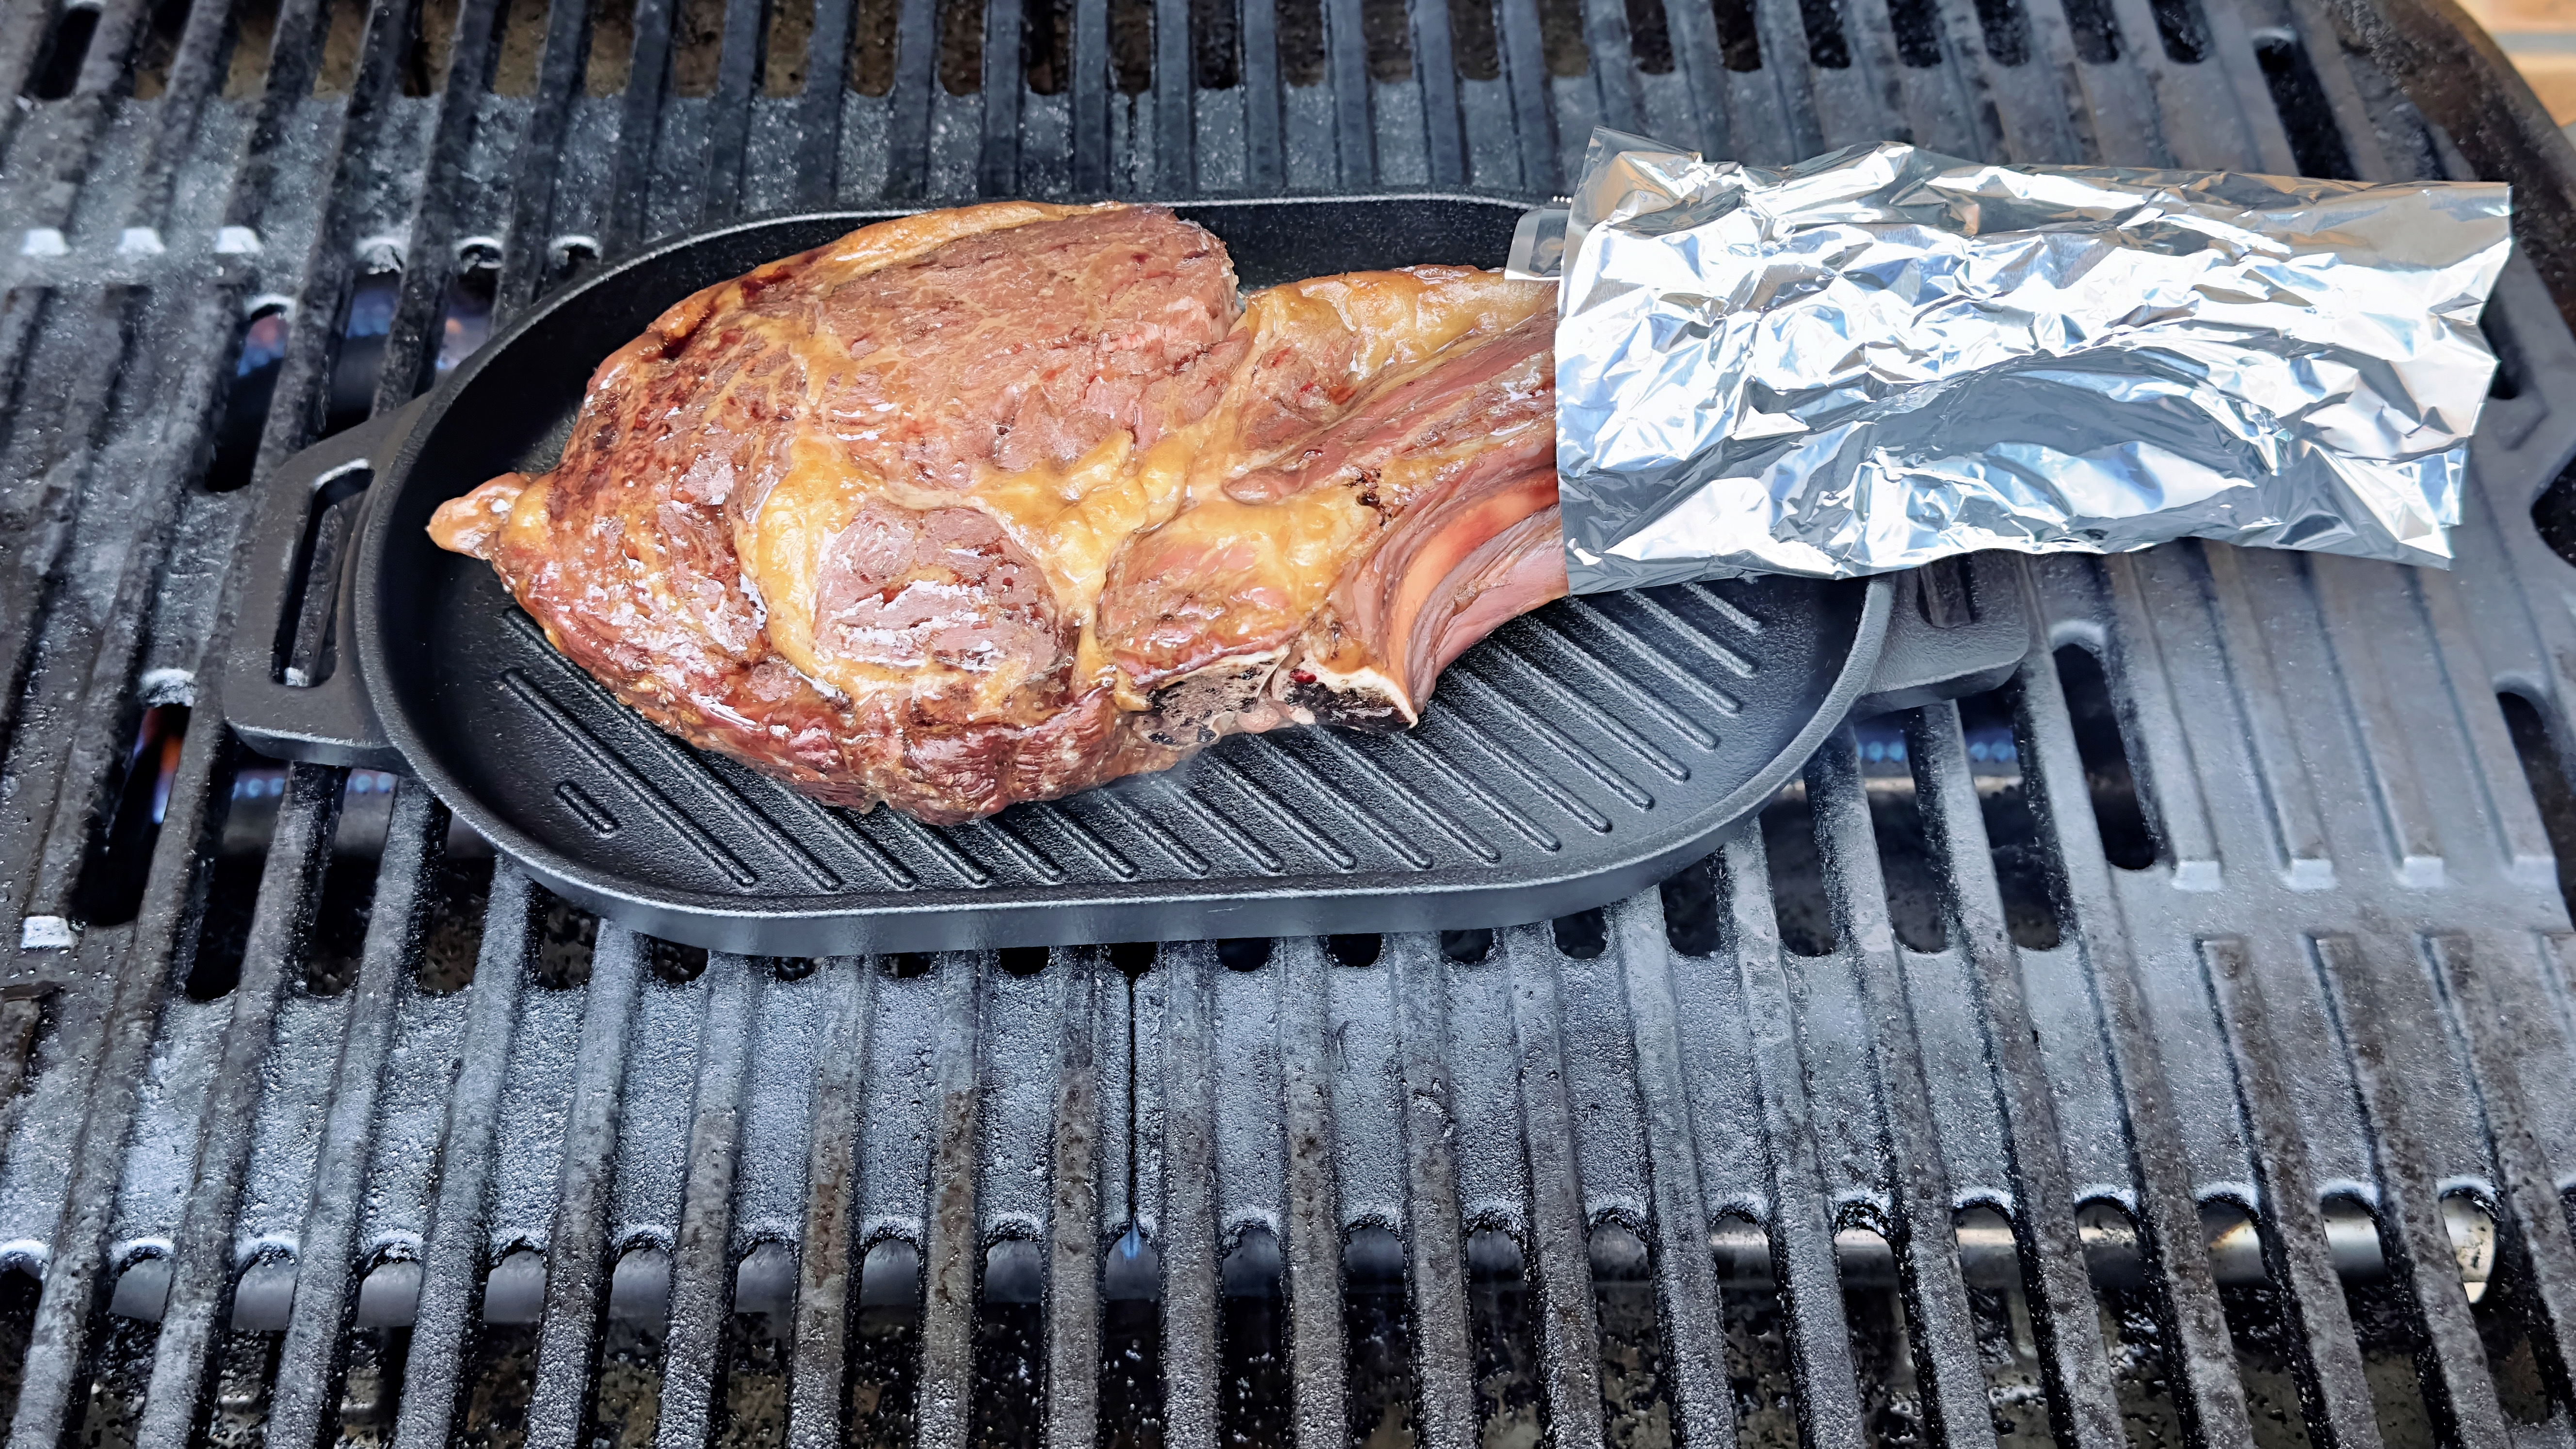
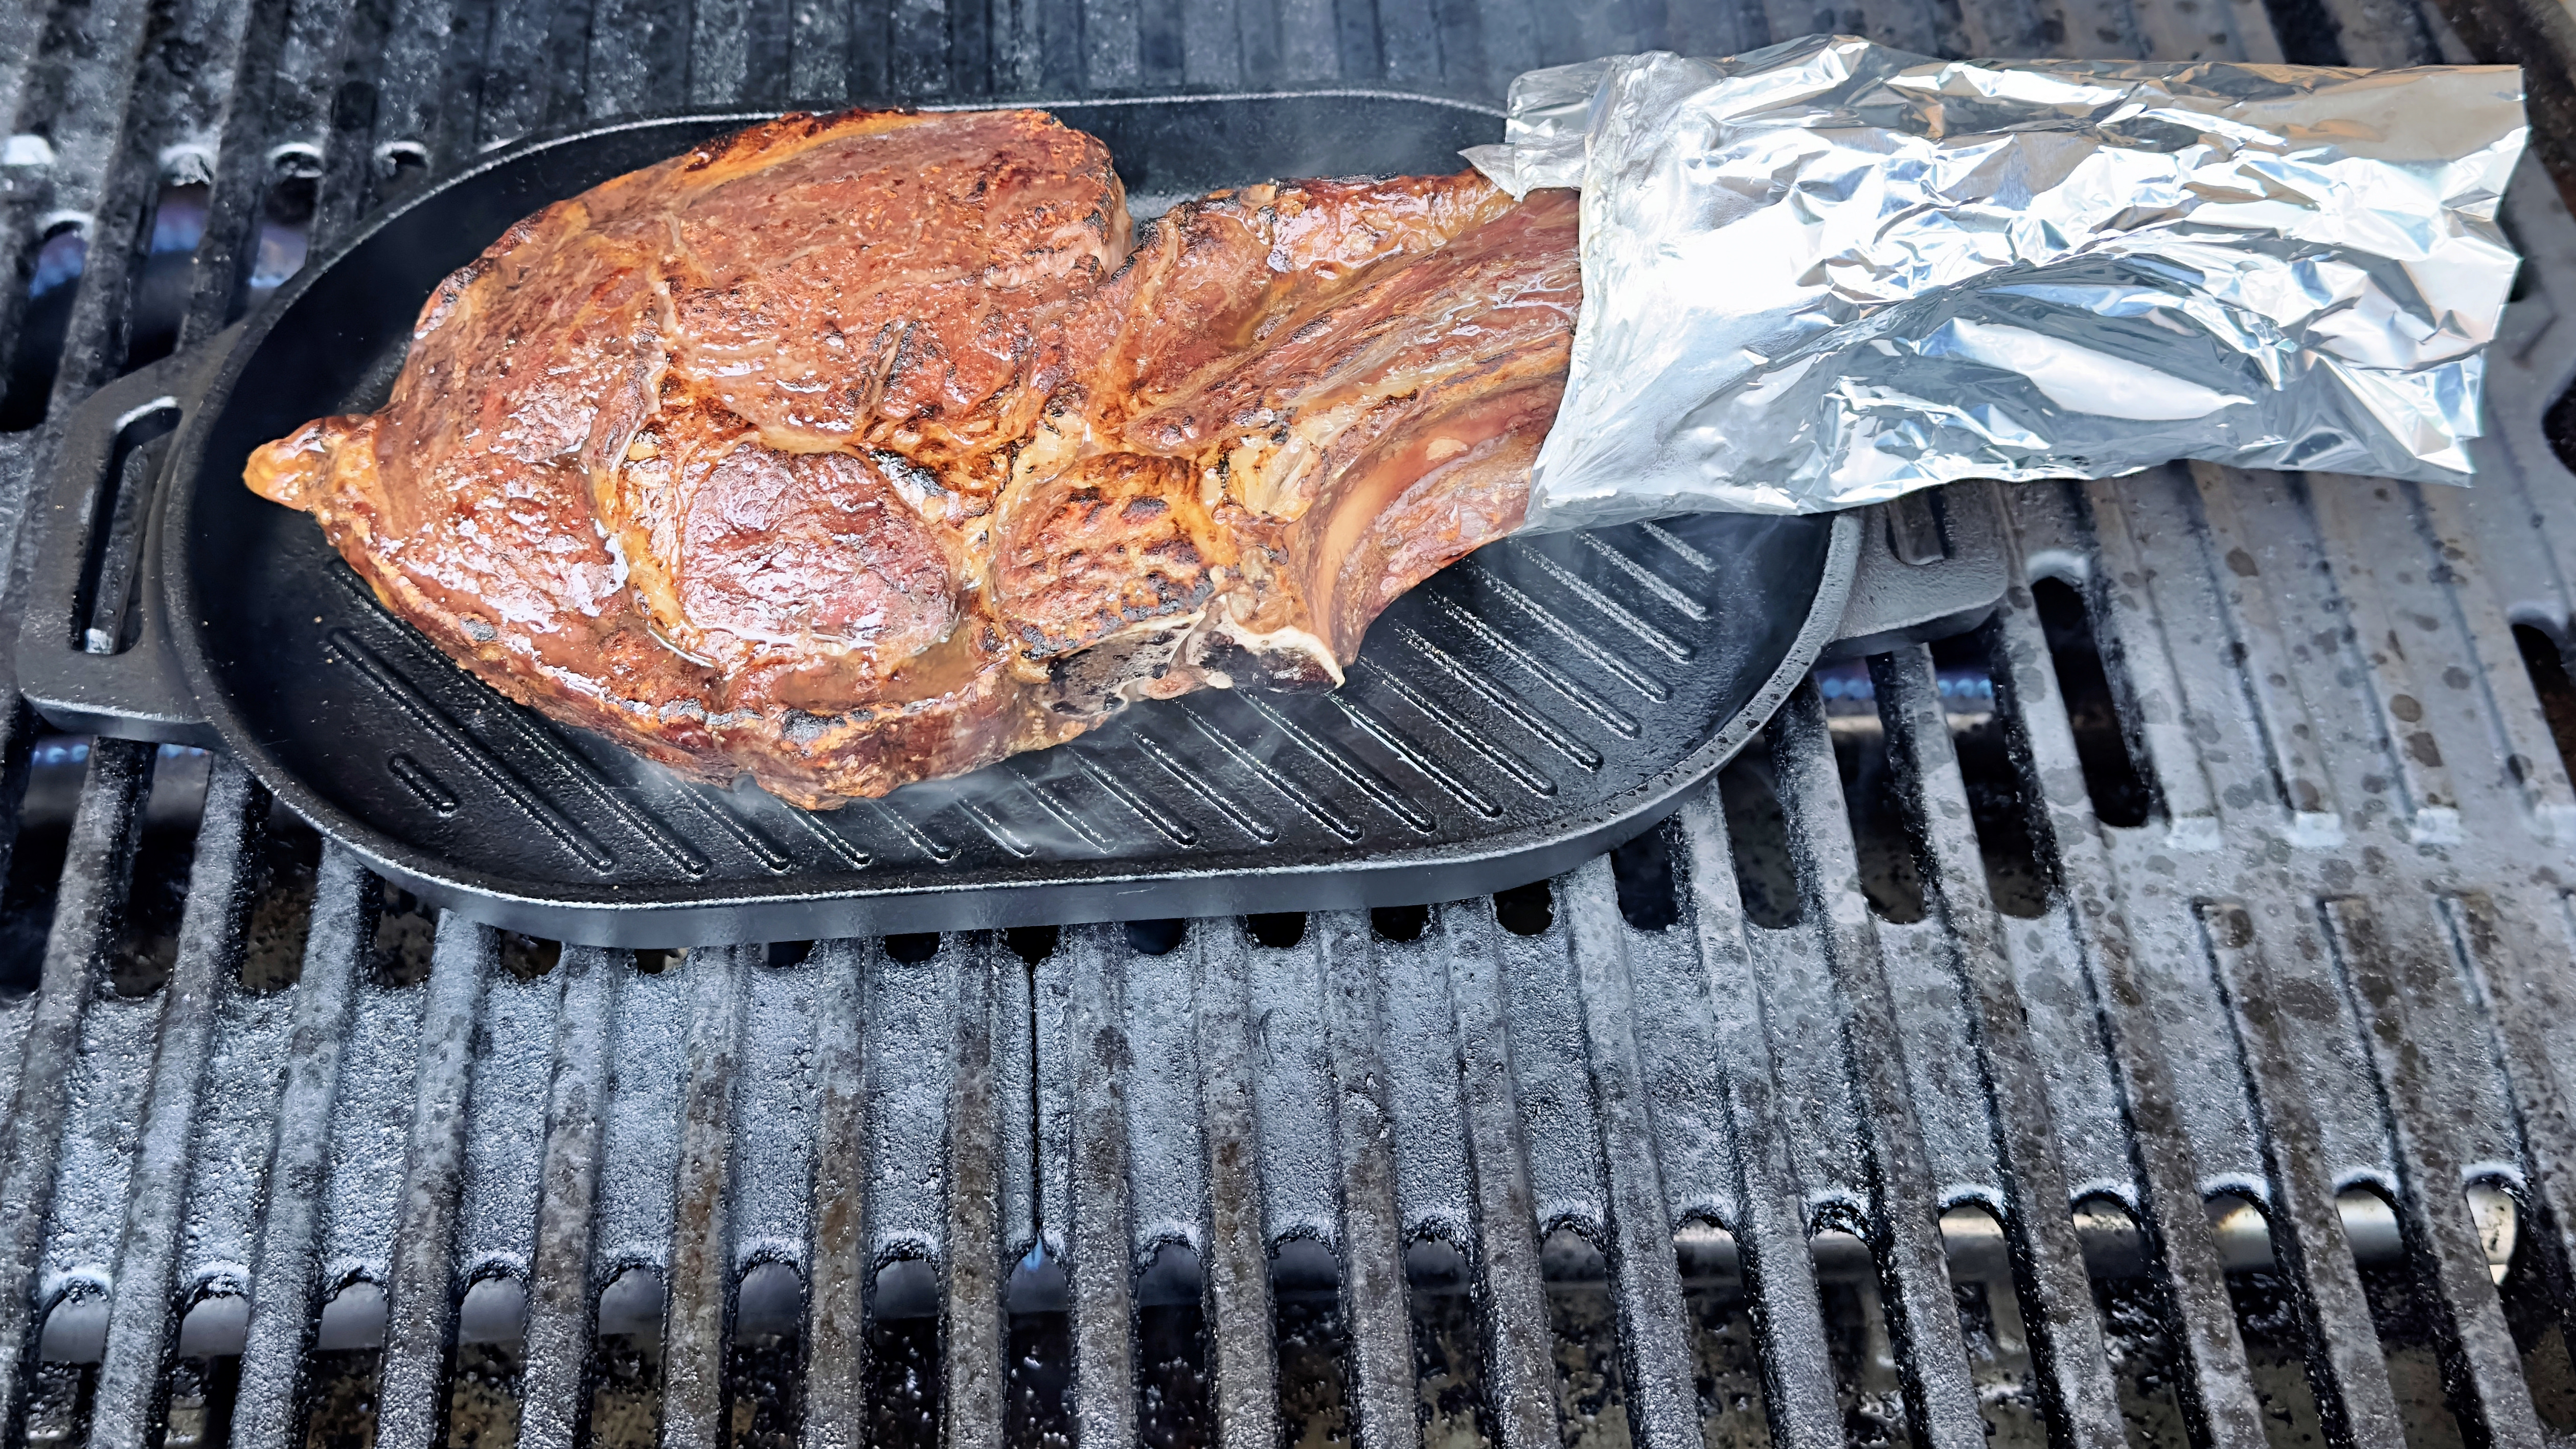
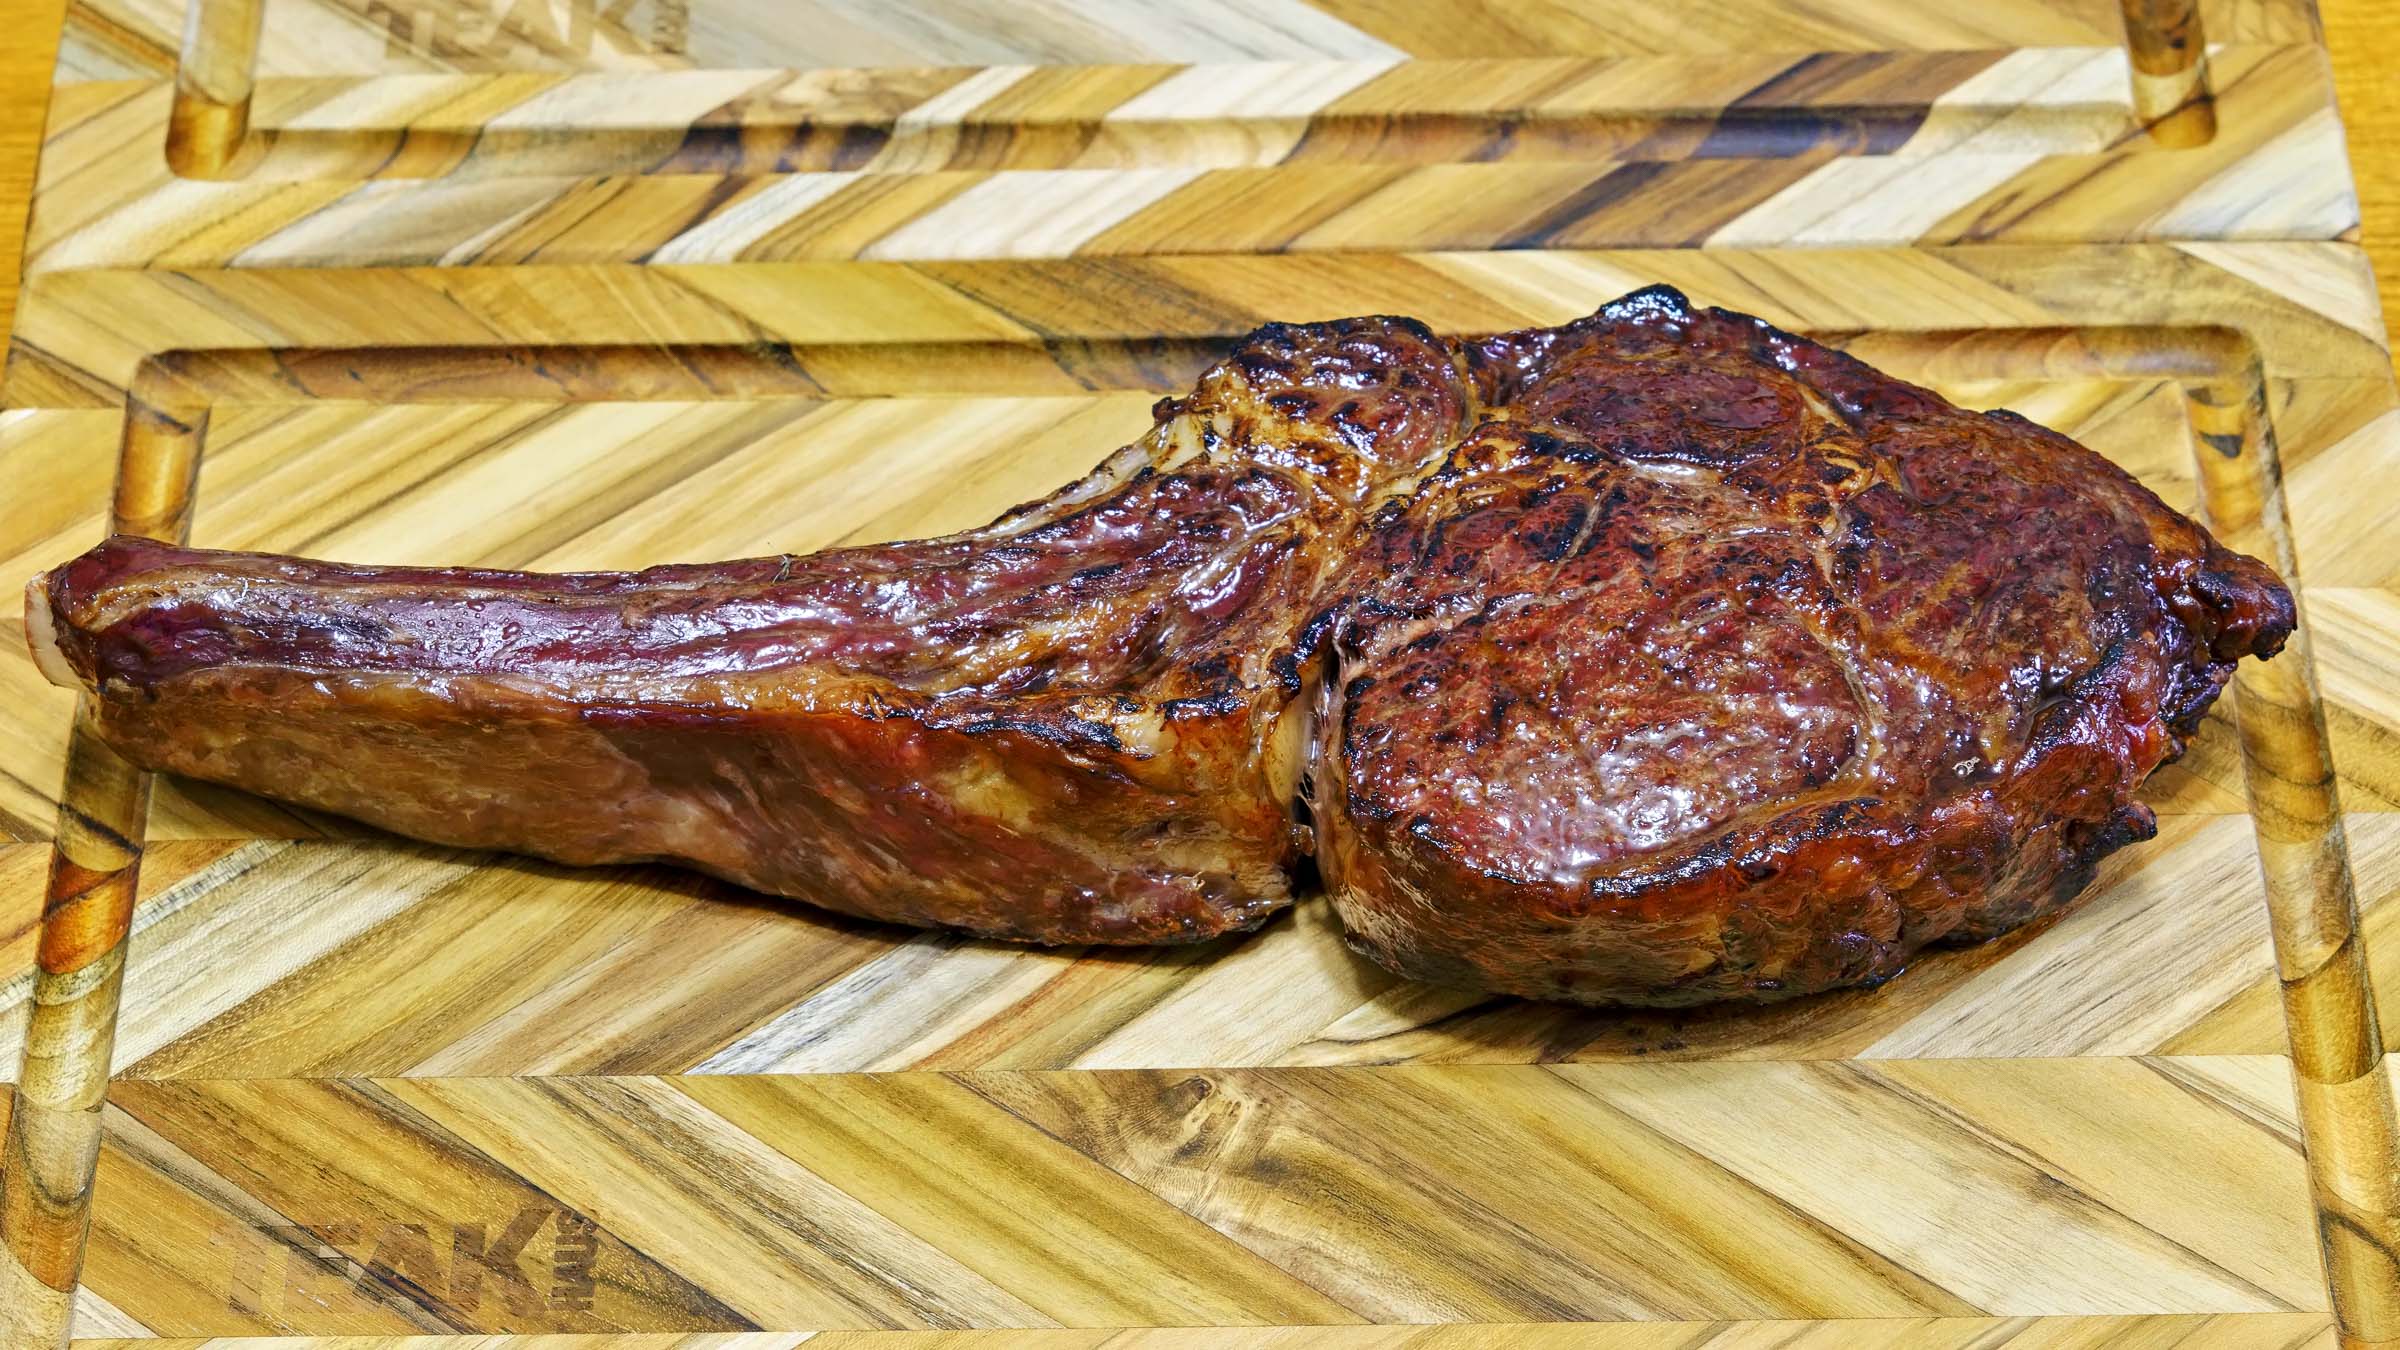
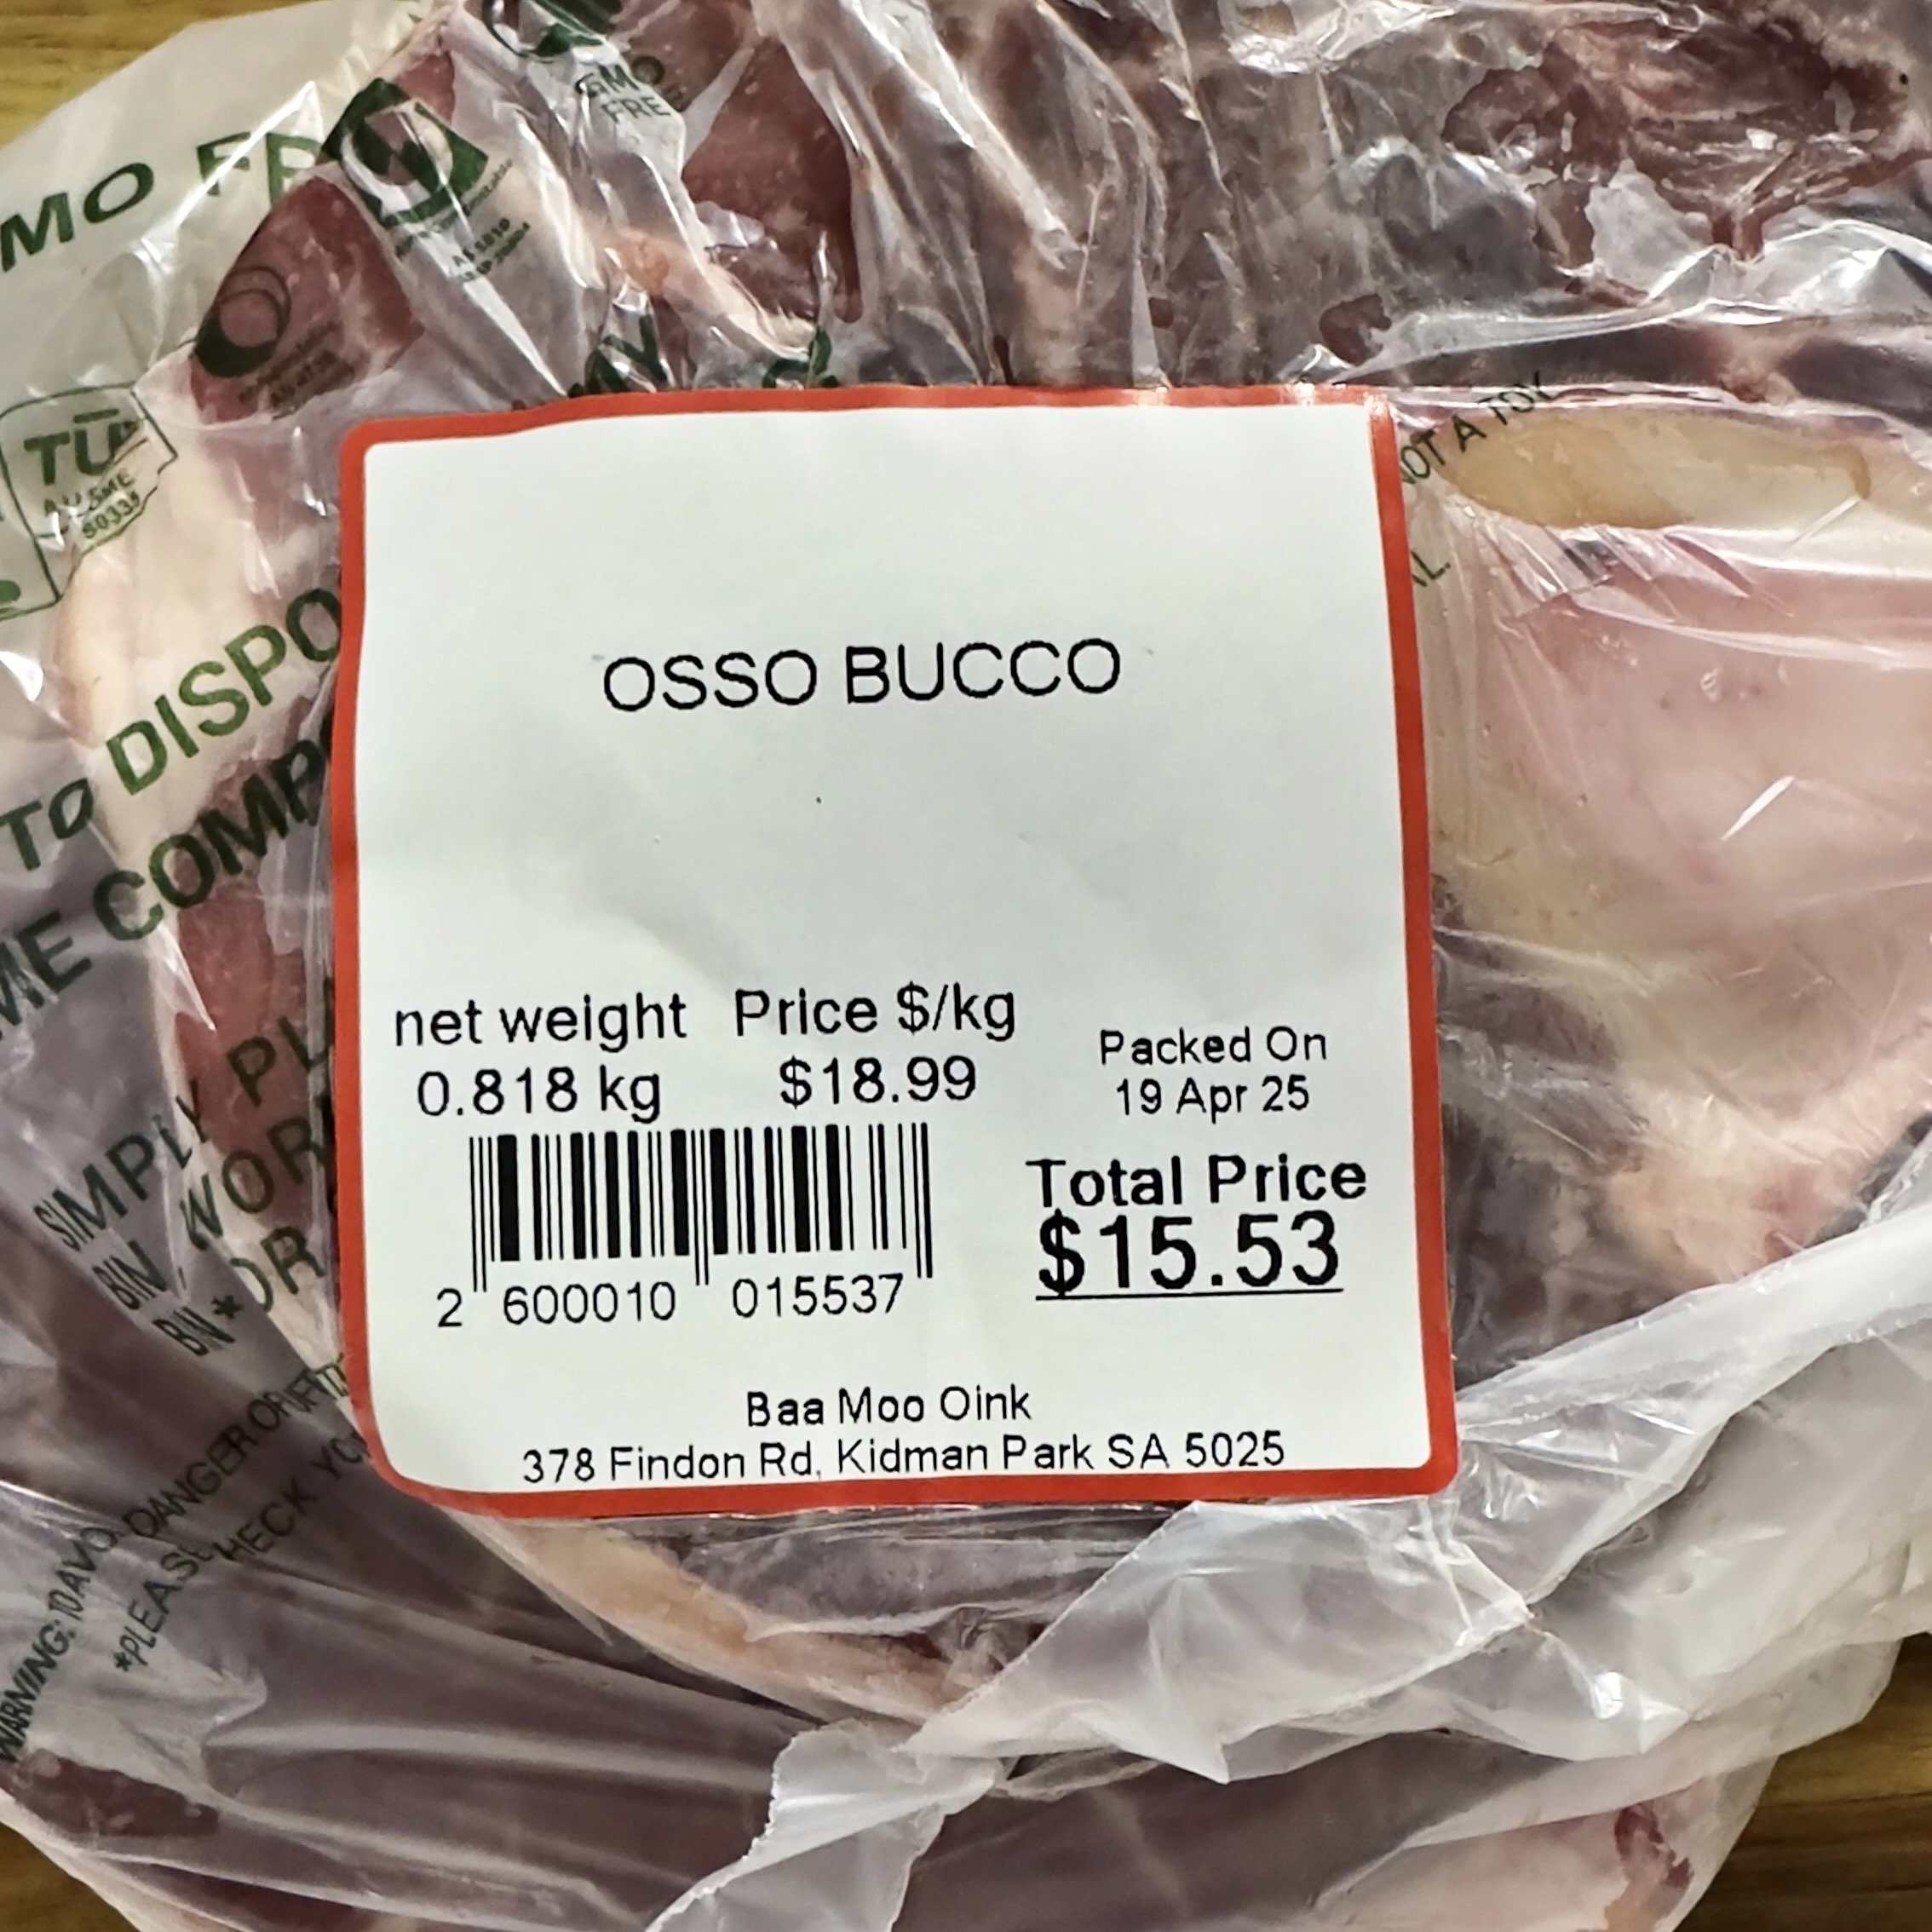
I was in the butcher’s yesterday, and in the main display, I saw some beef shank cross sections.
It’s been a while since I’ve cooked some shank meat.
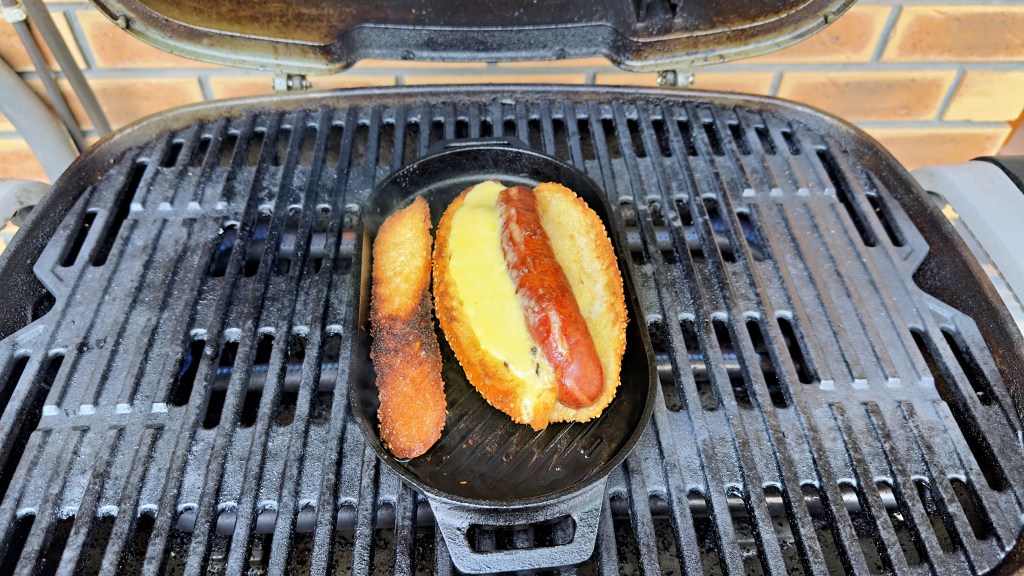
At $AUD18.99, the shanks weren’t cheap, but for the flavour from the bone marrow, I thought a couple of pieces were affordable. I thought I’d add some meat trimmings plus the leftover Kransky sausages from my democracy sausage adventure.
This would give me meat for lunches during the week.
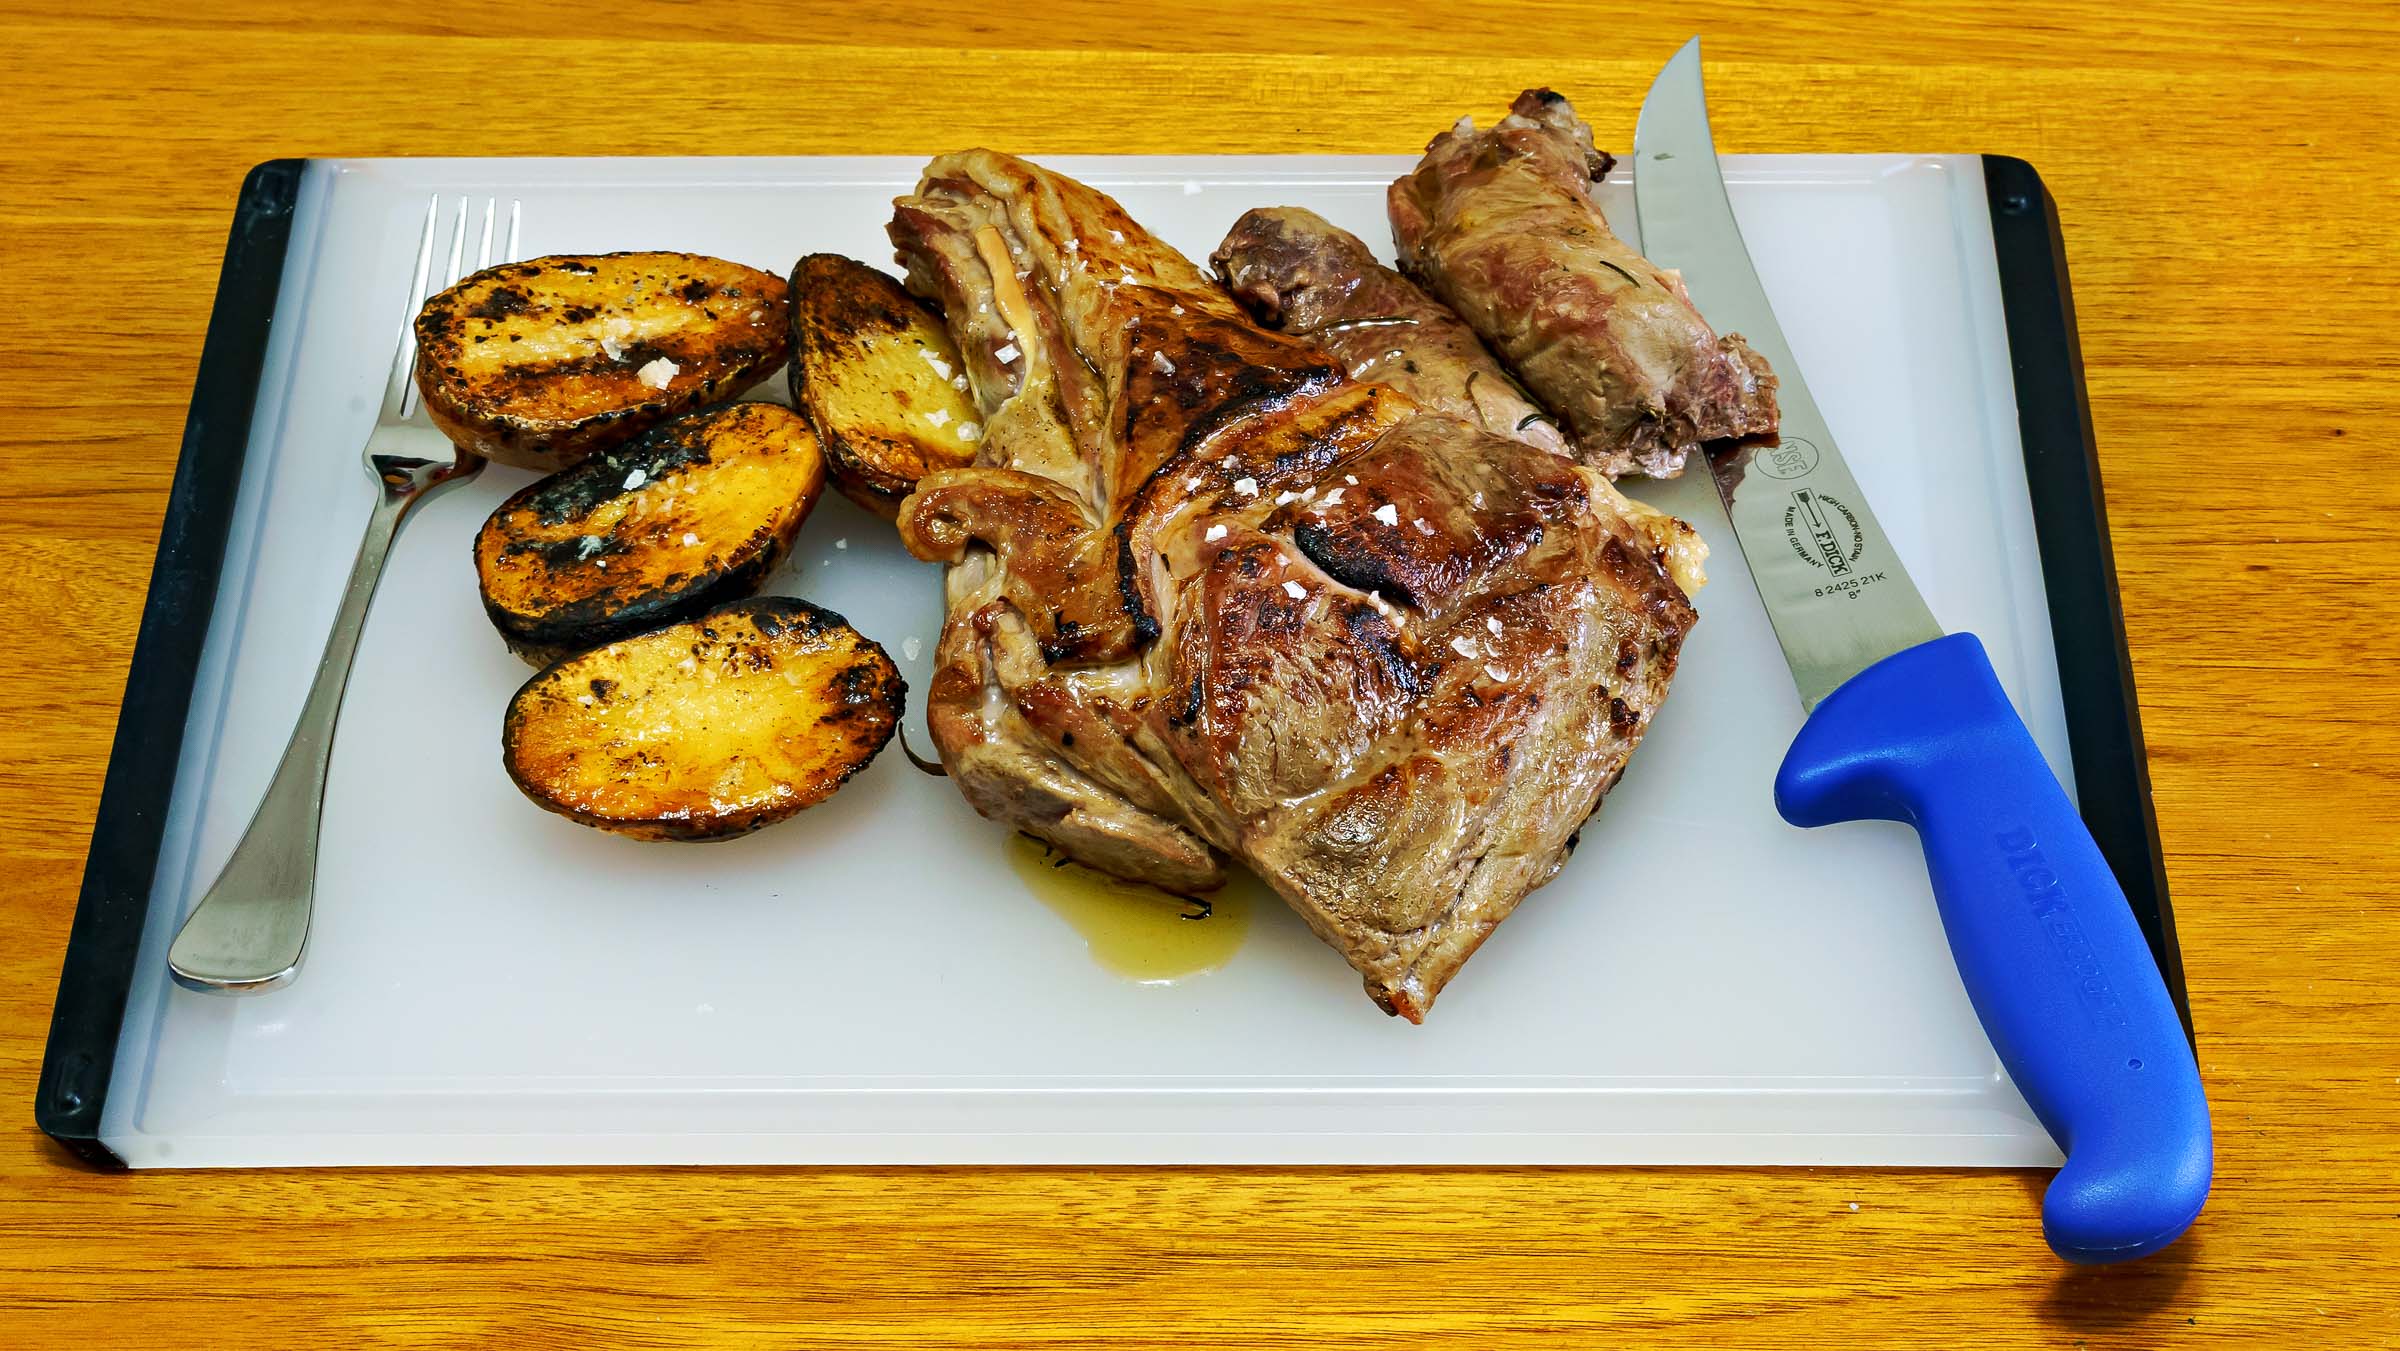
I didn’t do anything fancy with this shank meat. I had some leftover beef short rib cooking liquor in the refrigerator, so I added the beef broth and meat to my slow cooker and left it cooking for 8 hours on low heat.
I aliquoted a small portion for tea and reheated it with a little cream and some cheese.
If you look carefully at the photographs of the finished dish, you’ll notice some black peppercorns. These were also in the slow cooker. These peppercorns added a nice spiciness to the final result.


I expect the most common dish using beef shank is osso bucco. I thought it would be edifying to ask Microsoft Copilot for some information on Osso Bucco for readers who may be interested.
Osso Bucco Summary
Main Species of Beef Cattle for Meat
Beef cattle are domesticated bovines raised primarily for meat. The main species is the domestic cattle, Bos taurus, which includes European cattle breeds (Bos taurus taurus) and the zebu breeds (Bos taurus indicus). Virtually all modern beef breeds belong to Bos taurus, either of the temperate European or tropical zebu lineage, or crosses of the two. These cattle are large ungulates (a hoofed mammal) in the family Bovidae, widely kept as livestock for meat production. While there are hundreds of breeds (e.g. Angus, Hereford, Brahman), they all trace back to this single species or its subspecies. Other bovines like water buffalo or bison can produce meat, but the term “beef” almost exclusively refers to meat from Bos taurus cattle, which are the dominant livestock for beef worldwide.
Bos taurus, the domestic cattle species, has various common names depending on the breed, region, and purpose. Here are some of the most widely used names:
Cattle – The general term for domesticated bovines.
Cow – Refers specifically to female cattle that have calved.
Bull – A mature, intact male used for breeding.
Steer – A castrated male raised for beef.
Heifer – A young female that hasn’t calved yet.
Calf – A young bovine of either sex.
Ox – A trained steer (or sometimes a bull) used for work, like ploughing.
Beef cattle – Cattle bred and raised for meat.
Dairy cattle – Breeds specifically reared for milk production.
Veal calves – Young cattle raised for veal, typically under six months old.
Specific breeds also have their names, such as Angus, Hereford, Wagyu, or Brahman, which are still Bos taurus but with distinct characteristics.
The Cut Used in Osso Bucco
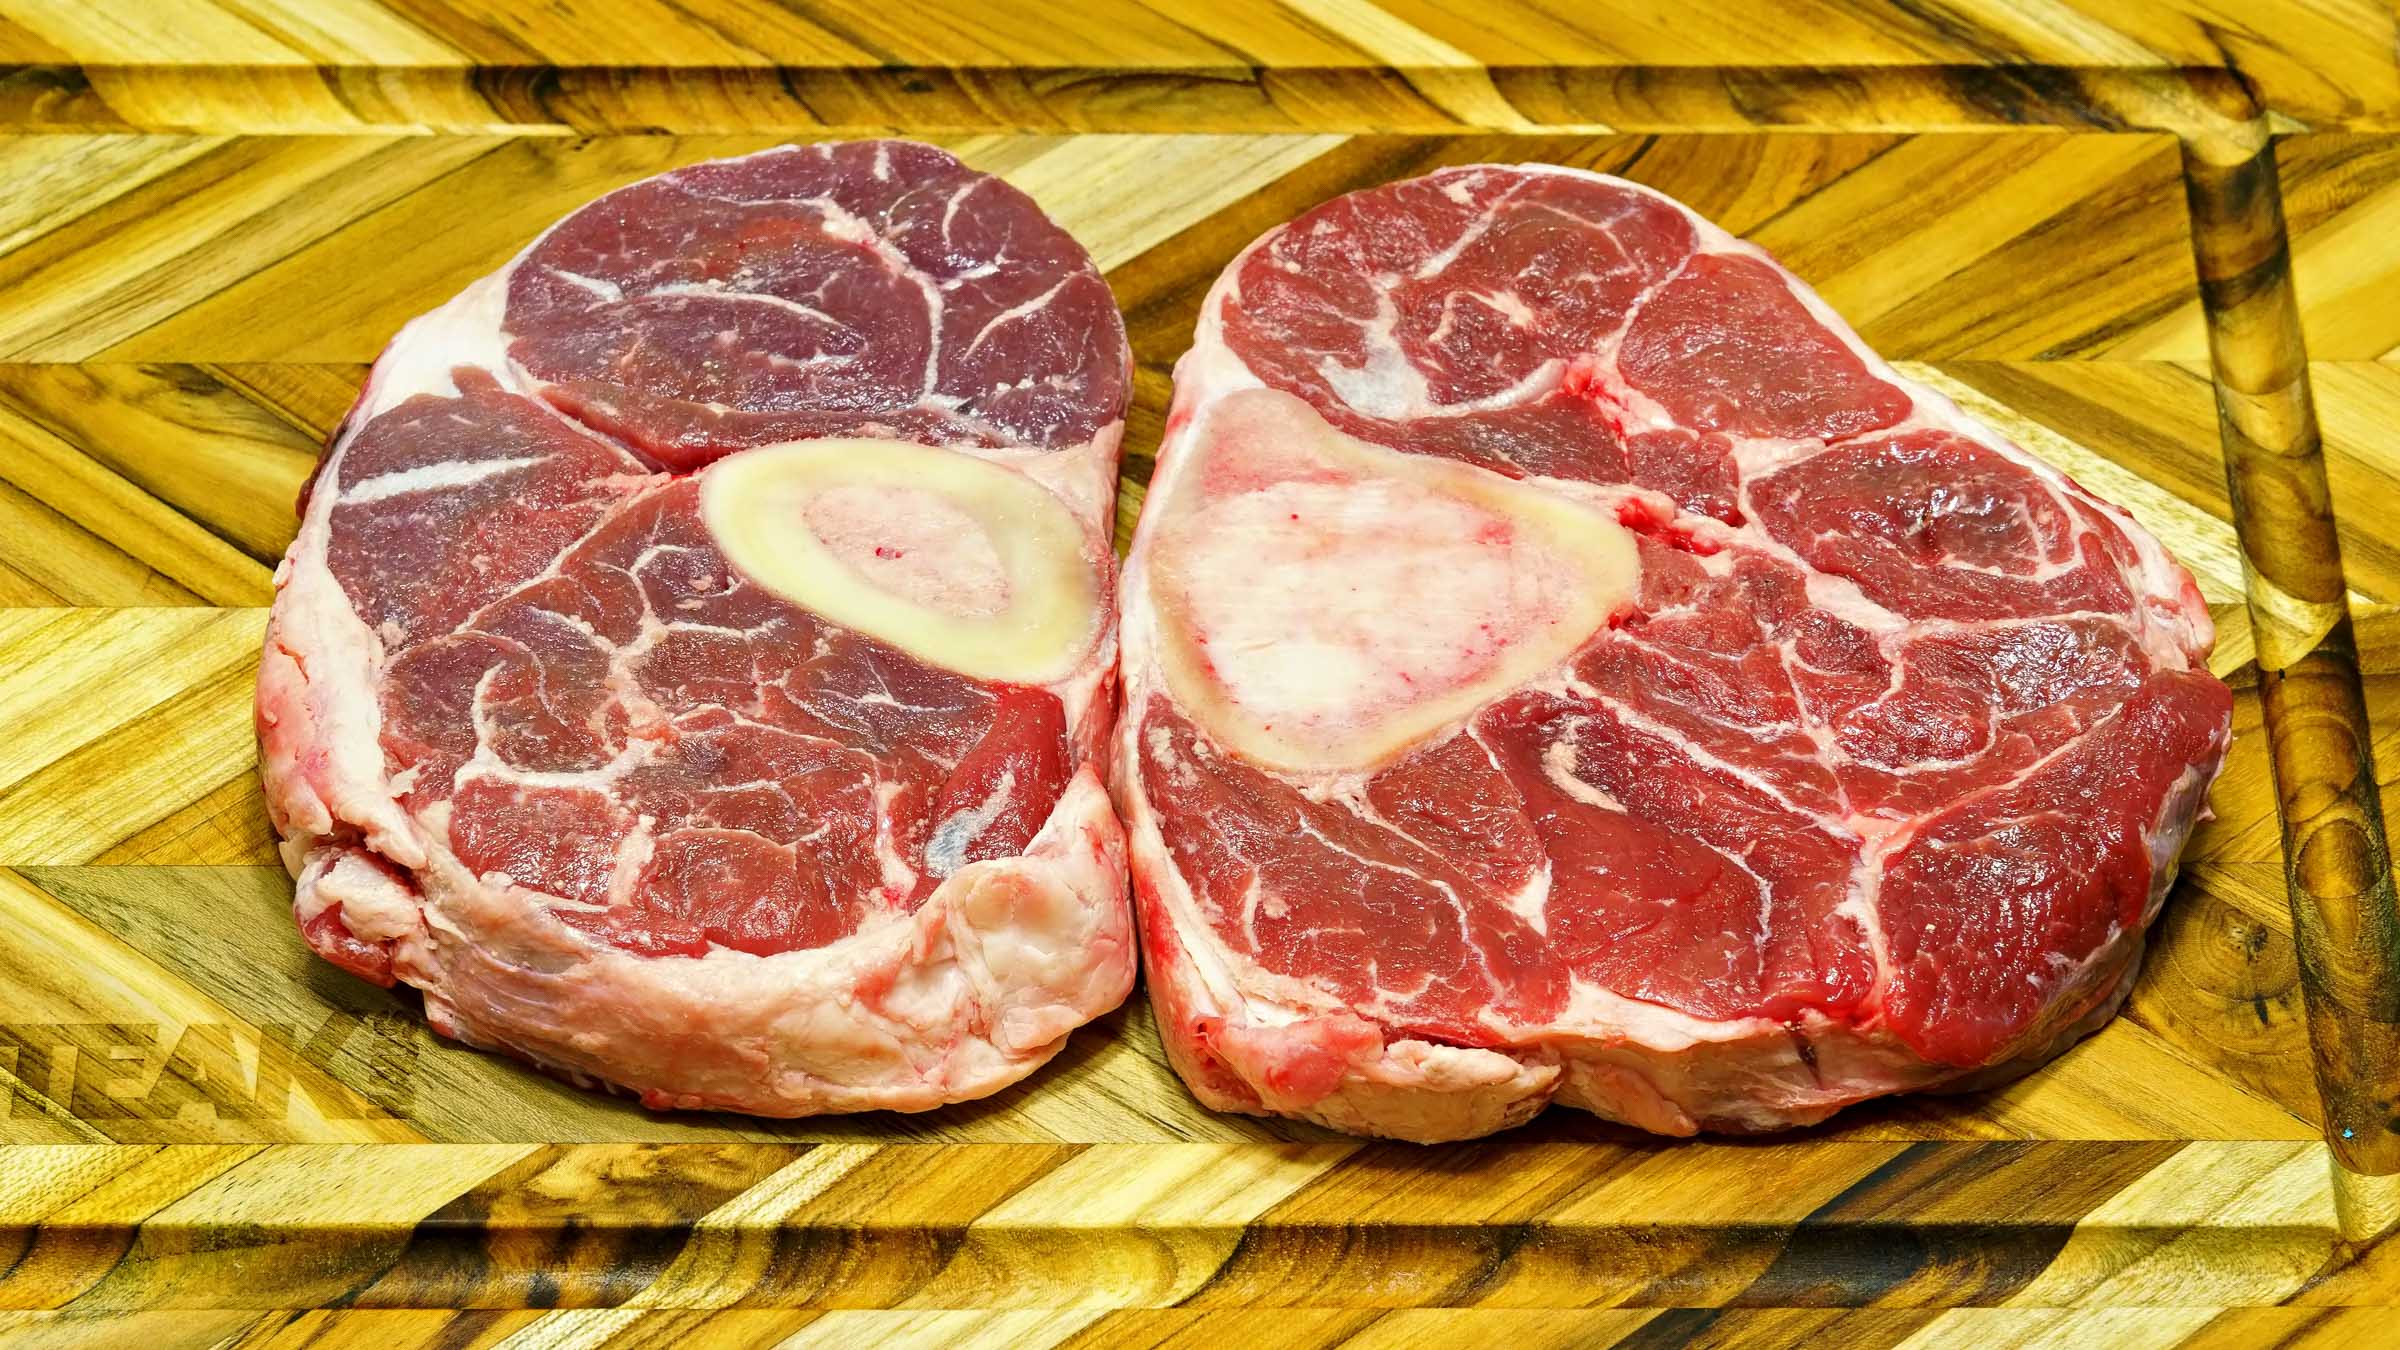
Osso bucco (often spelled osso buco), an Italian specialty from Lombardy, is made using a specific cut of the bovine leg. The dish traditionally uses veal shanks – the shank is the lower part of the leg (the shin) –cut crosswise into thick slices, including the bone. Each slice is a round section of the leg bone with a portion of meat around it, exposing a marrow-filled centre, hence the name ossobuco, meaning “bone with a hole” in Italian. In essence, osso bucco comes from the shank portion of a calf’s (or sometimes an adult cow’s) hind leg, containing the tibia (for a rear shank) or radius/ulna (for a front shank), with the marrow in the bone centre. This cut is known for being tough due to hardworking muscles and connective tissue, but it becomes tender and flavourful when cooked slowly. The bone marrow in the centre is a key feature: it melts into the dish during cooking and is meant to be eaten, providing a rich, gelatinous texture. While classic osso bucco uses veal shank (from young cattle, prized for tenderness), some preparations use beef shank from a mature cow as a more affordable alternative; both are essentially the same anatomical cut of the leg. In summary, the dish osso bucco specifically uses the bovine’s cross-cut shank (shinbone), including the bone and marrow, cut into roughly 3–4 cm thick slices.
What This Cut is Called in Other Cultures
The shank cut used for osso bucco is known and appreciated in many culinary traditions, often under different names or preparations:
Italy (Milanese): The dish itself is Ossobuco (plural ossibuchi), literally “bone with a hole,” referring to the shank’s marrow bone. The cut of meat (veal shank) in Italian butchery terms is stinco di vitello or ossobuco when cross-cut for this dish.
France: French cuisine refers to the veal shank as jarret de veau; the dish is usually just called osso buco (the Italian name is used in France). In French, the term translates as os troué (“holey bone”). Recipes in France describe rouelles de jarret de veau (slices of veal shank) braised with wine and vegetables, essentially the same as ossobuco.
Spanish-speaking countries: The veal or beef shank is called jarrete de ternera or morcillo in Spanish. This cut, from the lower rear leg, is traditionally used in various Spanish stews. The Italian dish is also known by its Italian name osobuco (with one “s”) in Spanish. In Spain and Latin America, you might find ossobuco on restaurant menus as the dish name, or see morcillo de res (beef shank) sold for use in similar slow-cooked recipes.
South Asia: In Indian and Pakistani cuisine, the equivalent cut (usually from adult beef or mutton) is relished in dishes like Nalli Nihari. “Nalli” means marrow bone, referring to the same hollow shank bone filled with marrow. Nalli nihari is a slow-cooked stew featuring shank pieces with bone marrow, showing a parallel appreciation for the rich centre of the bone, much like osso buco.
Philippines: A similar love for the beef shank and its marrow is seen in the Filipino dish Bulalo. Bulalo is a soup made from cross-cut beef shanks with intact bone marrow. In the Philippines, bulalo refers to the marrow bone itself and the dish made from it. This is essentially the same cut as osso buco (though from an older cow, since veal is not common locally), slow simmered to yield tender meat and flavourful broth. If one sees the cross-cut beef shank in a Filipino market, it might be labelled bulalo cut.
Other cultures: Many cuisines have their own version of dishes that use the shank. For example, in Mexican cuisine, chamorro de res is beef shank braised for tacos or stews. In Chinese cuisine, beef shanks (often cross-cut) are used in soups and braises. However, there’s no famous single dish exactly like ossobuco; the concept of enjoying the bone marrow is present (e.g. in certain regional broths). Across cultures, the idea of slow-cooking leg bones with marrow appears repeatedly, highlighting that this cut, often simply called shank, shin, or marrow bone in English, is valued globally for its braised flavour.
In summary, the anatomical part of osso bucco—the cross–cut shank—is internationally recognised. It is termed jarret/morcilla in French and Spanish, nalli (marrow bone) in parts of South Asia, and is associated with dishes like bulalo in the Philippines. Despite language differences, cooks worldwide prize this cut for its gelatine-rich meat and delicious marrow, often borrowing the Italian name when preparing the classic Lombard recipe.
Why Osso Bucco Is Popular
Osso bucco has endured as a beloved dish and gained international popularity for several reasons:
Rich Flavour and Texture: The combination of marrow, bone, and meat in the shank yields exceptional depth of flavour. As the veal shanks braise, the bone marrow melts into the sauce, creating a velvety richness, and the collagen in the meat breaks down to a succulent, gelatinous texture. The result is tender, “fall-off-the-bone” meat in a sauce imbued with umami from the marrow – a culinary experience that many describe as uniquely hearty and satisfying. The marrow is a prized delicacy and the defining feature of the dish, lending a luxurious quality that diners savour.
Culinary Heritage and Tradition: Osso bucco carries the aura of Italian culinary tradition. It originated as a simple Lombardy peasant dish in the 18th or 19th century, turning an inexpensive cut into a flavourful meal through slow cooking. Over time, it transitioned from humble home kitchens to restaurant menus, becoming an icon of Milanese cuisine. Its story — humble origins elevated to fine dining — resonates with food lovers. Eating osso bucco can feel like experiencing a piece of Italian heritage, which adds to its appeal. It is often associated with comfort, family gatherings, and the warmth of home cooking in Italian culture. At the same time, it’s featured in upscale restaurants globally, showing its versatility and broad appeal.
A Hearty yet Refined Dish: The dish hits a sweet spot between rustic comfort food and refined cuisine. It is hearty and filling, with braised meat and vegetables in a robust sauce, but also refined in flavour, often finished with bright gremolata (lemon zest, garlic, parsley) to lift the taste. This balance makes osso bucco comforting enough for a family Sunday dinner and elegant for guests or special occasions. In Italy, it’s a staple for holidays and celebrations, symbolising shared warmth and tradition. Internationally, its reputation for deep flavour has made it a favourite of chefs and food enthusiasts.
Economics and Availability: Traditionally, veal shanks were a less expensive cut of meat, which contributed to the dish’s creation and popularity among common folk in Milan. Even today, cuts like shanks are relatively affordable compared to prime steaks, meaning home cooks can create a gourmet-quality dish without spending a fortune. The popularity of osso bucco has also encouraged butchers to prepare and sell “osso buco” cuts (cross-cut shanks) in markets worldwide, making it easier for people in different countries to try the dish at home.
Global Recognition and Adaptability: Osso bucco’s fame spread internationally during the 20th century, and it’s now found on menus from Europe to North America and beyond. Its popularity is partly because it adapts well – chefs might use local wines, add tomatoes (as in the modern Italian American versions), or even swap the veal for beef, pork, or lamb shanks, yet the core concept remains the same. This adaptability has helped maintain and even increase its popularity, as variations still deliver the signature tender braised meat with marrow. Essentially, osso bucco captures the essence of hearty Italian cuisine in a way no other cut can, bringing together comfort and richness, which is why it continues to be sought-after by diners and cooks alike.
In short, osso bucco is popular because it is deeply flavourful, culturally significant, and amazingly satisfying. It transforms a tough cut into a gourmet experience, offers a taste of Italian tradition, and delights people with its tender meat and rich marrow – a combination that has captured hearts and palates around the world.
How Osso Bucco is Cooked
Osso bucco is typically cooked by braising, a slow, moist-heat cooking method that turns the tough shank cut meltingly tender. The process involves a few key steps and ingredients:
Preparing the Meat: The shank pieces (traditionally veal shanks, about 3 cm thick cross-sections) are seasoned with salt and pepper, and often lightly dredged in flour. Dredging in flour helps brown the meat and will thicken the sauce slightly during cooking.
Browning: In a heavy pot or Dutch oven, the shanks are browned in a bit of butter or olive oil over medium-high heat. Browning the meat on all sides develops a deeper flavour through caramelisation. Once well browned, the shanks are removed and set aside temporarily.
Sautéing Aromatics: A classic sofrito or mirepoix of chopped vegetables – typically onion, carrot, and celery – is added to the same pot (with more oil or butter if needed). Garlic is often included as well. These aromatics are cooked until softened and golden, scraping up any browned bits from the pot (which will add flavour to the sauce).
Deglazing and Adding Liquid: Next, a generous pour of white wine is added to deglaze the pot, meaning it loosens the flavourful browned bits stuck to the bottom. The wine is allowed to simmer and reduce slightly. Then broth (veal or beef stock) is added, and often canned tomatoes or tomato paste (especially in modern recipes). Traditional Milanese versions sometimes omit tomato (this variant is called ossobuco in bianco, i.e., “in white”), using just wine and broth with maybe a touch of tomato paste, while newer recipes include tomatoes for a richer sauce. Herbs like bay leaf, thyme, and rosemary may be added at this stage, and the pot is seasoned with a bit of salt and pepper.
Braising: The browned shanks are returned to the pot, nestling into the liquid and vegetables. The pot is then covered with a lid and the dish cooks low and slow. This can be done on the stovetop over low heat or in the oven at a low temperature (around 150 °C/300 °F). Braising typically takes 2 to 3 hours for osso bucco, until the veal is fork-tender and practically falling off the bone. During this time, the collagen in the shank melts into gelatine, tenderising the meat and thickening the sauce, while the marrow infuses the braising liquid with richness. Patience is key – the slow cooking is what transforms the tough cut into an “incredibly tender and flavourful” dish.
Finishing: Once cooked, the pot may be uncovered briefly to let the sauce reduce if it’s too thin, or extra seasoning adjusted to taste. A traditional finishing touch is to sprinkle the cooked shanks with gremolata just before serving. Gremolata is a fresh condiment of minced parsley, lemon zest, and garlic, which adds a burst of bright flavour on top of the rich braise. It’s optional but often recommended for the classic Milanese presentation.
Accompaniments: Osso bucco is almost always served with a starch to soak up the sauce. In Milan, the classic pairing is risotto alla milanese (saffron-infused risotto) which complements the veal and sauce. Elsewhere, it’s also common to serve osso bucco over polenta or with mashed potatoes. The braised shank is placed on the bed of risotto or polenta, and the sauce from the pot is spooned generously over top.
Throughout the cooking process, the goal is to build layers of flavour and achieve tenderness. By browning the meat and sautéing vegetables, then simmering slowly in wine and broth, osso bucco develops its signature hearty sauce and fall-apart texture. The result after a few hours is a fragrant pot of braised shanks in a rich gravy, ready to be garnished and served. Cooking osso bucco “requires patience and care, with slow cooking to ensure tenderness and depth of flavour” – but the payoff is a dish that captures the essence of Italian comfort food.
How Osso Bucco Should Be Eaten
Osso bucco is not only a joy to cook; it’s a delight to eat, especially when you know how to savour each component. Here are some tips on how to enjoy this dish to the fullest:
Serving Style: Typically, each diner is served a braised shank piece on a bed of risotto or creamy polenta, accompanied by some of the braising sauce and usually topped with a bit of fresh gremolata. The bright gremolata, if provided, should be sprinkled on top just before eating to give a fresh citrus-herb accent to each bite.
Start with the Sauce: Before diving into the meat, spoon some of the braising liquid (sauce) over the shank and the risotto/polenta on your plate. This moistens the dish and infuses the side starch with the rich flavours of the sauce. Osso bucco’s sauce is often abundant and delicious, so you’ll want to mop it up with each bite of meat or rice.
Enjoy the Meat: The veal (or beef) shank should be so tender that you can gently pull it apart with your fork. Use a fork and knife to twist and pull the meat off the bone – it should separate easily in succulent strands or chunks. Each forkful of meat can be dredged in the surrounding sauce and eaten together with some risotto or polenta, combining the textures.
Savour the Marrow: Perhaps the highlight of eating osso bucco is the bone marrow in the centre of the bone. Once you’ve eaten most of the meat, you’ll have a hollow bone with soft, cooked marrow inside. To eat this, use a small spoon (or an implement called a marrow spoon, if available) to scoop out the creamy marrow. It can be spread onto a piece of bread or stirred into your risotto/polenta – or simply eaten straight for a burst of rich flavour. This marrow is silky and full of beefy taste, truly a delicacy. (In some cases, if the bone’s opening is narrow, you might need a narrow utensil; one food writer notes that if even a teaspoon can’t fit, a thin wooden stick or even a drinking straw can be used to suck out the marrow from tiny bones – the marrow is that worth enjoying!)
Mind the Accompaniments: Osso bucco is often accompanied by its traditional sides for good reason. The saffron risotto provides a fragrant, creamy counterpoint to the meat, and it soaks up the juices beautifully. Polenta or mashed potatoes serve a similar role, balancing the richness. Take a bit of each in every bite – a piece of meat, a dab of marrow, some sauce and creamy risotto – to get the full experience of flavours and textures together.
Adding Gremolata: If your osso bucco is served with gremolata on top, try to get a little of it in each bite as well. The lemon zest and parsley cut through the richness of the sauce, adding freshness. If it’s served on the side, you can sprinkle it over the dish yourself. It’s an optional garnish, but it’s traditional in Milan and highly recommended for the bright contrast it provides.
Eating Etiquette: There is no strict etiquette beyond enjoying the dish comfortably. Because the meat is tender, it generally doesn’t require forceful cutting. It’s perfectly acceptable to pick up the bone with your hand at the end to extract every bit of marrow, if you’re among informal company and the bone isn’t too hot – though many will use a small spoon or knife tip to get it out instead. In restaurants, you might even be offered a slender spoon specifically for the marrow. And don’t forget to savour the sauce left on your plate – a bit of bread can help scoop up the last drops of the flavourful braising gravy.
To summarise, osso bucco is best eaten by combining its elements: fork-tender meat, luscious marrow, vibrant gremolata, and the creamy risotto or polenta, all brought together with the savoury sauce. By spooning the sauce over everything and then relishing the meat and marrow with the sides, you’ll experience the full spectrum of flavours that make this dish a classic. Pair it with a good wine (a dry white like Pinot Grigio, or a light red such as a Barbera, are often suggested) to elevate the meal. Eating osso bucco is truly a culinary experience to be savoured slowly, celebrating the marriage of rustic ingredients and refined cooking – an experience that leaves many diners licking their lips and remembering the meal fondly.